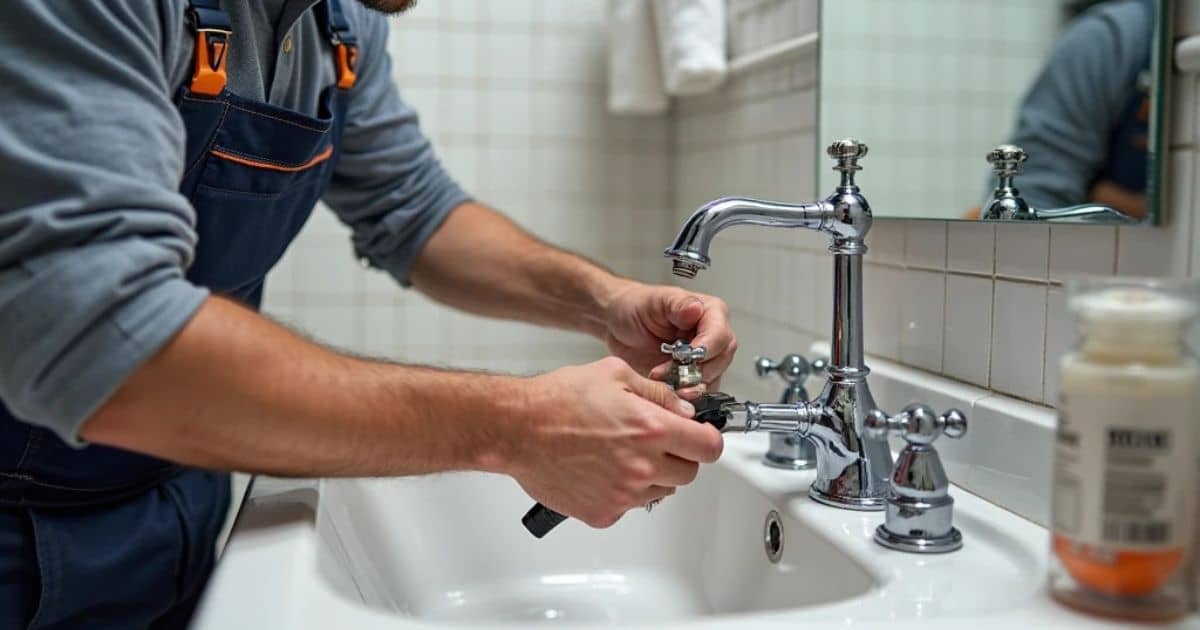
Upgrading your bathroom with a new double-handle Pfister faucet not only adds style but also enhances the functionality of your sink. If you’re ready to take on a DIY project and install a double-handled Pfister bathroom faucet, this helpful and informative guide will walk you through the process.
How do you install a Double-handle Pfister bathroom faucet?
Tools and Materials Needed:
Before we get started, let’s gather all the tools and materials we need to make sure the installation goes smoothly!
- Double handle Pfister bathroom faucet
- Adjustable wrench
- Plumber’s tape
- Screwdriver
- Silicone caulk
- Bucket or container
- Towels
Step 1: Prepare the Workspace
Locating and operating the shutoff valves is the critical first step. These are typically simple packing nut valves found protruding from the P-traps or supply tubes underneath the sink. Ensure you turn the valves fully clockwise until they stop to shut off water flow completely.
It’s advisable to test that the valves have fully closed by turning on the faucet momentarily to drain any residual supply. Shut the faucet off immediately once the water stops flowing. This confirms pipes are depressurized ahead of disconnections.
Place an absorbent container to catch several ounces of residual water remaining in the vertical pipe risers and horizontal supply tubes. A plastic tub, bucket, or double cardboard works well. Position this directly under the anticipated drip points.
Protect work surfaces like surrounding cabinets with old towels or a drop cloth to prevent scratches from tools or splashes during drainage. A well-lit work area is optimal for seeing valve positions clearly.
Double-check the shutoff before proceeding to eliminate risks from uncontrolled water. Safely removing and collecting residual supplies is an essential best practice for any plumbing project. Taking time for preparation helps ensure a clean, organized, and successful installation process.
Step 2: Remove the Old Faucet
All right, it’s time to get that old faucet off! Start by using an adjustable wrench to loosen the supply lines where they connect to the bottom of the faucet. You may need to wiggle them a bit if they’re stuck on their good.
These supply lines are the thin copper or metal tubes that bring water up from under the sink, so be careful not to kink or dent them as you work. Once loose, bend/twist them out of the way so they’re not in your workspace.
If you’ve got a single-handle faucet like I did, you’ll need to drill out the existing hole to make room for the new two-handle setup. Measure carefully so you get it in the right spot.
Next, locate the mounting nuts on the underside of the sink and loosen them with your wrench. They may be challenging to reach, so have a little helper hold a flashlight to illuminate the area. Go slow so you don’t strip anything.
Ease the old faucet off once those nuts are off. Mine came away easily since it was worn out anyway. Give the sink area a good wipe down to remove any grime before setting up the new faucet. A little TLC goes a long way!
Step 3: Apply Plumber’s Tape
Alright, it’s time to get those pipes ready to connect! Take your roll of plumber’s tape and cut off a length big enough to fully wrap the threads – you don’t want any metal exposed.
Hold one end of the tape in place and begin wrapping clockwise around the first supply line thread. Make sure you go all the way around and overlap the tape as you spin it on. This creates an excellent, snug seal that will keep water where it belongs once pressure is applied.
Do the same for the other supply line, taking care to avoid any twisties or kinks that could cause leaks down the line. The tape makes for a much cleaner, smoother installation than liquid pipe dope. No messy drips!
Once both pipes are good and wrapped up, you’re all set to connect them. Just be sure not to scratch or damage the tape as you manipulate the pipes – keep those threads protected right up until tightening. One less thing to worry about later on.
Step 4: Install the New Faucet
Carefully position the Pfister double handle model over the holes in your sink. Feed the wrapped supply lines down through from above, taking care to line everything up straight.
From below, slide the large mounting nuts over the shank of the faucet and thread them partway onto the mounting posts. This will hold the base in position while you adjust.
Once happy with the placement, switch to tightening the nuts from underneath. Use your adjustable wrench, but go gently – it doesn’t take much to secure everything. We don’t want to crack the porcelain!
I like to start with one nut, alternating turns on each until snug. Then, repeat on the other side for symmetry. Check the faucet stability as you work.
Overtightening is the enemy here. As long as it feels solid without wobble, you’re all set. Stop and back off a touch if you feel things getting stiff.
Step 5: Connect the Water Supply Lines
Take one supply line and check that the valve underneath matches where it’s intended to connect – hot or cold. Then, thread the plumber-taped end onto the corresponding port.
Use your adjustable wrench to tighten each one, going a 1/4 turn past hand tight. The Teflon tape creates an excellent sealant, so don’t crank them crazy tight. Snug is good!
With both connected, turn the shutoff valves back on slowly. Keep an eye out and have a hand under each fitting as you do – no need to soak your new install if a leak pops up.
Fingers crossed, everything held! Give the lines a gentle squeeze to check for drips once the pressure is on. If all looks bone dry, congratulations, you did it!
Step 6: Install the Handles and Trim
Depending on your faucet brand, the screws might already be attached or need installing first. Check the instructions if you need clarification.
Slide each handle over its corresponding stem carefully. Then use your Phillips head screwdriver to tighten the screw(s) holding it in place – go snug but don’t strip anything.
Give each a wiggle to ensure they’re stable before moving on. These puppies need to stay put!
The last thing is adding any trim. My Pfister came with a nice escutcheon plate to cover the holes and make everything polished. Slip it into position, and you’re all done!
Please step back and admire your work, my friend. Nothing like the satisfaction of a job well done. And handy new skills to feel proud of.
Step 7: Apply Silicone Caulk
Alright, the last step is the silicone sealant. This helps finish things off and protects against moisture.
Squeeze a thin caulk rope all the way around where the faucet base meets the sink. For continuous coverage, lay it down smoothly as you go.
Take your finger, a plastic card, or even a paper towel to drag across the seam. This squeezes out excess caulk and buffs the surface to a clean, professional look.
Let it fully cure per the tube directions before using the sink fully. That bonding agent works like magic but does need some drying time.
In a day or two, do a quick water test by running the taps. All being well and no leaks detected, you’re really all done!
Conclusion
I know from experience that taking on DIY projects can initially seem daunting. But anyone can confidently complete basic home repairs by slowing down, being methodical, and asking for help when unsure.
A fresh faucet may seem like a minor upgrade, but it makes such a difference in your everyday bathroom experience. I hope you love the results as much as I’ve loved guiding you through the process.
My DMs are always open if any other issues arise down the line. In the meantime, be sure to treat yourself to a job well done – you’ve earned it! Enjoy that new fixture, whether it’s a nice long, hot shower or just admiring your handiwork.
Thanks for letting me be a part of transforming your space, and I wish you many more fun and productive projects to come. Now, go celebrate your success!

