Every homeowner knows the frustration of a leaking or malfunctioning bathroom faucet. That relentless drip not only grates on your nerves but also wastes precious water and money.
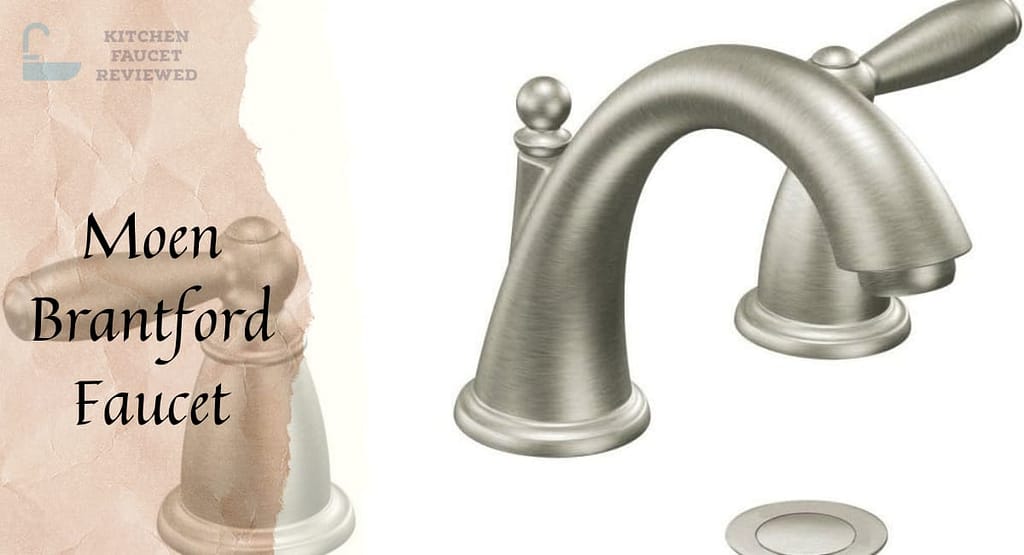
When it comes to durable and reliable faucets, Moen stands as a trusted name in the industry. Designed with precision engineering and backed by decades of innovation, Moen bathroom faucets are built to endure. However, even the most well-crafted fixtures can succumb to wear and tear over time, necessitating the replacement of a vital component: the cartridge.
Understanding how to replace a cartridge in your Moen bathroom sink faucet is a fundamental skill that empowers you to take control of your plumbing system. Whether you’re a seasoned DIY enthusiast or a novice looking to tackle your first home improvement project, this comprehensive guide will equip you with the knowledge and confidence to tackle this task head-on.
In this blog post, we will delve into the intricacies of How to Replace a Cartridge in a Moen Bathroom Faucet, unravel the mystery behind cartridges, and provide you with a step-by-step walkthrough to effortlessly replace a cartridge in your own bathroom faucet. With our expert guidance, you’ll bid farewell to leaky faucets and regain the tranquility of a fully functional bathroom sink.
Why Focus on Moen Bathroom Faucets?
Moen is renowned for its commitment to quality, craftsmanship, and innovation. With a rich heritage dating back to 1937, Moen has consistently revolutionized the faucet industry, introducing groundbreaking technologies that elevate the user experience. Their bathroom faucets blend timeless aesthetics with cutting-edge features, catering to a wide range of personal styles and preferences.
The cartridge, often referred to as the heart of a faucet, plays a crucial role in controlling water flow and temperature. Over time, due to factors like mineral buildup or general wear, cartridges can become faulty, leading to leaks, low water pressure, or even a complete loss of function.
By focusing on Moen bathroom faucets, we ensure that our readers receive tailored guidance for one of the most popular and reliable faucet brands in the market.
What You’ll Gain from this Guide?
Within the following sections, we’ll guide you through the entire cartridge replacement process, breaking it down into manageable steps. You’ll gain a comprehensive understanding of the tools you’ll need, the types of cartridges found in Moen bathroom faucets, and how to identify the specific cartridge model installed in your own fixture.
With clear instructions and helpful tips, we’ll take the guesswork out of the procedure, empowering you to successfully execute the replacement without a hitch.
In addition to saving money on professional plumbers, learning how to replace a cartridge in your Moen faucet grants you the freedom to maintain and troubleshoot your plumbing system at your convenience. By regaining control over your sink, you’ll ensure a smooth and reliable water flow, reducing wastage, and avoiding potential water damage in your home.
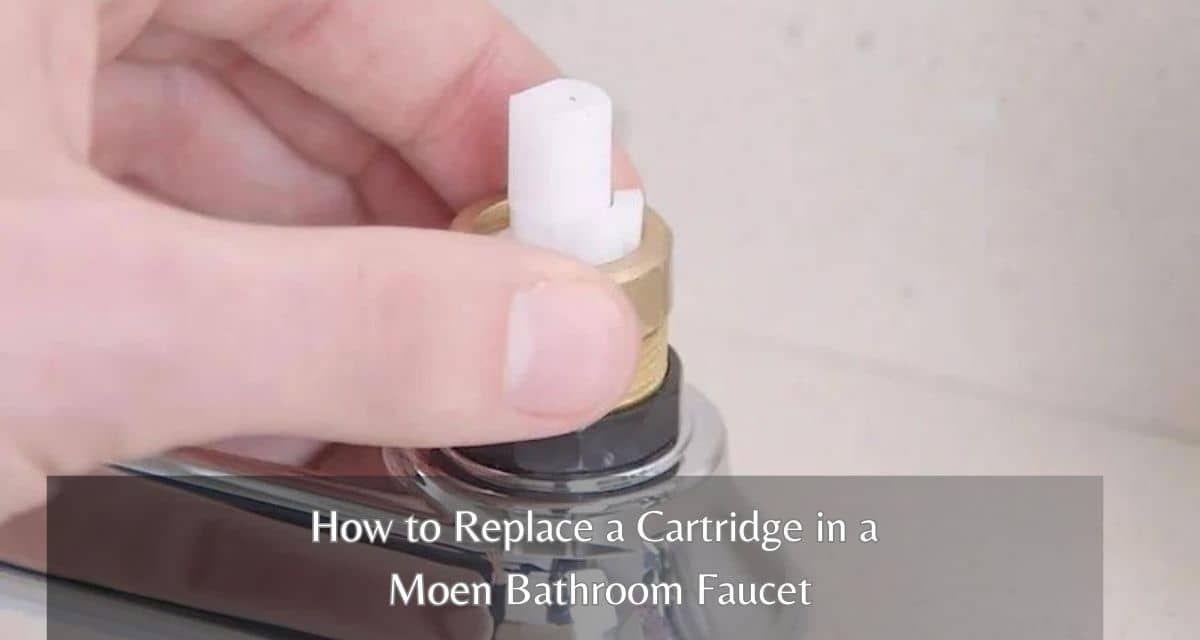
How to Replace a Cartridge in a Moen Bathroom Faucet
Understanding the Cartridge in a Moen Bathroom Faucet
The cartridge in a Moen bathroom faucet is a crucial component that controls the flow of water. It consists of several rubber O-rings, seals, and ceramic discs that regulate water temperature and pressure. Over time, these components can wear out or become damaged, resulting in leaks or difficulty in controlling water flow.
Tools and Materials You Will Need Before starting the cartridge replacement process, gather the necessary tools and materials:
- Adjustable wrench or pliers
- Phillips screwdriver
- Allen wrench set
- Moen cartridge removal tool (optional)
New Moen cartridge (Ensure you select the correct cartridge model for your specific faucet. The model number can usually be found on the faucet’s handle or spout.)
Step-by-Step Guide to Replacing the Cartridge
Replacing the cartridge in a bathroom faucet can be a relatively straightforward process if you follow the step-by-step guide provided. Here are some additional deep and well-researched insights to enhance your understanding of the process:
1. Shutting Off the Water Supply:
– It is essential to turn off the water supply before starting any work on the faucet to avoid accidental water leakage and potential damage.
– In addition to locating shut-off valves under the sink, you can also find shut-off valves near the water meter or at the main water supply entry point of your home.
– Turning off the main water supply is recommended if you cannot locate or access the shut-off valves under the sink.
2. Removing the Faucet Handle:
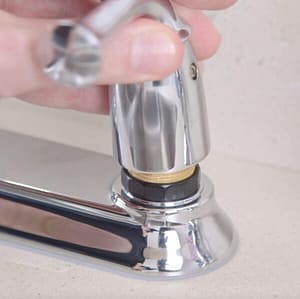
– The type of screwdriver or wrench required to remove the handle depends on the specific faucet model. Some faucets use Phillips screws, while others use Allen screws (hex screws).
– It is important to keep track of the screws and other small parts while removing the handle to avoid misplacement or loss. Check the guide how to tighten Moen bathroom faucet handle.
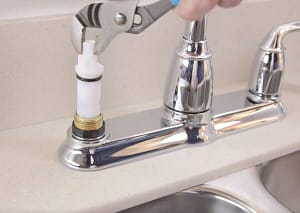
3. Removing the Retaining Nut:
– The retaining nut secures the cartridge in place and may require an adjustable wrench or pliers to loosen it.
– While most retaining nuts can be turned counterclockwise to remove them, some faucet models may have unique mechanisms or require a cartridge removal tool to loosen the nut effectively.
4. Extracting the Old Cartridge:
– Cartridges are indeed important components in many faucets, they are specifically responsible for controlling the flow of water, not the temperature. The primary function of a cartridge is to regulate the water flow by opening or closing the valve inside the faucet.
– If the cartridge is stuck due to mineral deposits or age, applying a lubricant such as WD-40 can help loosen it before attempting to remove it.
– Using pliers or a dedicated cartridge removal tool can provide a better grip and facilitate the smooth extraction of the old cartridge.
5. Installing the New Cartridge:
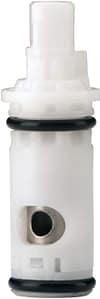
– Proper lubrication of the O-rings on the new cartridge with plumber’s grease is crucial for ensuring smooth operation and preventing leaks.
– Aligning the tabs on the cartridge with the corresponding slots in the faucet body ensures proper installation and functionality.
– Pushing the cartridge firmly and ensuring it is flush with the faucet body helps maintain a secure fit.
6. Reassembling the Faucet:
– Carefully reassemble the faucet by following the reverse order of the previous steps.
– Hand-tightening the retaining nut ensures a snug fit without over-tightening, which could damage the components.
– Securing the handle with the screw or hex screw ensures it remains in place during regular use.
– After turning on the water supply, carefully check for any leaks around the handle and the base of the faucet.
Remember, these guidelines are general in nature and may not apply to all faucet models. It is always recommended to consult the specific manufacturer’s instructions or seek professional assistance if you are unsure or unfamiliar with the process.
Troubleshooting Common Issues
1. Leaks after Cartridge Replacement:
When you experience leaks after replacing a cartridge in a plumbing fixture, there are a few possible causes to consider:
a. Loose connections: Check all the connections between the cartridge and other components, such as supply lines or handles. Ensure they are tightened properly.
b. Improper seating: Make sure the cartridge is correctly installed and seated in its designated position. If it is not aligned correctly or fully inserted, it can cause leaks.
c. Damaged cartridge: Inspect the cartridge for any signs of damage, such as cracks or worn-out seals. If the cartridge itself is faulty, it may not create a proper seal, resulting in leaks. Consider replacing the cartridge if necessary.
2. Reduced Water Flow:
If you notice a decrease in water flow after replacing a cartridge, the issue might be related to the faucet aerator. The aerator is a small mesh screen located at the end of the faucet spout, responsible for regulating water flow and preventing debris from entering the fixture. To address this problem:
a. Remove the aerator: Unscrew the aerator from the faucet spout. Use a pair of pliers or a wrench if it’s difficult to remove by hand. Be careful not to damage the aerator or faucet during the process.
b. Clean debris: Inspect the removed aerator for any accumulated debris or mineral deposits. Rinse it under running water to remove any obstructions, or use a small brush to clean the mesh screen.
c. Reinstall the aerator: Once the aerator is clean, screw it back onto the faucet spout, ensuring it is properly tightened. Test the water flow to check if the issue is resolved. If the problem still stand it’s place then further investigation may be required.
3. Difficulty Removing the Retaining Nut or Cartridge:
If you encounter challenges when trying to remove the retaining nut or the cartridge itself, consider the following options:
a. Cartridge removal tool: Purchase or borrow a cartridge removal tool specifically designed for the type of cartridge you are working with. These tools provide better grip and leverage, making it easier to loosen and remove stubborn cartridges.
b. Lubrication: Apply a penetrating lubricant, such as WD-40, to the retaining nut or cartridge. Let it sit for a few minutes to allow the lubricant to penetrate and loosen any corrosion or debris, making it easier to remove.
c. Professional assistance: If all else fails or if you are uncomfortable attempting the repair yourself, it’s advisable to contact a professional plumber. They have the expertise, tools, and experience to handle challenging situations and ensure the proper resolution of the issue.
Remember, if you’re unsure about any plumbing repair or encounter a complex situation, it’s always best to consult a professional plumber to avoid potential damage or further complications.
Conclusion
By following each of step of this guide, you can confidently replace the cartridge in your Moen bathroom faucet, restoring its functionality and eliminating leaks. Remember to gather the necessary tools, shut off the water supply, and proceed with caution throughout the process. With a new cartridge in place, your Moen bathroom faucet will continue to provide reliable performance and enhance the aesthetics of your bathroom for years to come.
I hope this guide will help you whenever you’ll need to change or have a problem in the cartridge. If you think It’s a helpful blog so please share this to others so that everyone can solve the problem.