Installing a kitchen sink may seem daunting, but with the right tools and a systematic approach, it can be a rewarding DIY project. Whether you’re replacing an old sink or installing a brand-new one, this comprehensive guide will take you through each step of the process, ensuring a successful installation.
So, If you want to save money then you must read our guide which we wrote after spending countless hours to help our readers.
How to install a Kitchen Sink in 2025?
Step 1: Gather the Necessary Tools and Materials
To install a kitchen sink, you’ll need the following tools and materials:
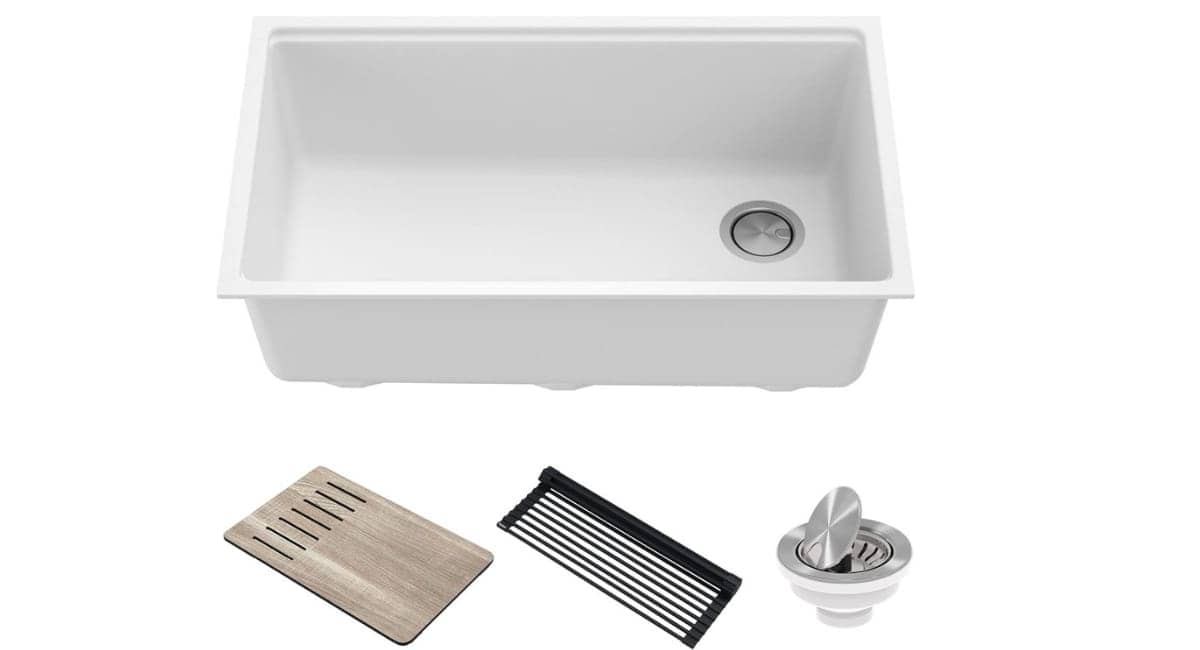
- New Kitchen Sink: If you’re Purchasing a new sink that fits the dimensions of your countertop and meets your design preferences. Consider factors such as material, style, and features.
- Faucet: Choose a kitchen faucet that matches your sink and suits your needs. Make sure it aligns with the number of mounting holes in your sink.
- Plumbers Putty or Silicone Caulk: You’ll need one of these to create a watertight seal between the sink and countertop.
- Adjustable Wrench: This tool will be used to tighten and loosen various nuts and bolts during the installation process.
- Screwdriver: You may need a screwdriver to remove or install screws, depending on the type of sink and faucet you have.
- Plumber’s Tape: Also known as Teflon tape, this thin white tape is used to seal pipe connections and prevent leaks.
- Bucket or Towels: These will come in handy to catch any water that may spill during the installation process.
- Pipe Wrench: A pipe wrench is useful for tightening and loosening plumbing connections.
- Channel Locks: These pliers can be adjusted to grip and turn different-sized nuts and bolts, making them versatile for various plumbing tasks.
- Hacksaw: You might need a hacksaw to cut pipes or other materials to the required length during the installation process.
- Tape Measure: Measure the dimensions of your sink and countertop to ensure a proper fit.
- Safety Goggles and Gloves: Protect your eyes and hands from potential hazards during the installation, such as sharp edges or chemicals.
Having these tools and materials readily available before starting the installation will make the process smoother and more efficient. Remember to follow safety guidelines and manufacturer instructions while working on your kitchen sink installation project.
Step 2: Prepare the Workspace
Here are the key steps to prepare your workspace for the kitchen sink installation:
Clear the Area: Remove anything stored under the sink so you can access the plumbing connections, mounting hardware, and underside of the new sink. Take out cleaning supplies, dish detergent, etc., and set aside.
Locate Water Valves: The main supply valves are usually brass quarter-turn types found where pipes enter the home. Entirely turn them clockwise to stop water flow before work begins. This prevents mishaps.
Choose Backup Method: Lay down old rags or a large waterproof tray under the sink area, as a just-in-case. Old pipes sometimes drizzle a bit of residual water when detached. Your backups will protect cabinets and flooring from any messes.
With a clear, uncluttered space and water supply secured, you’re all set up to switch out fixtures smoothly! Double-check valve positions before starting. Proper planning at each step will ensure safe and efficient installation. Let me know if you have any other questions during the project!
Step 3: Remove the Existing Sink
Here are the simple steps to remove your old kitchen sink:
Disconnect Water Lines: Use an adjustable wrench to loosen the nuts connecting the supply tubes to the sink faucet. Remove boxes from nuts and set aside.
Detach Drain Piping: Disconnect the garburator or pop-up assembly from the drain pipe underneath using a screwdriver. Lift off the drain basket or filter.
Unmount from Counter:
- Look for clips, brackets, or bolts along the rim holding the sink in place.
- Remove them using a wrench or drill.
- Keep all hardware for potential reuse.
Carefully Lift Out:
- Grab at opposing corners or edges and lift the sink up and out of the cabinet gently.
- Watch for any water residue still in the basin.
- Set aside for disposal later.
With the old sink now detached from water and drain lines and counter mounting, the area is cleared for the new sink’s installation! Double-check for drips around pipes, and if found, quickly wipe them dry before continuing your project. Let me know if any other steps need details.
Step 4: Prepare the Sink for Installation
Alright, we’re in the home stretch now! It’s time to get that sink ready to drop into place. Pull out your putty knife or caulk gun, and we’ll seal the edges.
You’ll want to apply a thin, even bead of putty or caulk around the cutout on the countertop. Go nice and slow around the whole opening. With putty, take your finger and smooth it into an oval shape. Caulk is easy to run a wet finger along for a clean look.
The goal is to form a barrier that will squish out when we lower the sink onto the counter. That creates a watertight seal between the two surfaces. A thin layer is all you need – too much can squeeze out everywhere when you set the sink down.
Pro tip – lay down a couple of strips of masking tape on the counter around the opening. This acts as a stop and protects your countertop from messy overruns. Peel it off afterward, and voila. Clean edges!
Step 5: Position and Secure the Sink
Alright, it’s sink installation time! Grab a helping hand if needed – those puppies can be heavy. Slowly lower that lousy boy down into the opening, lining it up nicely with the edges.
Gently but firmly press down so the putty or caulk squishes out all around. This seals the connection points. Keep pressing until the sink is completely flush with the counter. Take your time with this part – you want to avoid any gaps that could let water through later.
Now, for attaching it firmly in place. Open up the hardware pack and identify all the included clips, brackets, or mounting brackets. These connect underneath and hold the weight of the sink.
You’ll screw or bolt them into pre-drilled holes on the underside flange areas. Sometimes, it helps to have a friend on top, hand-tightening while you work from below. Snug everything securely, but don’t gorilla grip – you could crack something.
Go around once more and check for any putty squeezing out beyond the edges. Wipe away with a damp rag – you want a clean, finished look. And with that, your new sink is on and ready for use!
Step 6: Connect the Water Supply Lines
We’re almost done; there are just a few more connections to make! It is time to attach those water supply lines to the faucet itself.
Start by identifying the hot and cold lines – they may be color-coded for easy reference. Gently loosen the compression fittings where they connect to the shut-off valves under the sink.
Now, unwrap your plumber’s tape and wrap the threaded ends connecting to the faucet ports. Go with the thread direction just like before. The video acts as a thread sealant to prevent leaks down the road.
Hand tightens each line to the corresponding port – hot to hot, cold to cold. You can tell which is which by the shape of the fitting. Once the hand tightened, grab the adjustable wrench and give it a little snugging with the twist.
Don’t crank them crazy tight; you risk stripping the threads that way. Just lovely and snug is all that’s needed. Now undo the shut-off valves and turn the water back on slowly.
Check all connections for any leaks by observing for a few minutes. Any sign of dampness means just a bit of tightening is called for. And with that, your new sink installation is fully hooked up! It’s time to celebrate with a sink full of soapy water.
Step 7: Install the Drain Assembly
We’re on the home stretch now – just the drain connections left to make! Let’s get that water flowing freely down the pipes.
First, take the tailpiece – the curved pipe attaches directly to the sink drain hole. Hand-tighten it, going clockwise using your fingers first. Then, carefully snug it with your pipe wrench or channel locks.
Check that the tailpiece length is good – you may need to trim it if it’s sticking up funny using a hacksaw. Measure twice, cut once, as the saying goes!
Next, attach the pointy end of the P-trap to the tailpiece. Slide it on and turn it clockwise to secure it. The other end hooks up to the wall drain pipe – hand-tighten that puppy on going the same direction.
Give each connection a final tightening with your wrench, but be careful not to twist anything too far, or you’ll ruin the joint. Now pour some water down the drain and check for leaks below. Any drips mean retightening is needed.
With that, your drain is installed, and water will flow freely when you use the sink. Congrats on finishing your project! Sit back and admire your handiwork – you should feel very proud.
Step 8: Check for Leaks and Reconnect the Water Supply
Step 8 is all about inspecting our connections and running a test. With everything hooked back up, it’s time to slowly turn that main water shut-off valve back to the on position.
Keep an eye out for any damp spots showing up, especially around the faucet supply lines and drain assembly joints. Any sign of leaks means it’s time to break out the wrenches for tightening adjustments.
Go to each connection point and give them all one final quick snug with your tools. Do this with the water still off so you don’t get sprayed if something starts dripping.
Once confident everything is sealed up tight, it’s showtime! Turn on one of the taps slowly and observe for leaks. Then try the other side as well. Let the pipes fill up bit by bit so you can spot issues early.
If all looks dry, it’s time for a test flush. Run the water for a few minutes to clear any debris left in the lines. Plug the drain if needed.
Step 9: Clean and Finish
Step 9 is all about putting the finishing touches on your newly installed kitchen sink. First, take a damp rag and wipe away any excess plumber putty or silicone caulk that oozed out during installation. Remove any debris or tool marks, too.
The whole sink area is cleaned well to remove any dust or dirt. Once dry, take a step back to admire your shiny new fixture!
With the cleaning all done, it’s time to do some function testing. Try opening and closing the faucet valves smoothly. Turn on the water and check the stream – is it the nice flow you wanted?
Drain some water down the sink and watch it swirl away as fast as it should. If not, you may need to adjust the P-trap connection under the cabinet further.
Conclusion
Installing a kitchen sink may require time and effort, but with the proper guidance, it can be a rewarding and cost-effective DIY project. By following this step-by-step guide, you can successfully install a kitchen sink and enjoy the benefits of a functional and aesthetically pleasing addition to your kitchen. Remember to exercise caution, follow safety guidelines, and don’t hesitate to seek professional help if you encounter any challenges.