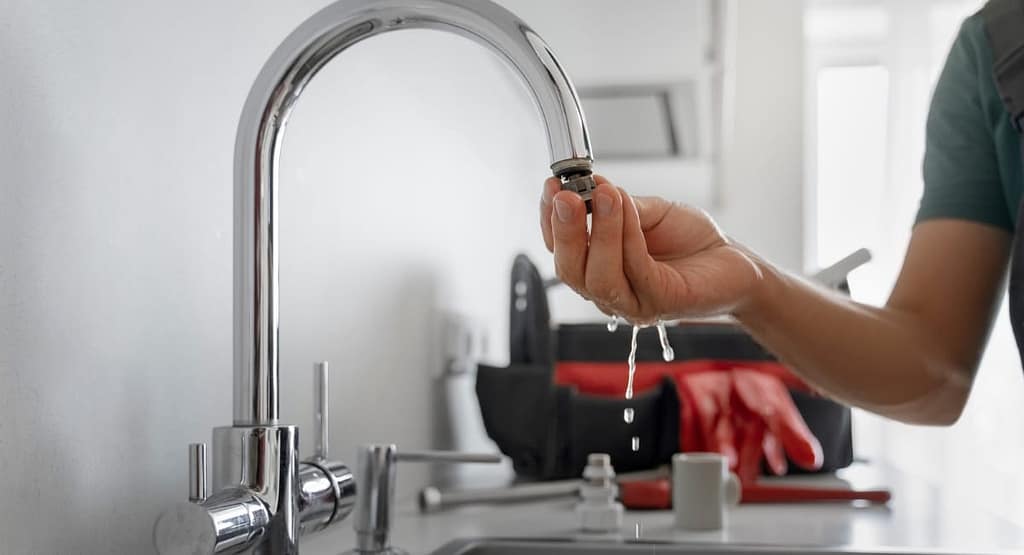
Whether you’ve had your Rinnai tankless water heater for years or just recently upgraded from a traditional tank model, keeping it clean is essential for optimal performance and longevity. As convenient as on-demand hot water is, it means your water heater works around the clock to deliver endless hot showers, loads of dishes, and more. Over time, minerals and sediments from your local water supply can accumulate inside the unit if not removed regularly.
This cleaning buildup decreases efficiency and could cause operational issues if left unaddressed. But have no fear – maintaining your Rinnai heater doesn’t need to be complicated or time-consuming. With a bit of regular care and some basic cleaning tools, you can keep it running smoothly for many years to come.
In this guide, I’ll walk you through How to Clean Rinnai Tankless Water Heater with simple steps to flush out mineral deposits, dust, and other residues. We’ll cover vacuuming and wiping the exterior, as well as how often to clean internal components like the electrodes and burner assembly. You’ll also find recommendations for professional service and replacing consumable parts. Following the maintenance schedule outlined is easy to incorporate into your routine.
By the time you finish reading, you’ll know how to properly clean your Rinnai tankless water heater. No more scrambling to find instructions when it’s time for its seasonal deep clean. Just clear 10-15 minutes on your calendar and gather some basic supplies, and you’ll be protecting your investment and enjoying hot water professionally maintained for less cost. Check our bathroom faucets.
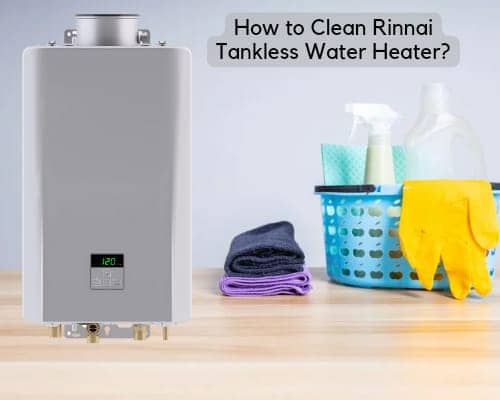
How to Clean Rinnai Tankless Water Heater?
1: Turn Off the Power:
The most important thing is to always turn off the power supply before performing any maintenance on your Rinnai tankless water heater. This simple step helps prevent accidents and protects both you and your equipment.
To turn off the Power via the circuit breaker:
1. Locate your home’s electrical panel. It’s typically in the garage, basement or utility room.
2. Open the panel and check for a switch or breaker labelled “water heater” or with your Rinnai’s model number.
3. Flip this breaker to the “Off” position. This cuts Power to the unit so you can work safely.
If your Rinnai is plugged in, unplug it from the outlet to turn off the Power.
I also recommend closing the gas supply line shut-off valve. This prevents any unintentional flow of gas during maintenance.
Wear proper safety gear like gloves, safety glasses, and closed-toe shoes.
Once maintenance is complete, flip the breaker or plug back in, then open the gas valve. Do a test run to ensure everything is operating normally before reusing the water heater.
Always err on the side of caution with gas appliances. Turning off Power and gas is a small step that offers great peace of mind. Let me know if you have any other Rinnai questions!
2. Shut Off Gas Supply:
In addition to electrical Power, you’ll want to ensure any gas is blocked from flowing to your Rinnai water heater before doing repairs or replacements. This is a simple process once you locate the correct valve.
Most homes have a main gas shut-off valve where the supply line enters the property. This big brass wheel lets you control gas to the entire house if needed for emergencies.
However, it’s usually easiest to cut gas flow to the water heater unit. Look for a smaller valve close by, typically no more than a few feet from the Rinnai. It may be on the copper gas line or the rigid pipe connecting to the heater.
The valve usually faces outward so you can grip and turn it by hand. It should have an arrow or wording indicating the “Off” position, which is generally perpendicular to the pipe.
Give the valve a quarter turn so this indicator faces entirely crosswise for the line. Then, use a screwdriver or similar tool to tighten the outer cap, ensuring a good seal is achieved.
With the gas shut off isolated to the water heater alone, you can now proceed safely with maintenance tasks, knowing fuel can’t accidentally ignite. Be sure to turn the valve back on once finished to resume normal operation.
3. Gather Necessary Tools:
A well-stocked toolbox is essential for smoothly and safely servicing your investment. Here are the basic tools you’ll want at the ready:
- Screwdriver set: Having both flathead and Phillips options lets you remove any access panels or screws securing components.
- Large mixing bucket: A sturdy 5-gallon bucket is perfect for holding cleaning solution and flushed-out sediment.
- Cleaning solution: Look for a descaling powder designed for water heaters. This breaks up minerals deposited inside over time.
- Submersible pump: A small pond pump or siphon provides an easy way to flush out dirty water while scrubbing.
- Wire brush: Use a stiff-bristled brush to scrub away hard-water buildup from heat exchanger coils or tricky spots.
- Gloves: Nitrile gloves protect hands from abrasive cleaning chemicals and hot surfaces inside the unit.
- Safety glasses: Splashing solids pose an eye injury risk, so safeguard your peepers.
4. Remove and Clean the Air Filter:
Just like our lungs need clear airways, your Rinnai requires an obstruction-free air intake path to combust fuel efficiently. Over time, dust and pollen can clog its protective air filter.
First, locate the removable screen-like filter, usually found secured by screws near the bottom of the front panel.
With protective gloves on, gently unfasten and pull the filter straight out. There is no need for harsh scrubbing – a light tap over the bucket cradling the filter should dislodge most stuck particles.
If the mesh looks severely blocked or deteriorated, consider replacing it to restore the entire air intake. Replacement filters are inexpensive and readily available.
After cleaning or changing, slide the filter cautiously back into position, taking care it’s oriented correctly, then reattach securing screws.
This quick task will maximize performance and efficiency all heating season long. Never undervalue simple maintenance that keeps crucial components operating at their best!
5. Flush the Heat Exchanger:
After ensuring a clean air filter, it’s time to tackle mineral deposits accumulated inside the heart of your water heater – the heat exchanger.
First, connect your submersible pump between the two service valves located near the top. The hook pump power leads to an outlet.
Next, mix the descaling solution per instructions in a 5-gallon bucket, then position the bucket nearby for easy refills.
Engage pump to circulate cleaning fluid through inlet/outlet valves and all around internal coils and chambers, allowing the solution to soak.
Let the solution work its magic by continuing to circulate according to product directions. Agitate stubborn spots with a soft bottle brush if needed.
When complete, refill the bucket with fresh water and circulate a few times to thoroughly rinse away all residue before replacing the service valve caps.
With the heat exchanger now mineral-free and firing on all efficient cylinders, you’ve taken a big step to optimal performance for years to come!
6. Clean the Combustion Chamber:
One of the most critical maintenance tasks is inspecting and cleaning the combustion chamber. This is the heart of the gas heating system.
Remove the protective cover or panel over the burner box area. Check all nozzles, sensors and other components for debris that could affect performance.
Using compressed air or a soft brush, gently blow or wipe away any dust or residue. Take care not to disturb delicate ignition or thermocouple pieces.
A clean combustion chamber allows for efficient, proper gas and oxygen mixing before ignition. This ensures reliable, safe operation.
Replace the cover securely when finished. Being conscientious about regular burner box maintenance helps avoid unnecessary service calls down the road.
7. Inspect the Venting System:
Good venting is essential for any gas appliance’s safe, emission-free operation. Give your Rinnai’s exhaust system some TLC during regular cleanings.
Start by inspecting the entire vent run from the heater to termination. Check for signs of corrosion, cracks or sagging.
Look and listen for blockages at the termination as gas is ignited. Bird’s nests or screens clogged with leaves are common culprits.
Gently clear any debris from the termination end with a compressed air nozzle or long brush/mirror on an extension pole.
Check that roof/wall terminations remain properly sealed to prevent dangerous exhaust recirculation. Reseal if needed with high-heat silicone.
Proper venting maximizes combustion efficiency while minimizing risk. You gain valuable peace of mind with just a few minutes spent running the vent system checkup.
8. Reassemble and Restore Power:
Now that your water heater’s interior is fresh and mineral-free, it’s time to reassemble.
First, put the cleaned air filter back in its housing and secure it gently with screws.
Replace the combustion chamber panel or cover with care not to pinch wires.
Double-check that all inspection panels and access points are securely refastened.
Turn the gas valve handle back to the “On” position, then check for leaks with a soapy water solution.
Flip the dedicated breaker back to the “On” position to restore electrical Power.
Give your unit some test cycles by running hot water fixtures. Monitor for any leaks or other issues.
With any luck, your Rinnai should fire up smoothly and provide spotless hot water for years to come, thanks to your timely TLC. Nice work – now enjoy the rewards of improved performance!
9. Additional Tips:
With a little preventative care over time, your Rinnai unit can provide years of reliable hot water service. Setting up a seasonal schedule makes regular checkups a breeze.
Start by giving basic components quick once-overs, like inspecting the filter and vents every three months during heating seasons.
Aim to deep clean the full system once per year in early spring before high usage kicks in. Tasks include flushing deposits, scrubbing, and inspecting internals.
Mark maintenance dates on your calendar so checkups don’t slip through the cracks. Remember to change filters annually as a minimum.
Catching small issues before they worsen means fewer repairs down the line. Don’t let dirty tasks deter you – even 15 minutes every few months pays big dividends.
With a simple seasonal plan in place like this, your Rinnai never has to work harder than it ought to. Let me know if you need any other hot water maintenance hacking suggestions!
My Verdict
Regular maintenance on your Rinnai tankless water heater is key to operating at peak efficiency and prolonging its lifespan. While the cleaning process may seem daunting, following the steps outlined in this article makes the job manageable. With some essential tools and safety precautions, you can flush away mineral buildup, scrub away grime, and restore your heater to like-new condition.
Even taking just 15 minutes every few months to check simple components like the air filter can make a big difference in performance over time. Annual deep cleanings keep internal parts functioning smoothly and working their best. Establishing a routine cleaning schedule transforms what may feel like a chore into a qick maintenance task you can easily tackle.
Most importantly, giving your Rinnai a fresh start through regular flushings and scrub-downs provides you with endless hot water conveniently and reliably for many years. Small amounts of TLC translate to significant returns in the form of long-term hot water comfort for your family. With a little maintenance muscle, your Rinnai tankless heater will reward you with dedicated service season after season.
So don’t shy away from routine maintenance – it’s simple and gives you peace of mind that your Rinnai has many more years of endless hot water ahead. Happy cleaning!