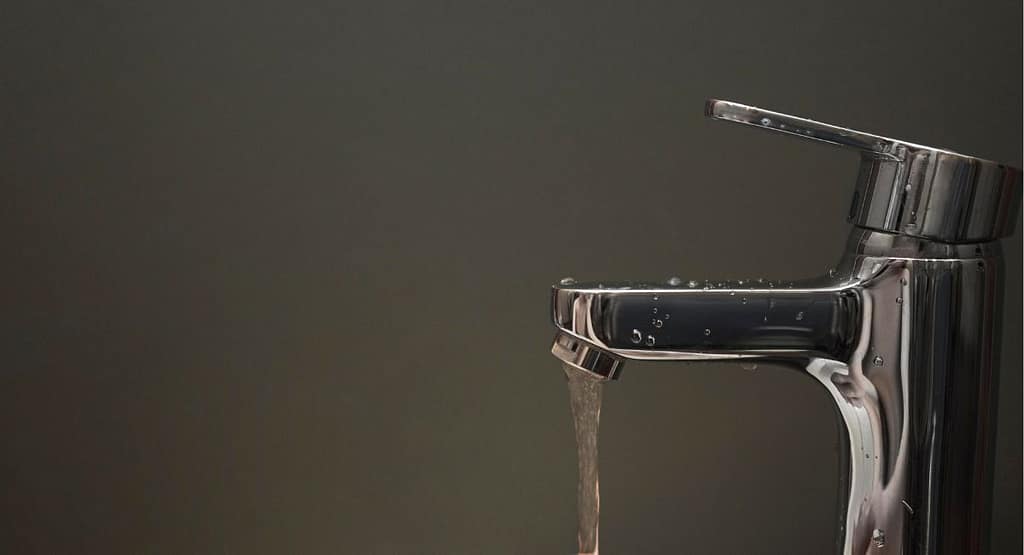
A leaking kitchen faucet can be a frustrating and annoying problem for any homeowner. Not only does it waste water, but it can also cause damage to your kitchen sink and cabinets. Fortunately, fixing a leaking kitchen faucet is a relatively simple task that can be done with just a few basic tools and some knowledge about the possible causes of the leak. In this article,
we’ll discuss the reasons why a kitchen faucet may be leaking and provide some solutions for how to fix a kitchen faucet from leaking?
Do you know which type of faucet you have?
In addition to the mechanical types of kitchen faucets, there are also several different styles of faucets available on the market. Some of the popular designs are here:
- Single-handle faucets: These faucets are easy to use, as they have a single lever that controls both the water flow and temperature.
- Double-handle faucets: These faucets have two separate handles, one for hot water and one for cold water. They are often found in older homes, but can still be a good option for those who prefer the look and feel of traditional faucets.
- Pull-down faucets: These faucets have a spray head that can be pulled down towards the sink, making it easier to wash dishes and clean the sink.
- Pull-out faucets: Similar to pull-down faucets, these faucets also have a spray head, but it can be pulled out towards you for greater flexibility and ease of use.
- Wall-mounted faucets: These faucets are mounted directly to the wall above the sink, rather than to the sink itself. They can be a good option for those who want to save counter space or who prefer a more unique look.
- Bridge faucets: These faucets have a unique design that connects the hot and cold water handles with a bridge or bar. They are often found in traditional or farmhouse-style kitchens.
Knowing the type and style of your faucet can help you make informed decisions when it comes to repairing, replacing, or upgrading your kitchen faucet. It can also help you choose the right tools and parts when working on your faucet.
Reasons for a Leaking Kitchen Faucet
Worn Out O-rings:
O-rings are commonly used in mechanical systems as a sealing component to prevent the leakage of fluids or gases. These rings are made of elastomers, which are flexible and can form a tight seal when compressed between two surfaces. In faucets, O-rings are used to seal the connection between the faucet handle and the valve stem, which controls the flow of water.
Over time, this ring can become worn out or damaged due to regular use and exposure to water and other environmental factors. When this happens, the O-ring loses its flexibility and ability to seal properly, causing water to leak from the faucet.
In single-handle faucets, O-rings are particularly vulnerable to wear and tear as they are constantly compressed and released every time the faucet is turned on and off. The constant movement and pressure on the O-ring can cause it to become deformed, cracked, or torn, leading to leaks.
Corroded Valve Seat:
Valve seats are a crucial component of faucets and are responsible for creating a watertight seal between the faucet and the spout. Over time, valve seats can become corroded, which can cause leaks and reduced water pressure.
Corrosion occurs when the metal that the valve seat is made of reacts with the minerals and chemicals present in the water supply. The most common materials used for valve seats are brass, stainless steel, and plastic. Each of these materials has different properties that make them more or less susceptible to corrosion.
Brass is a common material used in valve seats due to its strength and durability. However, it can still corrode over time, especially if exposed to acidic water or high levels of chlorine. Stainless steel is less prone to corrosion than brass but can still be affected if the water supply is highly acidic. Plastic valve seats are less likely to corrode than metal ones but are not as durable and may wear out faster.
Corroded valve seats can cause leaks and reduced water pressure. If the valve seat is only slightly corroded, it may be possible to clean it with a specialized tool called a seat wrench. This tool is designed to remove the buildup of mineral deposits and other debris that can cause corrosion.
If the valve seat is heavily corroded, it may need to be replaced. This typically involves removing the faucet handle and spout, then using a specialized tool called a valve seat dresser to grind down the old valve seat and install a new one.
To prevent corrosion in valve seats, it is important to maintain a consistent water pH level and limit exposure to harsh chemicals. Regular cleaning of the faucet and valve seat can also help prevent buildup of mineral deposits that can lead to corrosion. Additionally, using a water filter can help reduce the amount of minerals and chemicals in the water supply, which can also help prevent corrosion.
Loose or Worn Out Washers
Washers are small, flat discs that are often made of rubber or other flexible materials, and they are used in plumbing fixtures such as faucets to create a watertight seal. In a typical faucet, washers are located inside the valve stem, which is the part of the faucet that controls the flow of water.
Over time, washers can become loose or worn out due to normal wear and tear or mineral buildup. When this happens, water can leak out of the faucet, leading to a variety of issues such as water waste, increased utility bills, and potential damage to the surrounding areas.
One common type of faucet where loose or worn out washers are a common cause of leaks is the two-handle faucet that’s why many people ask how to fix a leaky kitchen faucet double handle. These faucets have separate hot and cold handles, and each handle controls a valve stem that opens or closes the water flow. If the washers in either valve stem become loose or worn out, water can leak out of the faucet even when the handle is turned off. These are different from single handle kitchen faucet leaking from neck.
Replacing a worn out or loose washer is a relatively simple fix for a leaky faucet. However, it’s important to ensure that the replacement washer is the correct size and type for the faucet, as using the wrong washer can cause further issues. If you’re not comfortable with making the repair yourself, it’s best to contact a professional plumber to diagnose and fix the issue.
Faulty Cartridge
A cartridge is a small device that controls the flow of water in a single-handle faucet. It is typically made of ceramic, plastic, or brass and contains rubber O-rings or seals to prevent water from leaking around the cartridge. The cartridge is responsible for regulating the flow and temperature of the water, and when it becomes faulty or worn out, it can cause a variety of problems.
One common issue caused by a faulty cartridge is leaking water. When the cartridge is damaged or worn out, it can no longer create a tight seal, which allows water to leak out of the faucet. This can be a minor annoyance, causing a dripping faucet that wastes water and drives up your utility bills. However, it can also be a more significant problem, causing water damage to your home and leading to mold or mildew growth if left unaddressed.
Another issue that can arise from a faulty cartridge is reduced water pressure. The cartridge regulates the flow of water, so if it is damaged, it can restrict the amount of water that comes out of the faucet. This can be frustrating, especially if you need a strong flow of water for tasks such as washing dishes or cleaning.
Replacing a faulty cartridge is generally a simple process that can be done by a homeowner with basic plumbing knowledge. It involves shutting off the water supply to the faucet, removing the handle and cartridge, and installing a new cartridge in its place. However, if you are not comfortable doing this yourself, it is always best to call a licensed plumber to ensure the job is done correctly.
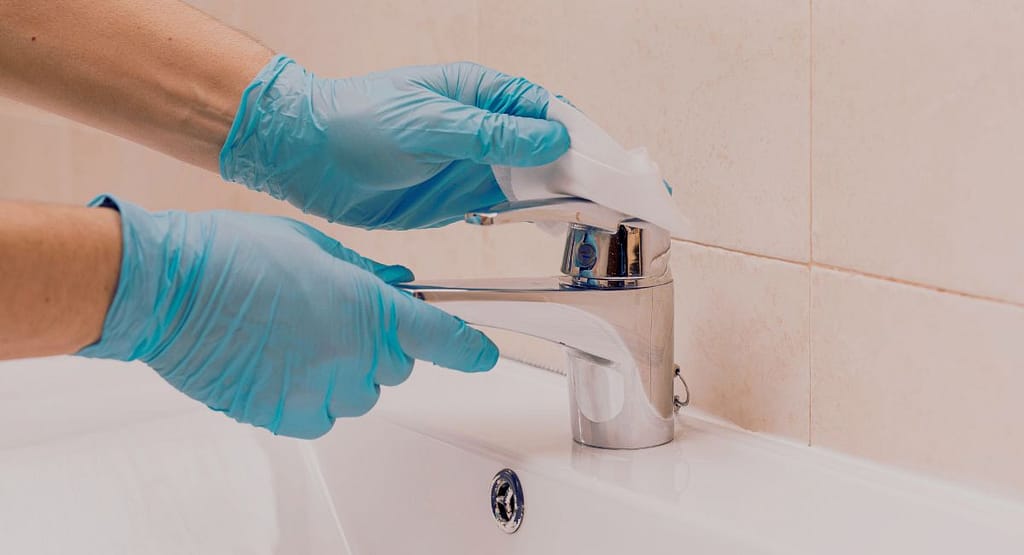
How to Fix a Kitchen Faucet From Leaking
Replace O-rings
To replace the O-rings in a single-handle faucet, you will need a few tools, including an adjustable wrench, pliers, and a screwdriver. You will also need replacement O-rings, which can be purchased at most hardware or plumbing supply stores.
Before take any action, make sure that you have turned off the water supply from the faucet. To turn off the water supply, locate the shut-off valve under the sink and turn it clockwise until it is fully closed.
Next, remove the handle of the faucet by locating the screw on the underside of the handle and unscrewing it with a screwdriver. Once the screw is removed, you should be able to lift the handle off of the faucet.
With the handle removed, you should now be able to access the O-rings. Use pliers to gently pull the old O-rings off of the faucet. Take note of the size and shape of the old O-rings so that you can purchase replacement O-rings that are the same size and shape.
Once the old rubber rings are removed, clean the area around the O-ring grooves with a soft cloth or brush to remove any debris or buildup. Then, slide the new O-rings into place using your fingers or pliers, making sure they are seated snugly in the grooves.
Finally, reassemble the faucet by replacing the handle and tightening the screw. Test the leaking of the faucet after turn on water supply. If there are no leaks, you have successfully replaced the O-rings and fixed the faucet. If leaks persist, you may need to inspect the valve cartridge or seek the help of a professional plumber.
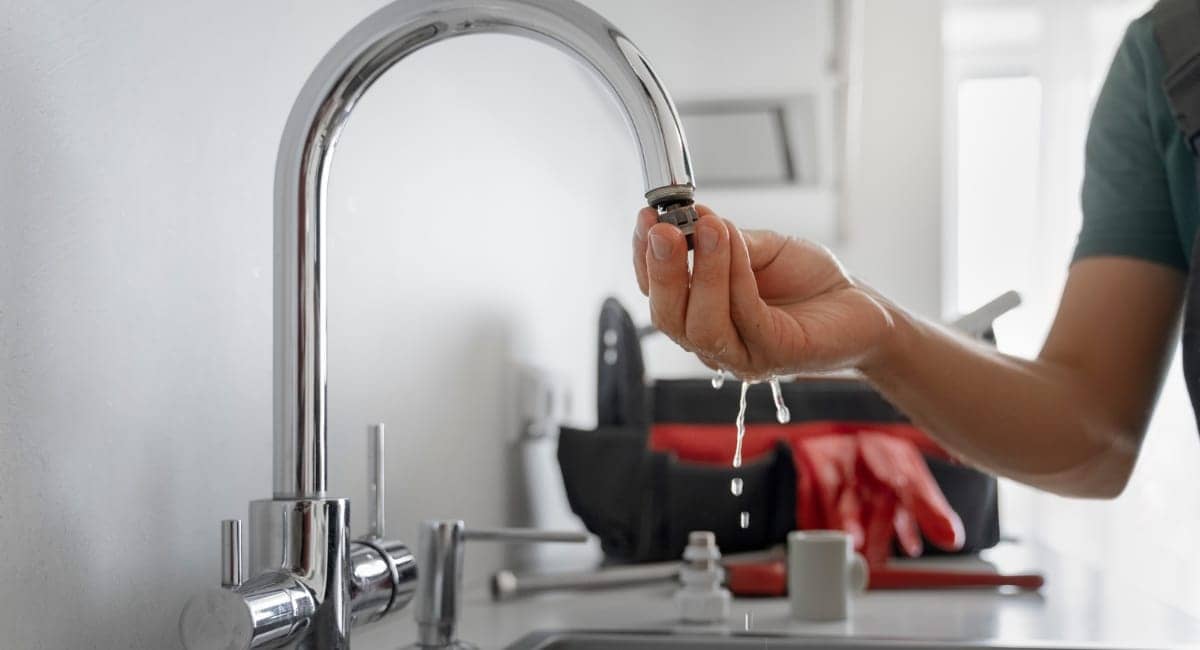
Replace Valve Seat
To replace a valve seat, you’ll first need to turn off the water supply to the faucet. Next, you’ll need to remove the handle and trim to access the valve seat. The method of removing the handle and trim may vary depending on the faucet model, but it usually involves removing a set screw or prying off a decorative cap with a flathead screwdriver.
Once you have access to the valve seat, you can remove it by using a valve seat wrench or pliers designed for this purpose. Valve seat wrenches have a tapered head that matches the shape of the valve seat, allowing you to grip and turn it easily. If you don’t have a valve seat wrench, you can try using pliers or an adjustable wrench, but be careful not to damage the surrounding area.
After removing the old valve seat, you can install the new one by screwing it in place with the valve seat wrench or pliers. Make sure to apply some plumber’s grease to the threads of the new valve seat to ensure a tight seal. Once the new valve seat is in place, reassemble the faucet and turn on the water supply to check for leaks.
It’s worth noting that some faucet models may have integrated valve seats that cannot be replaced, in which case you may need to replace the entire faucet. However, most modern faucets have removable valve seats that can be replaced easily and inexpensively. If you’re not sure whether your faucet has a removable valve seat, consult the manufacturer’s instructions or a plumbing professional for guidance
Replace Washers
Washers are small rubber or plastic components that create a watertight seal between the faucet and its base. Over time, these washers wear out after using the faucet for a long time or using it with bad way, causing the faucet to leak. Fortunately, replacing a washer is a relatively simple process that can be done without the need for professional help.
To replace a washer in a two-handle faucet, you will need a few tools and materials, including a pair of pliers, a screwdriver, and replacement washers. Before starting the repair, it is important to turn off the water supply to the faucet to avoid any potential water damage or accidents.
Next, remove the handles of the faucet by locating the screws on the underside of the handles and unscrewing them. You may need to use pliers to loosen the screws if they are tight. Once the screws are removed, gently pull the handles off the faucet.
Once the handles are removed, you will see the stem assembly, which controls the flow of water. At the base of the stem assembly, you will find the worn-out washers that need to be replaced. Use pliers to remove the old washers carefully, and make sure to inspect the stem assembly for any signs of damage or wear.
Next, install the new washers in the same position as the old ones. Be sure to choose the correct size and type of washer for your faucet. Reassemble the faucet by placing the handles back on and tightening the screws. Finally, test the faucet for leaks with allow the water supply.
Replace Cartridge
If you have a single-handle faucet that is leaking, replacing the cartridge is often the most effective way to fix the problem.
Here is a step-by-step guide on how to replace a cartridge in a single-handle faucet:
- Turn off the water supply: Before you begin, you should turn off the water supply to the faucet. Look for a valve under the sink that controls the water flow to the faucet, and turn it off.
- Remove the handle: The handle of the faucet is usually held in place by a screw that is located on the underside of the handle. Use a screwdriver to remove the screw and then pull the handle off.
- Access the cartridge: Once the handle is removed, you should be able to see the cartridge. It may be held in place by a retaining clip or other mechanism, depending on the make and model of the faucet. Follow the manufacturer’s instructions for removing the cartridge.
- Remove the old cartridge: Carefully remove the old cartridge from the faucet. It may be difficult to remove if it has been in place for a long time. Use pliers or a cartridge removal tool if necessary.
- Install the new cartridge: Take the new cartridge and insert it into the faucet in the same position as the old one.
- Reassemble the faucet: Once the new cartridge is installed, reassemble the faucet in the reverse order of the disassembly and make sure that you have tighted all parts securely.
- Turn on the water supply: Turn on the water supply to the faucet and test for leaks. If everything is working properly, the faucet should no longer be leaking.
It’s worth noting that not all faucets use the same type of cartridge, and some may require additional steps or tools to replace the cartridge. It’s important to consult the manufacturer’s instructions or seek the help of a professional if you are unsure about the process.
Final Verdict
A leaking kitchen faucet can be a frustrating and wasteful problem, but with the right tools and knowledge, it can be easily fixed. By identifying the root cause of the leak and following the appropriate solution which I have mentioned with deep detail, you can save money on your water bill and avoid costly repairs down the road. So, don’t let a leaky faucet drive you crazy – take action today and enjoy a fully functional and efficient kitchen!