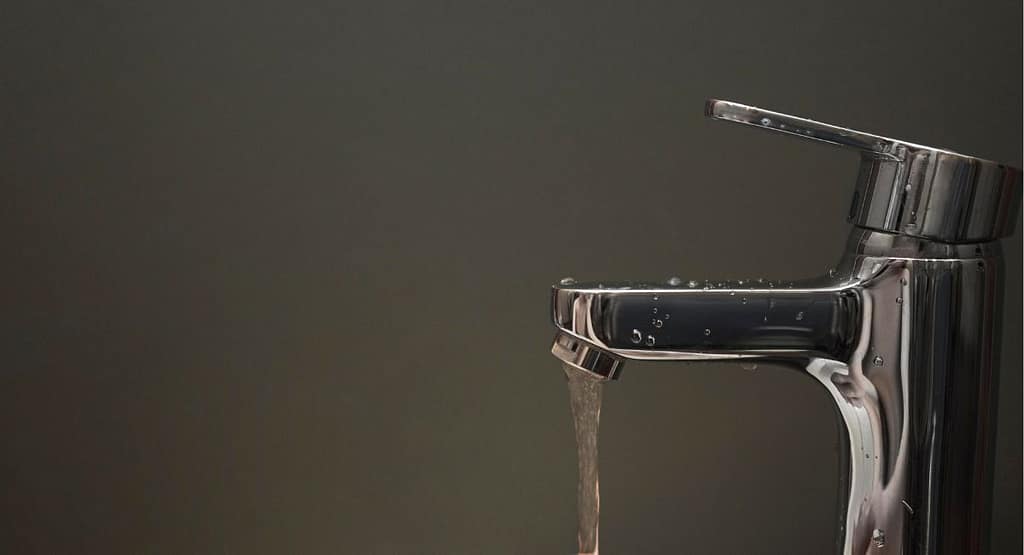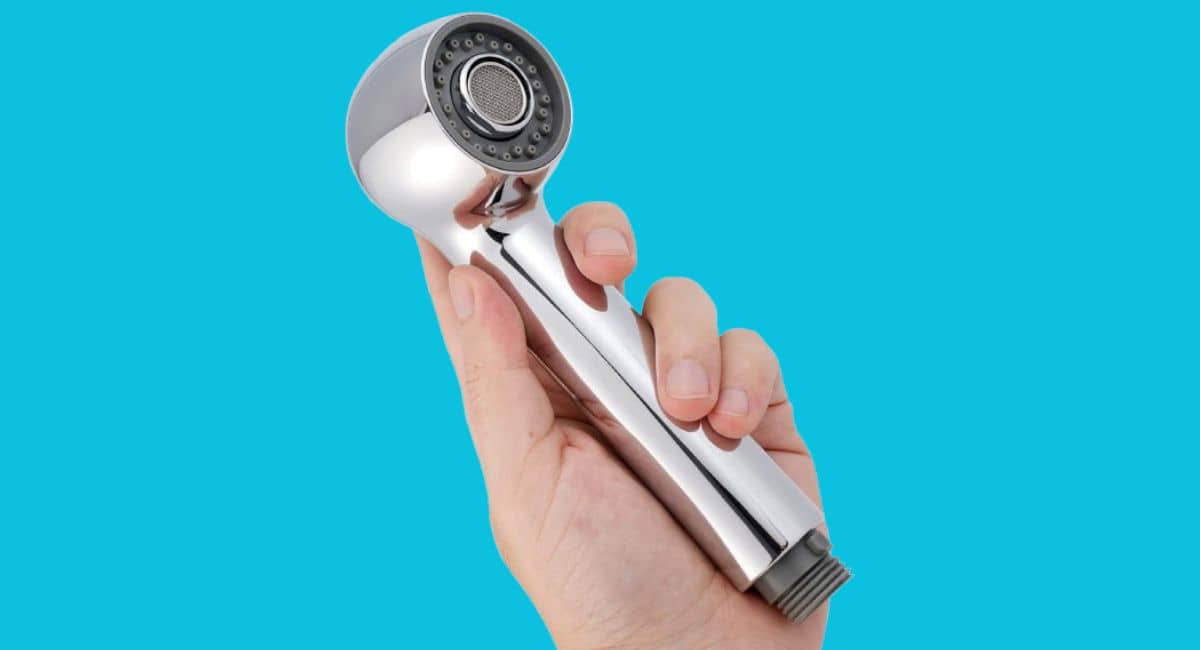
A pull-down kitchen faucet with a spray nozzle is a convenient and versatile tool that helps make cleaning dishes and sink areas a breeze. However, over time, the spray nozzle can accumulate mineral deposits, food particles, and other debris, leading to reduced water flow and diminished performance.
Regularly cleaning the spray nozzle is essential to maintain its functionality and ensure a hygienic kitchen environment. In this article, we will explore various effective methods to clean the spray nozzle on your pull-down kitchen faucet, providing you with step-by-step instructions and useful tips.
How to Clean Spray nozzle of Pull-down Kitchen Faucet
Gather the Necessary Tools:
Before beginning the cleaning process, it’s a good idea to gather the following tools:
- Adjustable wrench or pliers
- Clean, soft cloth or sponge
- Distilled white vinegar
- Baking soda
- Toothbrush or any small brush which was made by soft bristles
- Needle or safety pin
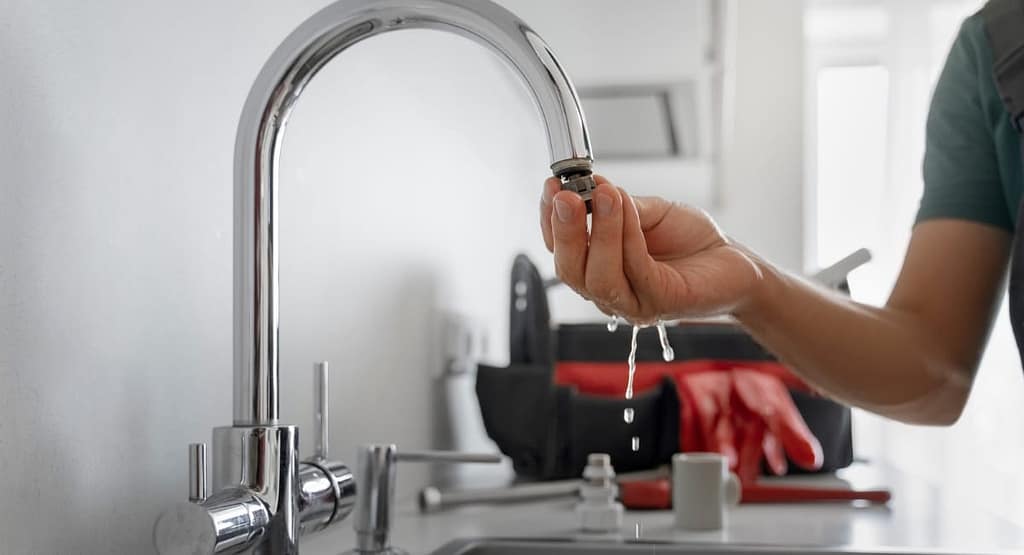
Disconnect the Spray Nozzle:
importance of shutting off the water supply before detaching the spray nozzle. This step ensures that water does not continue to flow while you are working on disconnecting the nozzle. By turning off the water valves connected to the faucet and shutting off the water flow, you prevent any potential water leakage or accidental spraying during the process. This precaution helps maintain a dry and safe working environment while handling the nozzle and hose
Soak the Nozzle in Vinegar:
Fill a small container with distilled white vinegar and submerge the spray nozzle completely. Vinegar is an excellent natural cleaner that helps dissolve mineral deposits and remove grime. Allow the nozzle to soak for at least 30 minutes, or longer if the buildup is severe.
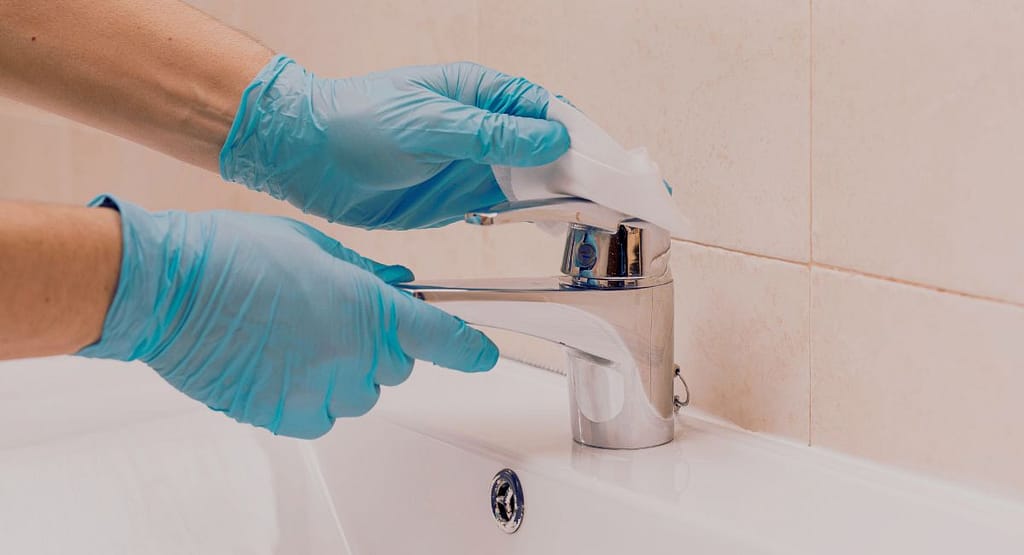
Scrub the Nozzle:
After the vinegar soak, take the spray nozzle out of the container and inspect it for any remaining debris. Use a toothbrush or small brush with soft bristles to scrub the nozzle thoroughly. Pay close attention to the small openings and crevices where deposits tend to accumulate. Be gentle but persistent to remove stubborn residue.
Clear Clogged Openings:
If you notice any clogged openings in the spray nozzle, use a needle or safety pin to carefully clear them. Insert the needle into the openings and move it back and forth to dislodge any debris that may be obstructing the water flow. Be cautious not to damage or enlarge the openings during this process.
Rinse and Reassemble:
After scrubbing and clearing the openings, rinse the spray nozzle under warm water to remove any remaining vinegar and loosened debris. Use your fingers to ensure all the residue is washed away. Once the nozzle is clean, reattach it to the hose and tighten the connection with an adjustable wrench or pliers. Turn on the water supply and test the nozzle to ensure it’s working correctly.
Additional Tips:
- If vinegar alone doesn’t remove stubborn mineral deposits, create a paste with equal parts baking soda and vinegar. Apply the paste to the nozzle and let it sit for a few minutes before scrubbing.
- For a deep clean, you can also soak the disassembled parts of the spray nozzle in a vinegar solution overnight.
- Regularly wipe down the spray nozzle and handle with a damp cloth after each use to prevent buildup.
- Consider installing a water softener system or using a water filter to minimize mineral deposits in the long term.
Conclusion
Maintaining a clean spray nozzle on your pull-down kitchen faucet is crucial for efficient water flow and optimal performance. By following the steps outlined in this guide and implementing regular cleaning practices, you can enjoy a sparkling clean and functional spray nozzle. Remember, a little maintenance goes a long way in ensuring the longevity and reliability of your kitchen faucet.
Common Problems with Spray Nozzles on Pull-Down Kitchen Faucets
Pull-down kitchen faucets with spray nozzles offer convenience and versatility in the kitchen, allowing for easy cleaning and rinsing of dishes and sink areas. However, like any mechanical device, spray nozzles can experience problems over time.
Understanding the common issues that can arise with spray nozzles on pull-down kitchen faucets, their causes, and appropriate troubleshooting methods can help you resolve these problems efficiently.
Low Water Pressure:
One of the most common issues with spray nozzles is reduced water pressure. Several factors was considered for low water pressure, some of them are:
a) Mineral Buildup: Over time, mineral deposits, such as calcium and lime, can accumulate inside the spray nozzle, obstructing the water flow.
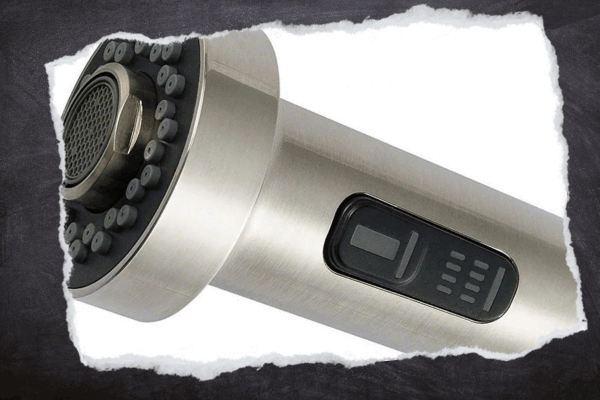
b) Clogged Aerator: The aerator, located at the end of the spray nozzle, can become clogged with debris or sediment, resulting in decreased water pressure.
Troubleshooting and Solutions:
removing the spray nozzle and soaking it in a vinegar and water solution is that it helps to effectively dissolve and remove mineral deposits that can accumulate over time. These mineral deposits, often caused by hard water, can clog the nozzle and affect the spray pattern or flow of the liquid. Soaking the nozzle in a vinegar and water solution helps to break down and remove these deposits, restoring the proper functioning of the nozzle.
The use of vinegar in the solution is particularly effective due to its acidic properties. Vinegar, which contains acetic acid, acts as a natural solvent and can dissolve mineral buildup, lime scale, and other deposits. This helps to unclog the spray nozzle and improve its performance.
The duration of the soaking, approximately 30 minutes, allows enough time for the vinegar and water solution to work on the mineral deposits. The combination of the vinegar’s acidic properties and the soaking time helps to loosen and dislodge the deposits from the nozzle, making them easier to remove.
Additionally, using a toothbrush or small brush to scrub the nozzle after soaking further assists in the removal of any remaining mineral deposits. This step ensures that any stubborn residue is thoroughly cleaned, leaving the nozzle clean and free from obstructions.
After completing the soaking and scrubbing process, it is essential to rinse the nozzle thoroughly to remove any traces of vinegar or loosened deposits. This final step prepares the nozzle for reattachment and ensures that no residue or impurities are left behind, which could potentially affect the spray pattern or quality.
By following these steps, you can effectively maintain and clean the spray nozzle, prolonging its lifespan and ensuring optimal performance when using it.
Clean or replace the aerator by unscrewing it from the spray nozzle. Rinse it under water to remove any debris or sediment. If it is severely clogged, consider replacing it with a new one.
Inconsistent Spray Patterns:
Another common issue is an irregular or uneven spray pattern from the nozzle. This can be caused by:
a) Blockage in the Nozzle Openings: Debris or mineral deposits can block the openings of the spray nozzle, disrupting the flow of water and leading to an inconsistent spray pattern.
b) Malfunctioning Spray Head: The spray head may have internal components that are damaged or worn out, affecting the spray pattern.
Troubleshooting and Solutions:
- Detach the spray nozzle and inspect the openings for any clogs. Use a toothbrush or needle to clear any blockages, ensuring that all the openings are clear.
- If the spray head is the issue, it may need to be replaced. Consult the manufacturer’s instructions or contact customer support for guidance on obtaining a replacement spray head.
Leaks in the Spray Nozzle:
Leaking spray nozzles can cause water wastage and lead to potential damage to surrounding areas. The following factors can contribute to leaks:
a) Loose Connections: The connections between the spray nozzle and hose may become loose over time, resulting in leaks.
b) Damaged O-rings or Seals: O-rings or seals inside the spray nozzle can deteriorate or become damaged, leading to leaks.
Troubleshooting and Solutions:
- Check the connections between the spray nozzle and hose. If they are loose, use an adjustable wrench or pliers to tighten them carefully.
- Inspect the O-rings or seals inside the spray nozzle for any signs of damage or wear. If need to replace instead of old than, replace them with new ones.
Difficulty in Retracting or Docking the Spray Nozzle:
Some pull-down kitchen faucets come with a docking mechanism to secure the spray nozzle in place when not in use. If you encounter difficulties in retracting or docking the spray nozzle, the following factors may be responsible:
a) Debris or Blockage: Dirt, debris, or mineral deposits can hinder the smooth movement of the spray nozzle.
b) Worn-out Docking Mechanism: The docking mechanism itself may be worn out or damaged, making it difficult for the spray nozzle to retract or dock properly.
Troubleshooting and Solutions:
- Clean the spray nozzle thoroughly, paying close attention to any areas that may have accumulated debris or mineral deposits.
- Lubricate the docking mechanism with silicone-based grease or plumbers’ grease to facilitate smooth movement. Refer to the manufacturer’s instructions for guidance on the appropriate lubrication method.
- If the docking mechanism is severely worn or damaged, consider contacting the manufacturer or a professional plumber to assess the situation and determine if repairs or replacement parts are necessary.
Conclusion:
Understanding the common problems that can occur with spray nozzles on pull-down kitchen faucets empowers you to troubleshoot and resolve issues effectively.
By following the appropriate troubleshooting methods and implementing the suggested solutions, you can restore optimal functionality to your spray nozzle, ensuring a seamless and efficient kitchen experience. Remember to refer to the manufacturer’s instructions or seek professional assistance when necessary for complex issues or repairs.
How to Clean and Maintain Different Types of Kitchen Faucets:
Cleaning and maintaining kitchen faucets is crucial for a clean and functional kitchen. Here are some unique and well-researched insights about the information provided:
1. Pull-Out Faucets:
– The detachable spray head in pull-out faucets allows for greater flexibility and convenience, but it also requires regular maintenance to ensure optimal performance.
– Mild dish soap and warm water are recommended for regular cleaning of pull-out faucets. This solution effectively removes dirt and grime without damaging the faucet’s surface.
– Mineral deposits can accumulate on the spray head and aerator over time, affecting water flow. Soaking them in a mixture of white vinegar and water helps dissolve the deposits for easier removal.
– Gentle scrubbing with a toothbrush or soft brush after soaking will effectively remove mineral deposits from the spray head or aerator.
2. Commercial-Style Faucets:
– Commercial-style faucets, inspired by professional kitchens, have a high-arc design and a flexible spray hose, making them ideal for heavy-duty use.
– Regular cleaning of commercial-style faucets involves using mild dish soap and warm water to clean the surface thoroughly, including the nooks and crevices.
– The spray hose of commercial-style faucets can develop clogs or mineral deposits. Soaking the hose in a vinegar and water solution and scrubbing gently will remove any blockages.
– After cleaning, it’s essential to rinse the hose thoroughly with clean water before reattaching it to the faucet.
3. Touchless Faucets:
– Touchless faucets, equipped with motion sensors, provide a hygienic and convenient way to control water flow without touching the handle.
– Cleaning touchless faucets requires special attention to the sensor area to maintain proper functionality.
– Using a mild dish soap and warm water solution, gently clean the faucet’s surface, including the sensor area. Avoid using abrasive cleaners or materials that could damage the sensor.
– To remove stubborn stains or fingerprints from the sensor area, moisten a cloth with isopropyl alcohol and wipe it gently.
4. Overall Maintenance:
– Apart from regular cleaning, it’s important to check for leaks or loose connections in your kitchen faucets.
– Refer to the manufacturer’s instructions for specific cleaning and maintenance guidelines tailored to your faucet model.
– If you encounter any issues or are unsure about proper maintenance, consulting a professional plumber is recommended to ensure the longevity and optimal performance of your kitchen faucet.
It’s crucial to note that the provided information is based on general knowledge and guidelines. For the most accurate and up-to-date instructions, always refer to the manufacturer’s guidelines specific to your kitchen faucet model.