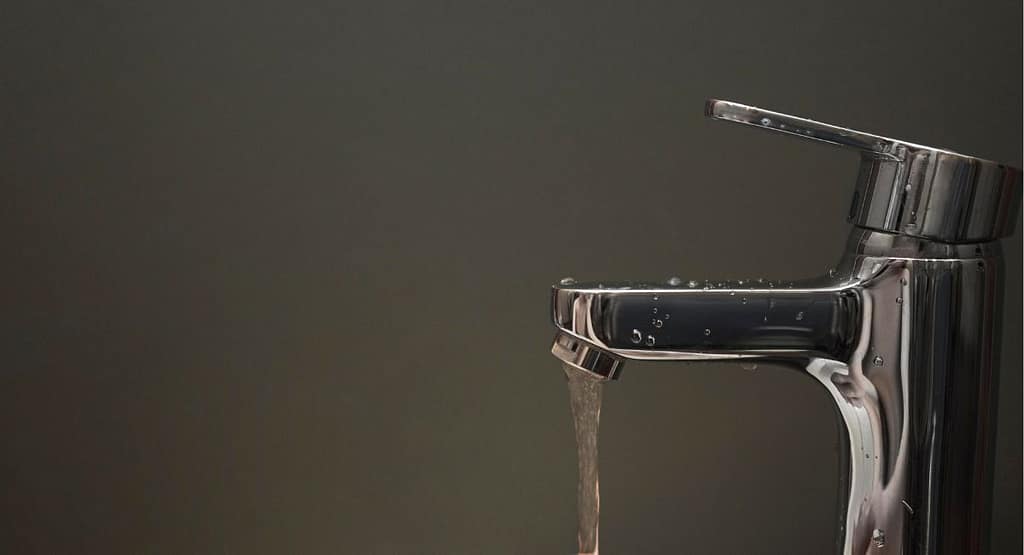
A malfunctioning faucet that has become stiff and difficult to turn can quickly become a problem. Fixing a stubborn faucet handle is something you need to do sooner rather than later as it could become stuck and prevent you from getting water. Whether the faucet is used in your bathroom or kitchen, a stuck faucet can quickly become a problem.
Certain people face this type of problem in their kitchen or bathroom but they have to hire a plumber due to known information about the solution.
Fortunately, repairing a faucet handle shouldn’t be difficult for us. All you need is a few tools, a bit of time, and a willingness to fix the problem.
After testing physically by ourselves, research, and expert’s opinions we have gotten some tips to solve this problem. However, this information will help to fix the problem of the hard handle. Read on for a guide on how to fix your troubled faucet. Also, we’ll try to let you know about the reason behind why the faucet handle becomes hard to turn.
Why is it Difficult to Turn a Faucet Handle?

Turning a faucet handle can become difficult due to a few common reasons, often related to mineral deposits and issues with the faucet cartridge. These factors can impede the smooth operation of the handle and create a need for a solution.
- Mineral Deposits: Over time, mineral deposits can accumulate in the faucet. Minerals like calcium, lime, and rust can build up, obstructing the internal components. When these deposits accumulate, they interfere with the handle’s movement, making it challenging to turn the valve.
- Faucet Cartridge Problems: Another potential issue lies within the faucet cartridge. This essential component can develop problems, affecting the ease of turning the handle. Malfunctions in the cartridge may lead to resistance when trying to operate the faucet. (read our guideline for how to change cartridge Moen and Delta faucets).
- Inactivity: If a faucet hasn’t been used for an extended period, mineral deposits can also accumulate within the fixture. The stagnation of water allows for the settling of minerals, further complicating the handle’s rotation.
I have several potential solutions to say good bye these challenges. These solutions vary in complexity, depending on the specific issue:
Cleaning: Removing mineral deposits often involves disassembling the faucet, cleaning the affected parts, and removing any obstructions. Using vinegar or commercial descaling solutions can help dissolve mineral buildup.
Replacing Cartridge: If the problem lies within the faucet cartridge, replacing it might be necessary. Cartridges are readily available for most faucets and can restore smooth operation.
Regular Use: Preventative maintenance involves using the faucet regularly to prevent the accumulation of mineral deposits. Running the water periodically, even in unused areas, can help mitigate this issue.
Water Softener: In areas with hard water, installing a water softener can reduce mineral buildup throughout the plumbing system, including faucets.
Can WD-40 be used on a faucet?
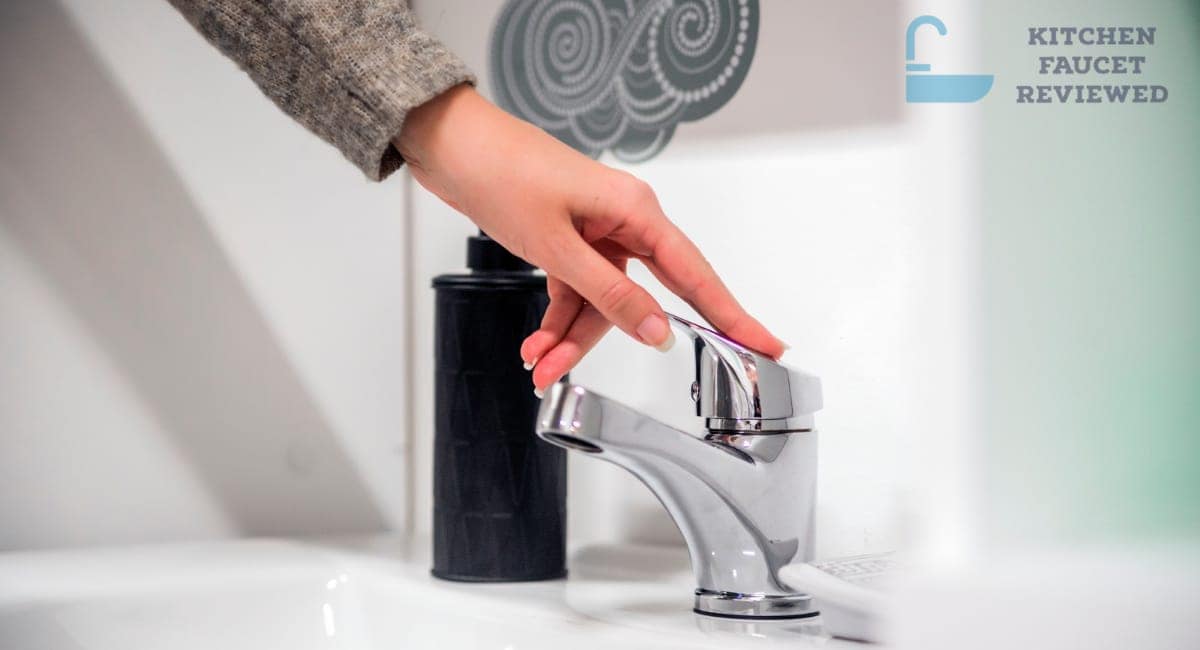
Using WD-40 on a faucet can be a helpful solution in certain situations. When a faucet handle becomes difficult to turn, applying a small amount of WD-40 can assist in resolving the issue. WD-40 is a penetrating oil and water displacement product that can be used to lubricate and loosen components, making it potentially effective for a faucet handle that’s stiff.
WD-40 acts as a lubricant for the faucet handle’s internal components. It reduces friction and makes the handle easier to turn, especially when it has become stiff due to corrosion or mineral buildup.
Additionally, WD-40’s penetrating properties allow it to seep into tight spaces and crevices, helping to loosen and free up any parts that may be stuck. This is beneficial when the faucet handle is not moving smoothly due to rust or other debris.
However, it’s important to use WD-40 on a your kitchen sink faucet with caution. If the problem persists even after applying WD-40, it might be necessary to check the screws or fasteners that hold the handle in place. Overtightening these screws can restrict the movement of the handle, and if this is the issue, you might need to adjust or loosen the screw to regain smooth operation.
loosening a stiff faucet handle is a manageable task that requires a systematic approach. How to do it:
- Assess the Problem: Before attempting to fix the stiff faucet handle, it’s essential to identify the root cause of the issue. Carefully examine the inside of the faucet to determine what is causing the stiffness. This may involve disassembling the faucet to some extent to access the internal components.
- Turn Off Water Supply: Whenever working on a faucet, you must turn off the water supply to ensure safety and prevent any water leakage. The location of the shut-off valves may vary depending on your faucet and plumbing setup. In many cases, these valves can be found under the sink. However, if your faucet lacks local shut-off valves, you may need to close the main water supply shut-off valve for your entire home.
- Check Water Flow: After turning off the water supply, it’s important to verify that no water is flowing. You can do this by opening the faucet and ensuring that no water continues to come out. This step is crucial to avoid accidents and water damage during the repair process.
- Proceed with Repair: With the water supply safely turned off, you can now proceed with loosening the stiff faucet handle. Depending on the cause of the stiffness, this may involve cleaning internal components, applying lubricants like WD-40, or adjusting any screws or fasteners that are impeding the handle’s movement.
- Reassemble and Test: After addressing the issue, carefully reassemble the faucet components in the reverse order of disassembly. Ensure that everything is securely in place. Turn the water supply back on and test the faucet to confirm that the stiffness has been resolved. If the handle now turns smoothly, you have successfully fixed the problem.
How to loosen a stiff Faucet Handle?
Loosening the stiff faucet handle may take a little while but it is not difficult as we think. First, you need to examine the inside of the faucet to confirm the problem. From there, you can reach the exact point of the problem which we try to find.
As with any project that involves disassembling a faucet, you will need to turn off the water at the kitchen or bathroom faucet. The valves may be located under the kitchen or bathroom sink, but if your faucet is not equipped with local valves, then you’ll have to close the main water supply shut-off valve.
Check that the water is off by opening the tap and checking that no water is flowing.
What you need – How Can Be Fixed A Stiff Faucet Handle
- Phillips screwdriver or Allen key
- Flat screwdriver
- Adjustable wrench
- Pliers
- Replacement cartridge (if required)
- Towel
Procedure
Protect the Drain: To prevent losing small parts down the drain, drape a towel over it.
Locate the Set Screw: Find the set screw that holds the faucet handle in place. This screw can be located either at the bottom or side of the faucet. In some cases, it may be hidden under a decorative cap.
Remove the Set Screw: Use a Phillips screwdriver or an Allen wrench, depending on the type of screw, to remove the set screw. If there’s a decorative cap, remove it to access the screw. Once the screw is removed, you can take off the faucet handle. In some cases, the handle may simply twist off without a screw.
Access the Faucet Valve: After removing the handle, you’ll see a large nut on top of the faucet valve. This nut needs to be removed using an adjustable wrench.
Take Note of Cartridge Orientation: Before removing the cartridge from the faucet body, it’s important to note its orientation. This will be helpful when reassembling the faucet. Consider taking a picture of the cartridge’s orientation before removing it for reference.
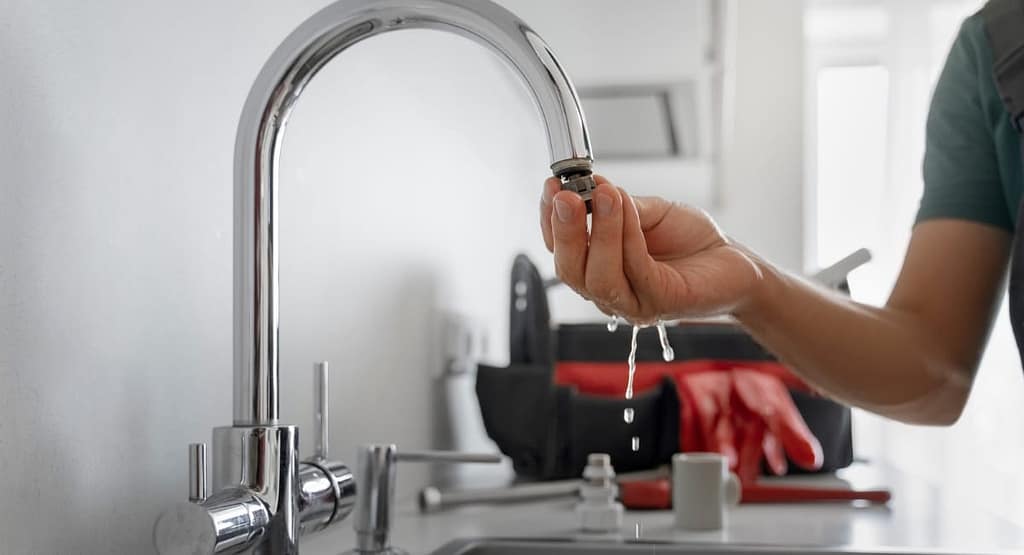
Remove the Cartridge: To remove the cartridge, hold it with pliers and pull it straight up. Some faucet brands might require a unique tool known as a cartridge extractor for this step. If needed, research the brand name to find the appropriate extractor tool.
By following these steps, you can effectively disassemble a faucet handle and access the cartridge for further maintenance or replacement.
Clean the cartridge
- For this next step you will need:
- Vinegar
- Wire brush
- Replacement parts (as needed)
In the next step of your faucet maintenance, you’ll require a few essential items: vinegar, a wire brush, and replacement parts if necessary.
After removing the faucet cartridge, it’s crucial to conduct a meticulous examination for any signs of corrosion. If you identify areas that are corroded or covered in rust, consider using a wire brush to carefully clean the faucet valve. White vinegar can also be a valuable ally in this task, as it helps to loosen and remove rust from the affected areas. However, if the damage appears to be severe and beyond repair, it’s advisable to invest in a replacement inner part for your faucet.
When you’re in the process of purchasing a replacement cartridge, it’s a wise practice to take the old cartridge with you to the store or market. This ensures that you select the correct model that perfectly matches your faucet. Faucet cartridges can vary in design and dimensions, so having the old one as a reference is essential for a precise fit.
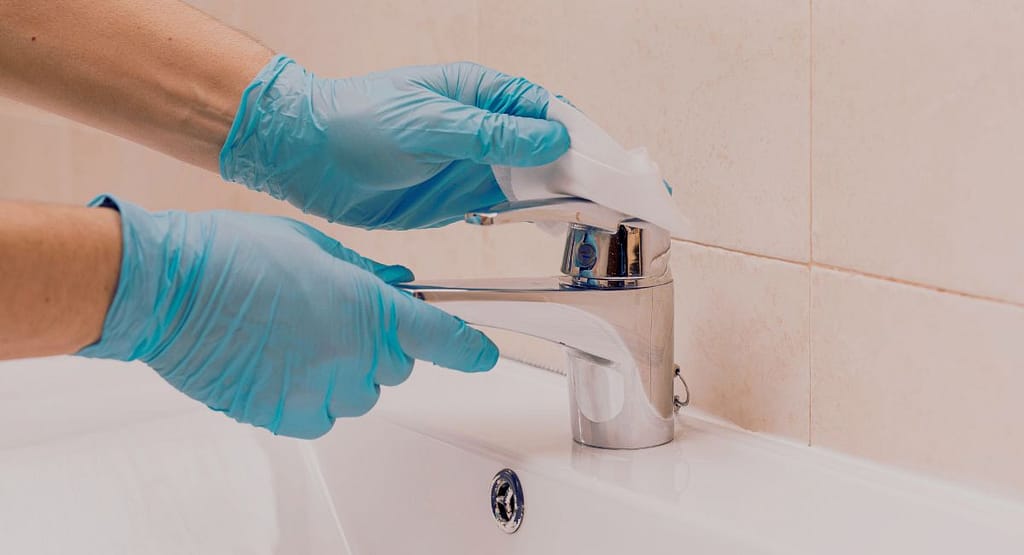
Since you’ve already disassembled the faucet, this is an opportune moment to address any rust or grime that may have accumulated on other components of the faucet. While the cartridge is often the primary culprit for stiff faucet handles, it’s a good idea to provide a thorough cleaning to the rest of the faucet’s parts. This preventive measure can help enhance the overall functionality and longevity of your faucet.
By following these steps diligently, you can effectively maintain and improve the performance of your faucet, ensuring smooth and hassle-free operation.
Put it All Together – How Can Be Fixed A Stiff Faucet Handle
Once you have successfully cleaned the faucet cartridge or obtained a replacement, the next step is to reinstall all the components. When placing the cartridge back in, make sure it is oriented in the same direction as the original one you removed. This is important to ensure that it fits and functions correctly.
Secure the cartridge by tightening the nut in place, and then reattach the faucet handle. Ensure that the handle is aligned correctly and secure it by tightening the screw that holds it in position.
Following this, take a moment to inspect the faucet handle. It should now move smoothly and operate as expected. You have successfully reassembled the faucet.
With the faucet components back in place and the handle functioning normally, you can proceed to turn the water supply back on. Your faucet should now be in good working order, allowing you to resume your daily activities with no interruptions. This step-by-step process ensures that your faucet is properly maintained and functional.
Conclusion
We’ve provided you with a comprehensive set of informative tips to simplify the process of fixing a stiff faucet handle. By following these guidelines, you can not only save money but also avoid the need to hire a professional plumber for this task. With the accurate steps we’ve outlined, virtually anyone can successfully repair a stubborn faucet handle.
If you have alternative or improved methods for addressing a stiff faucet handle, we encourage you to share your insights with us. Your feedback and ideas can contribute to a collective knowledge base and further enhance the quality of DIY faucet repair. We hope that you found this informative blog post both helpful and enjoyable, and we’re always open to learning from your experiences and expertise. If you like our information, so please support us by sharing this at your social media accounts.