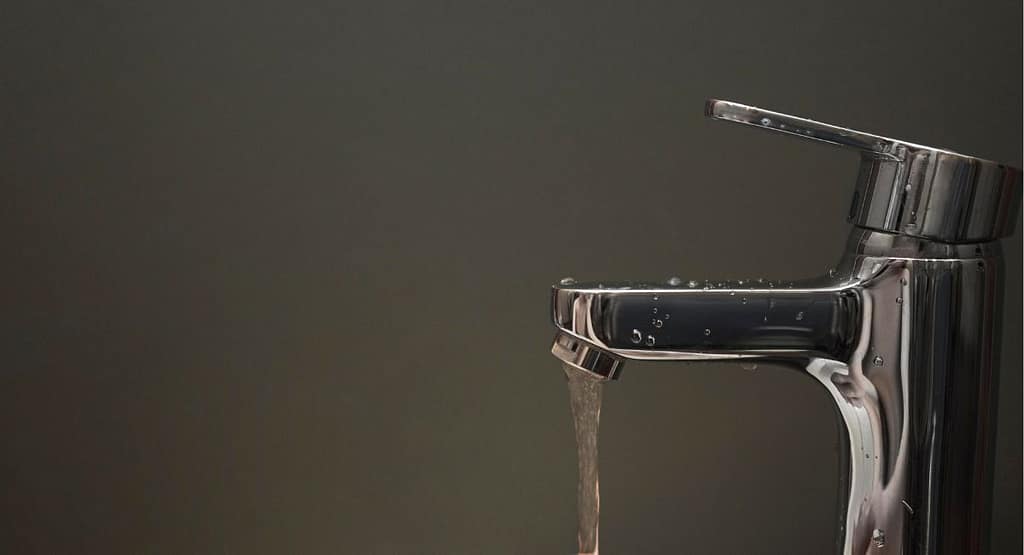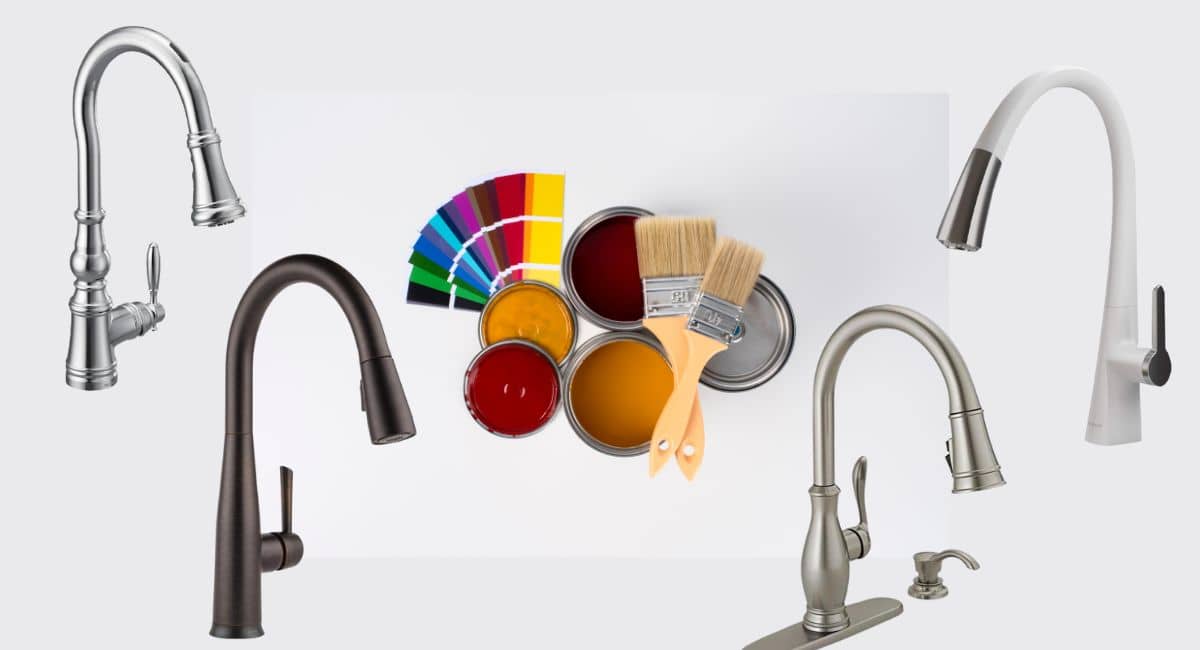
Can You Paint the Kitchen or Bathroom Faucets?
Maybe you just moved into a new house and want to remodel your kitchen or bathroom. However, when you look at the cost of new kitchen fixtures, you decide that painting your current faucets might be the best option (replacing more than one or two faucets gets expensive quickly). Can you paint a faucet? Yes, it can!
But will the color last on your faucets, especially with regular use?
Here, we’ll talk about the pros and cons of giving your faucets a facelift with paint and the way of doing better paint that can last long on the faucet, so keep reading on to find out more!
Does spray paint do the trick of Lasting on faucets?
Spray paint can last on kitchen or bathroom faucets for several years. However, the key to success is using the right kind of paint and following all the necessary steps. Certain types of spray paint will not adhere to a faucet’s metal construction, so it’s essential to choose a paint that will work with those materials.
Moreover, you also need to make sure you prepare the surface properly. Sometimes, the manufacturer may recommend using a primer to prepare the surface for painting. If so, be sure to follow these instructions.
What kind of paint should I use?
While your faucets can be used for sinks, bathtubs, showers, or other ways in a (sometimes) humid bathroom environment, they need paint that can withstand these conditions. However, it is best to use paints intended for metal with an oil-based composition. This type is ideal for your project because oil-based paints handle moisture better than others and take longer to dry.
Spray paint is often ideal for ease of implementation. Like the old folk, you could use a conventional paint can and a paintbrush for painting your faucets, but this method can leave marks on the faucet, so it isn’t easy to get rid of marks from your brush. Also, the brush’s indentations on the surface can be the perfect place for collecting dirt and grime. This is why spray paint is the best option for a smooth and easy application.
Can You Paint the Kitchen or Bathroom Faucets? How?
Once you decide to paint your kitchen or bathroom faucet, you must prepare for the process. While it is not a complicated process, it does take a few steps to achieve a perfectly smooth, fresh-looking finish. The following steps will describe the important tips on how to renovate your kitchen or bathroom taps:
Gather your materials
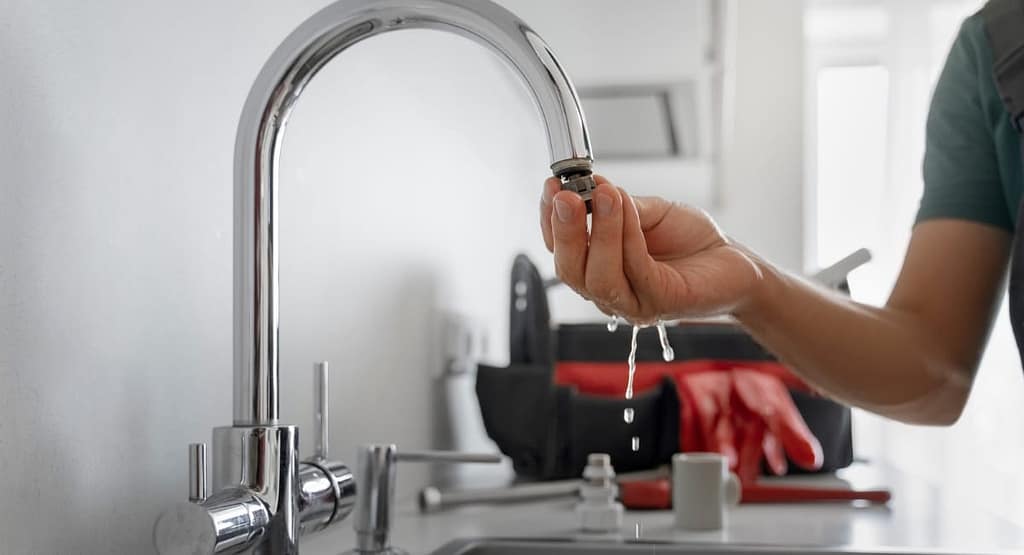
First, you need to collect the necessary materials for your project. There are two ways to paint your kitchen or bathroom faucet. The first is to paint the faucet after removing it from its place where it is fixed, and the second is to paint the faucet in its place. However, if you decide to remove the faucet for painting, you will first need to get the necessary tools to unhook the faucet. However, if you leave the faucet where it is, then you will need the following:
- Soft Sponge
- Mild soap
- Bucket
- Vinegar (as needed)
- Plastic cloth or newspaper
- Painter’s tape
- Sandpaper 220 grit
- Spray primer
- Color of your choice
- Transparent protective coating
- Mask (to protect against inhalation of paint fumes)
When doing this process, ensure that all the windows in the area are open to ventilate the room sufficiently. Breathing paint fumes can be hazardous, so do not paint in enclosed, unventilated areas.
Prepare Your Kitchen or Bathroom Faucet
Once you have gathered all your materials after then you need to prepare the faucet for painting.
You’ll need to remove dirt and mineral deposits from the faucet’s surface to ensure it’s ready for painting.
Then, fill a bucket with hot water and a few drops of mild dish soap. Gently wipe the faucet’s surface with a soft sponge, making sure to remove all dirt from the faucet body. If mineral deposits adhere to the surface, use diluted vinegar to remove them. You must wait a few minutes for the deposits to dissolve before removing them.
Sand the faucet
After cleaning the faucet, let it dry completely. After drying, you can sand the surface. This will roughen the faucet’s surface, allowing primer and paint to adhere better and last longer.
Take a sheet of fine sandpaper (at least 220 grit) and use it on the faucet to sand the entire surface of the faucet. When you’re done sanding the entire surface (you don’t need to file too much), wipe any sanding residue off with a dry cloth. Painting over sanding dust will leave minor blemishes in the final product, so be sure to wipe the dust off now.
Take off the surrounding area.
When the faucet is ready to be painted, prepare the surrounding area. You can altogether remove the faucet and put it on a piece of newspaper or plastic and paint on that piece. Also, you can leave it where it is and tape everything around it. Carefully tape the countertops, sinks, mirrors, and walls around the faucet.
Spray paint gets everywhere, so be sure to cover any areas you don’t want to paint with a plastic cloth.
If you tape the bottom of the faucet, place the tape as close to the base as possible so you don’t accidentally wipe the sink cover or countertop.
Apply primer
Once the area around the faucet is covered by tapping, it’s time to start the renovation. It’s important to prime the surface of the faucet (unless you’re buying a 2-in-1 spray paint), as this will help the paint adhere properly.
Primer is usually the easiest to apply on everything, so spray it over the entire surface of the faucet, making sure to follow the manufacturer’s instructions. Allow the primer to dry well before proceeding to the next step.
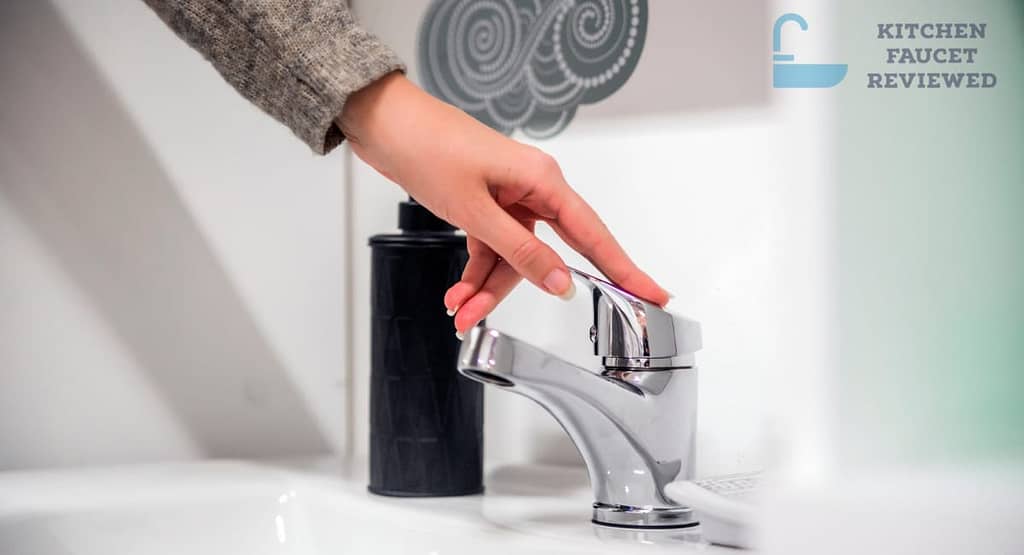
Painting
Once the primer coat is dry, you’re allowed to paint your faucet! This may be an exciting step for you in the process, as you can see the transformation into a new and improved accessory. Before starting, you need to mix the paint according to the manufacturer’s instructions, so you’ll have to follow the instructions and then apply it to the faucet surface according to the label directions.
The better way to paint is to start with thin coats before the underlying is fully covered. After the first coat of primer, leave the faucet for a while until the previous coat is dry, and then apply it a second time. Also, use the primer coat on the faucet’s drain.
Add a top coat.
When you feel that you have done the primer coat well and the faucet is ready for the next step, then it’s time to finish with one last coat. The top coat protects the new paint from scratches, dents, and water damage. It is better to choose an oil-based top coat as it will add an extra layer of durability.
Use and apply a top coat per the manufacturer’s instructions, and recoat if necessary. You’ll have to wait until each coat dry.
Enjoy!
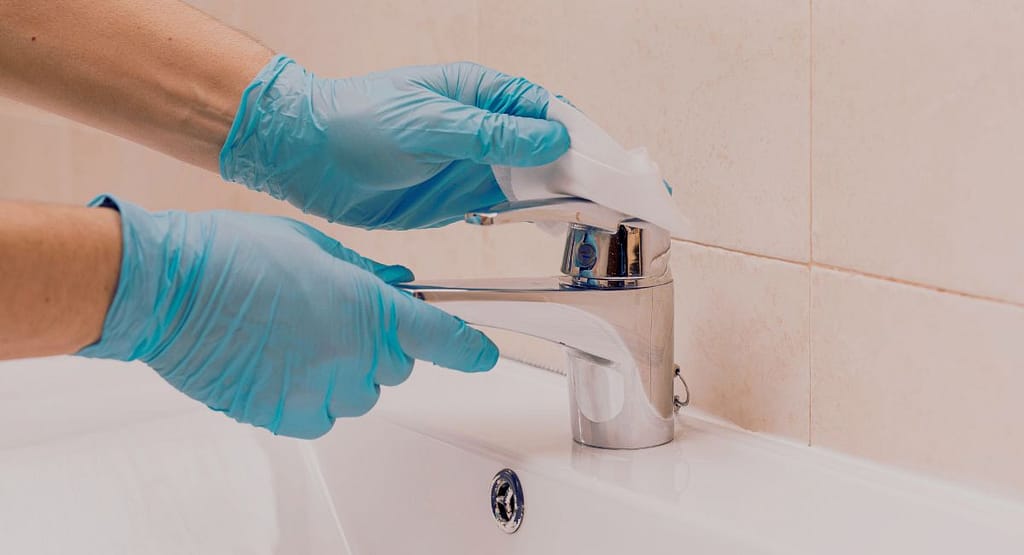
After drying all the layers of a primer coat and paint, even topcoats, you can now remove all plastic and tape from the faucet and its around. Enjoy your “new” faucet! You’re not allowed to use harsh cleaners or scrubbers on the faucet’s surface, as they may harm the paint. Instead, use moderate, mild cleaners (like heated water and moderate dish soap) for cleansing.
Additionally, remember some coats of paint aren’t a long-term fix. Over time, your paint process will deteriorate, exposing the metallic underneath. At this point, you may sand off the vintage paint and repeat the tips, or you can buy a new faucet for your kitchen or bathroom. But for now, experience the smooth, clean finish!