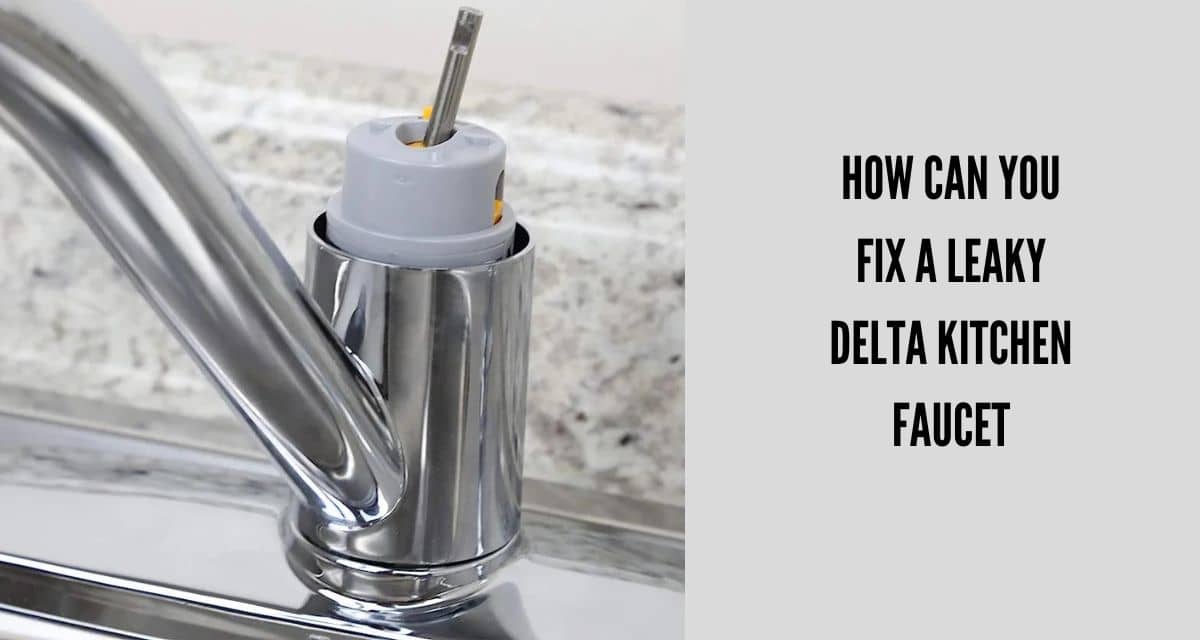
A leaky faucet in the kitchen can be a frustrating problem that not only wastes water but can also increase your water bill. A common type of kitchen faucet is the Delta faucet, which is known for its durability and reliability. However, even the best quality Delta kitchen faucets can develop leaks over time due to wear and tear or improper installation. In this blog post, we will discuss step-by-step how to fix a leaky Delta kitchen faucet and get it back to working like new.
How Can You fix a leaky delta kitchen faucet?
Step 1: Turn off the Water Supply
When you have a leaky Delta kitchen faucet or need to make any repairs or adjustments to your sink’s plumbing, it is essential to turn off the water supply first. If you skip this step, you risk getting sprayed with water or causing water damage to your home.
To turn off the water supply, start by looking under the sink for a shutoff valve. Most modern sinks have a valve located near the pipes that supply water to the faucet. The shutoff valve may be a knob or lever that you can turn to cut off the water flow.
Once you locate the shutoff valve, turn it clockwise until it is completely closed. This will stop the flow of water to the faucet and allow you to work on it without any water getting in the way. If you cannot find the valve under the sink, look for a valve near the water meter or inside a utility room.
In some cases, you may need to turn off the main water supply to your house if the shutoff valve under the sink is not working or is not present. The main water shutoff valve is typically located outside your home or in a utility room. It will be a large lever or knob that you can turn to shut off the water supply to your entire house.
After you have turned off the water supply, turn on the faucet to release any remaining water pressure. This will drain the water that was trapped in the pipes and make it easier to work on the faucet. If you do not release the water pressure, you may still get sprayed with water when you start working on the faucet.
Remember, turning off the water supply is an essential first step in any plumbing repair or maintenance task. Taking this step can help you avoid water damage and make your work easier and safer.
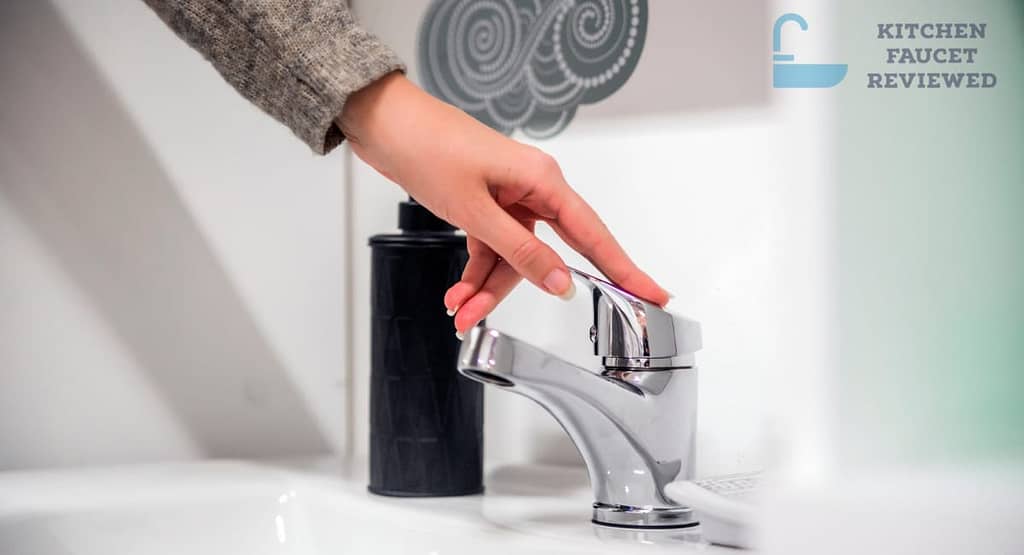
Step 2: Remove the Handle
If you’re experiencing a leaky faucet, the problem is most likely with the cartridge, which is located inside the faucet handle. To access the cartridge, you will need to remove the faucet handle. Delta faucets have different types of handles, so the removal process may vary slightly depending on the model.
To start, examine your faucet handle to identify the type of handle you have. Some handles have a small screw on the side or bottom that needs to be removed. Others have a decorative cap covering the screw, which needs to be pried off to access the screw. Use a flathead screwdriver to carefully pry off the cap and expose the screw.
Once you have located the screw, use a Phillips head screwdriver to loosen and remove it. Be sure to set the screw aside in a safe place so that you don’t lose it. If the screw is particularly tight or difficult to remove, you can use a lubricant such as WD-40 to help loosen it.
After the screw is removed, gently pull off the handle from the faucet. Some handles may be snug and require a bit of force to remove, while others may come off easily. If the handle is still attached, you may need to gently wiggle it back and forth to loosen it before it will come off.
Once you remove the handle, you will see the cartridge inside the faucet body. The cartridge is responsible for controlling the flow of water and can become worn or damaged over time, causing leaks or other issues. By accessing the cartridge, you can inspect it for damage and replace it if necessary.
Remember to be gentle when removing the handle and to take care not to damage any of the parts while you work. Keeping track of any screws or small parts is also important to ensure that everything goes back together correctly. By following these steps, you can successfully remove the handle from your Delta faucet and access the cartridge for repair or replacement.
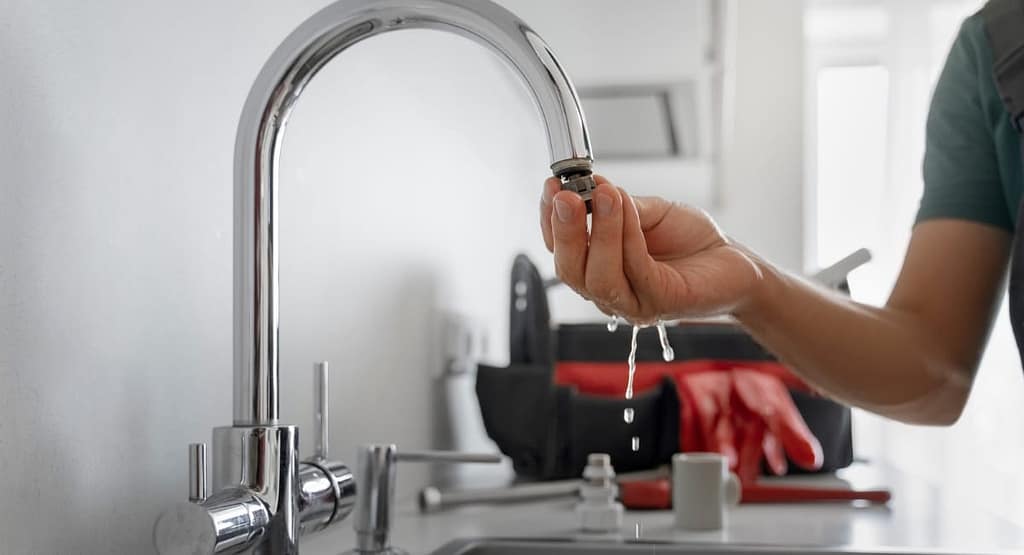
Step 3: Remove the Cartridge
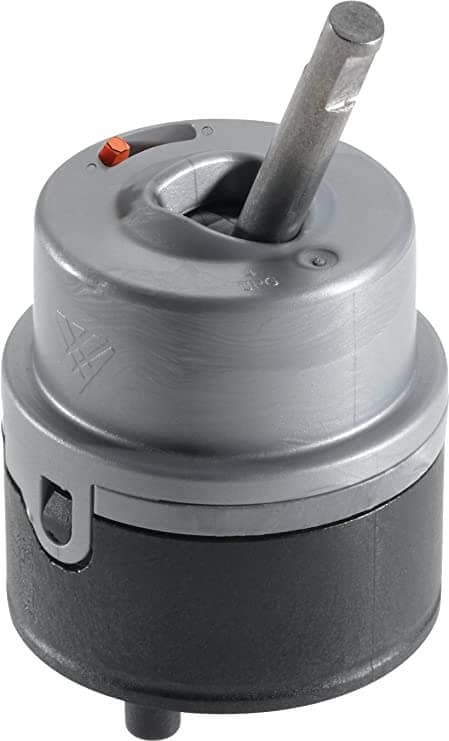
When repairing or replacing a faucet, it’s often necessary to remove the cartridge, which is the component that regulates the flow of water. This process requires a few basic tools and some knowledge of plumbing, but it can be accomplished by most DIY enthusiasts with a little patience and care.
To begin, you will need to locate the cartridge. Depending on the type of faucet you have, the cartridge may be located in the handle or in the body of the faucet itself. Once you have identified the cartridge, you can begin the removal process.
The first step in removing the cartridge is to loosen the locking nut that holds it in place. This nut is usually located directly beneath the handle or on the body of the faucet, and it can be loosened with a pair of pliers or a wrench. It’s important to use the correct size tool for the nut to avoid damaging the surrounding components.
Once the nut is loose, you can begin to remove the cartridge. Depending on the faucet, the cartridge may simply pull out by hand, or it may require some gentle tapping or wiggling to loosen it from the surrounding components. It’s important to take your time during this step to avoid damaging any of the other parts of the faucet.
As you remove the cartridge, be sure to pay attention to its orientation and any seals or gaskets that may be present. These components will need to be carefully inspected and potentially replaced during the repair process.
After the cartridge has been removed, it’s a good idea to clean the surrounding components and inspect them for any signs of wear or damage. This will help ensure that your repair is effective and long-lasting.
In summary, removing the cartridge from a faucet requires a few basic tools and some careful attention to detail. By following the steps outlined above, you can safely and effectively remove the cartridge and begin the repair process.
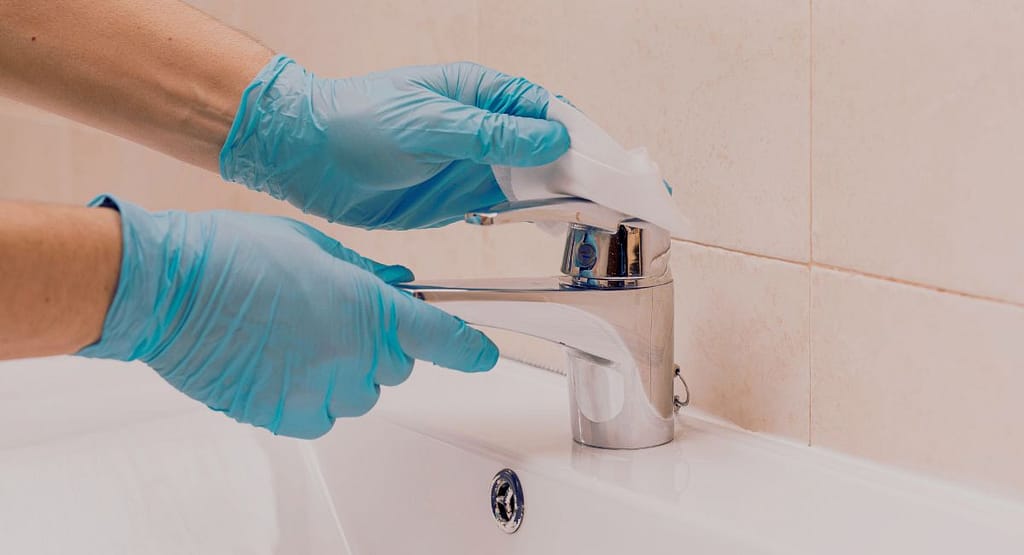
Step 4: Inspect the Cartridge
Inspecting the cartridge is an essential step in maintaining your Delta faucet’s optimal performance. The cartridge is responsible for controlling the flow of water and regulating the temperature. Over time, it can wear out, become damaged, or accumulate mineral deposits, leading to reduced water pressure, leaks, or other issues.
To inspect the cartridge, turn off the water supply to the faucet and remove the handle and trim. Then, locate the cartridge inside the valve body and carefully remove it. Look for signs of damage, such as cracks or corrosion, and check for any mineral buildup. Mineral deposits can impede the water flow and cause clogs, leading to reduced efficiency and potential damage to the faucet.
If you notice any damage or excessive wear on the cartridge, it’s crucial to replace it with a new one. Using a damaged cartridge can cause leaks or other issues and can compromise the faucet’s integrity. You can purchase a replacement cartridge from a home improvement store or online.
Step 5: Install a New Cartridge
Once you have obtained a new cartridge, it’s time to install it. Before installing, make sure that you have the correct size and model for your Delta faucet. Installing the wrong cartridge can cause leaks, damage, or other issues.
To install the new cartridge, insert it into the valve body, making sure it is seated correctly. Tighten the locking nut by hand, and then use pliers or a wrench to tighten it further. It’s essential to avoid over-tightening the nut, as it can damage the cartridge or cause leaks.
After tightening the nut, reassemble the handle and trim and turn on the water supply. Check the faucet for any leaks or issues, and make sure it’s functioning correctly. Regularly inspecting and replacing the cartridge is an essential step in maintaining your Delta faucet’s optimal performance and longevity.
Step 6: Reassemble the Faucet
Once the new cartridge is in place, you can reassemble the faucet in the reverse order that you removed the parts. Replace the handle, screw, and cap, if applicable. Turn on the water and check your delta kitchen faucet for leaks.
Step 7: Check for Leaks
Turn on the kitchen sink faucet and check for leaks. If there are no leaks, congratulations, you have successfully fixed your Delta kitchen faucet! If there are still leaks, you may need to replace other parts of the faucet, such as the O-rings or the valve seat.
Final Verdict
Overall, fixing a leaky Delta kitchen faucet is a relatively simple process that can save you money on your water bill and prevent water waste. By following these steps and inspecting the cartridge for any signs of damage, you can get your faucet back to working like new in no time. If you are not comfortable performing these steps yourself, it’s best to contact a professional plumber for assistance. I hope this information will help you in solving this type of problem and make you happy.