Moen kitchen faucets are known for their reliability and durability. However, like any other plumbing fixture, Moen kitchen faucets can also develop problems over time. Fortunately, most Moen kitchen faucet issues can be resolved with some simple repairs that you can easily do yourself. In this blog post, we will guide you through the process of repairing a Moen kitchen faucet.
How Can You Repair Moen Kitchen Faucet in 2025?
Step 1:
Identify the problem The first step in repairing a Moen kitchen faucet is to identify the problem. Some common problems that Moen kitchen faucets can develop include leaks, low water pressure, and difficulty turning the faucet on and off. Once you have understood the problem after then you can move on to the next step.
Step 2:
Turn off the water supply Before you begin any repairs on your Moen kitchen faucet, you should turn off the water supply to the faucet. You can do this by locating the shutoff valves under the sink and turning them off. Once the water supply is turned off, you can proceed with the repairs.
Step 3:
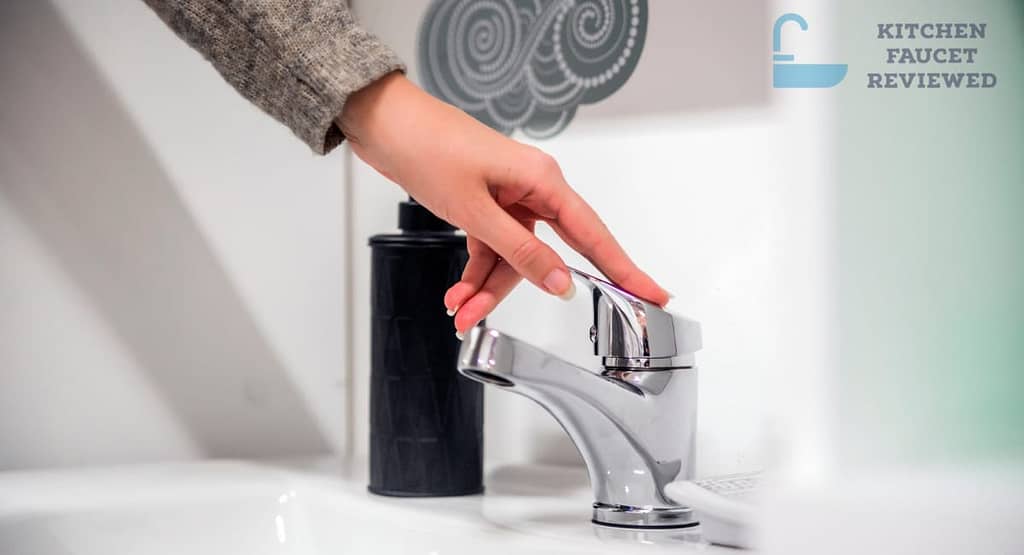
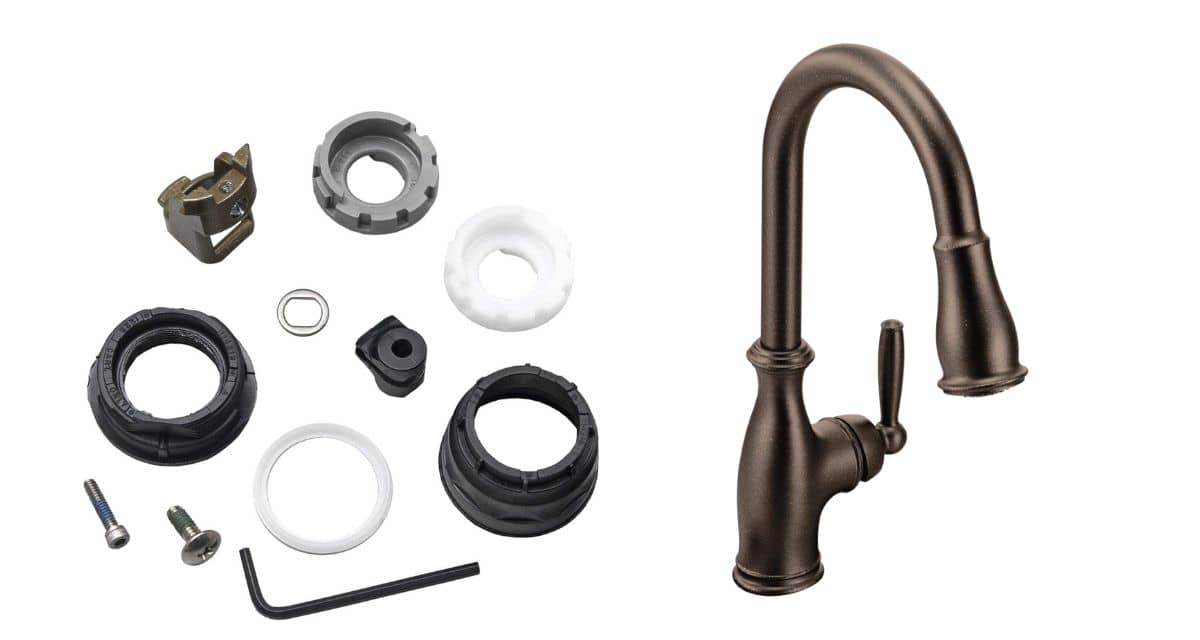
Disassemble the faucet to repair a Moen kitchen faucet, you will need to disassemble the faucet. This will allow you to access the components that need to be repaired or replaced. To disassemble the faucet, start by removing the handle. Depending on the type of Moen kitchen faucet you have, the handle may be secured by a set screw, a screw cap, or a Phillips head screw.
Once you have removed the handle, you can remove the escutcheon plate, which is the decorative cover that sits over the faucet body. The escutcheon plate is usually held in place by screws, which you can remove with a screwdriver.
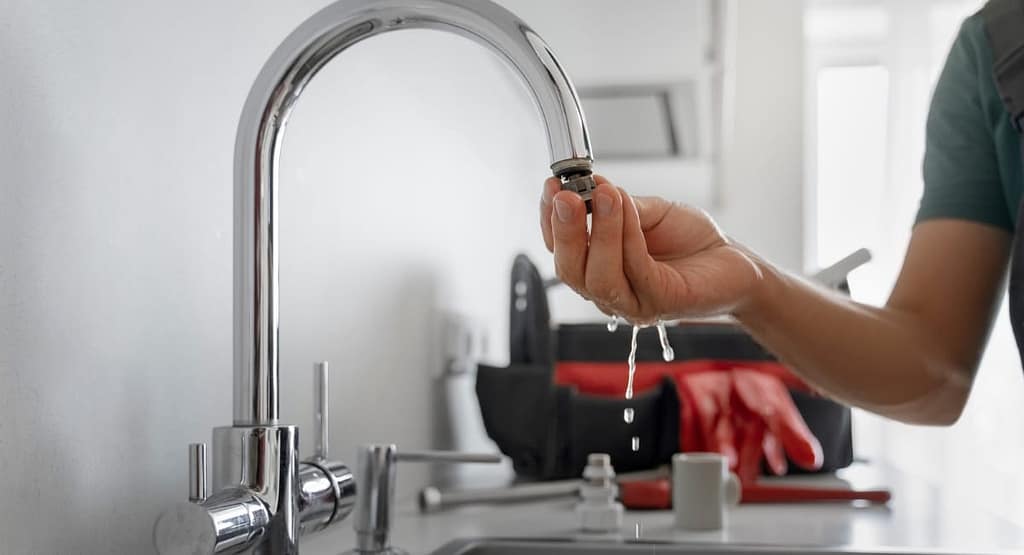
After removing the escutcheon plate, you can remove the faucet cartridge. The cartridge is the component that controls the flow of water through the faucet. To remove the cartridge, you may need to use pliers or a cartridge removal tool.
Step 4:
Inspect the components Once you have disassembled the faucet, you should inspect the components to determine which ones need to be repaired or replaced. If you have a leaky faucet, the most likely culprit is a worn or damaged O-ring, which is a small rubber ring that helps to seal the faucet. You may also need to replace the cartridge if it is damaged or worn.
Step 5:
Replace the damaged components If you have identified any damaged or worn components, you will need to replace them. You can find replacement parts for your Moen kitchen faucet at your local hardware store or online. Be sure to purchase the correct replacement parts for your specific Moen kitchen faucet model.
To replace the O-ring, simply remove the old O-ring and replace it with a new one. To replace the cartridge, insert the new cartridge into the faucet body and secure it in place with the retaining clip.
Step 6:
Reassemble the faucet Once you have replaced any damaged components, you can reassemble the faucet. Start by reinserting the cartridge into the faucet body and securing it with the retaining clip. Then, replace the escutcheon plate and secure it with screws. Finally, reattach the handle and secure it in place with the appropriate screw or cap.
Step 7:
Test the faucet After you have reassembled the faucet, you should test it to ensure that it is working properly. Turn the water supply back on and test the faucet for leaks and proper water flow. If everything is working as it should, you have successfully repaired your Moen kitchen faucet!
What tools do I need while repairing the Moen kitchen faucet?
Repairing a Moen kitchen faucet can be a relatively straightforward task if you have the right tools and a basic understanding of how faucets work. Here are some of the tools you may need to repair your Moen kitchen faucet:
Adjustable wrench or pliers: These tools are essential for removing the faucet handle and tightening or loosening nuts and bolts. Check here!
Allen wrench set: Many Moen kitchen faucets use Allen screws to hold the handle in place. You’ll need an Allen wrench set to remove these screws. Check here!
Screwdrivers: You may need both flat-head and Phillips screwdrivers to remove screws and disassemble the faucet.
Needle-nose pliers: These pliers are useful for reaching and manipulating small parts that may be difficult to handle with your fingers.
Basin wrench: A basin wrench is a specialized tool that can make it easier to remove and install nuts in tight spaces under the sink.
Replacement parts: Depending on the nature of the problem, you may need to replace certain parts of the faucet. Common replacement parts for Moen kitchen faucets include cartridges, O-rings, washers, and gaskets.
Before you start repairing your Moen kitchen faucet, it’s important to turn off the water supply to the faucet. You can usually do this by turning off the shut-off valves under the sink. Once you have the necessary tools and have turned off the water supply, you can begin disassembling the faucet to diagnose and fix the problem.
It’s important to follow the manufacturer’s instructions when disassembling and reassembling the faucet to avoid damaging any parts or causing leaks. You may also want to consult online tutorials or how-to videos to help guide you through the repair process.
In some cases, particularly if the faucet is old or severely damaged, it may be more cost-effective to replace the entire faucet rather than attempting to repair it. If you’re not confident in your ability to repair the faucet yourself, or if you’re not sure what the problem is, it may be best to call a professional plumber to fix the issue.
What are the major problems in Moen kitchen faucet that people often face?
There are several common problems that people may face with their Moen kitchen faucets. Some of these issues include:
Dripping
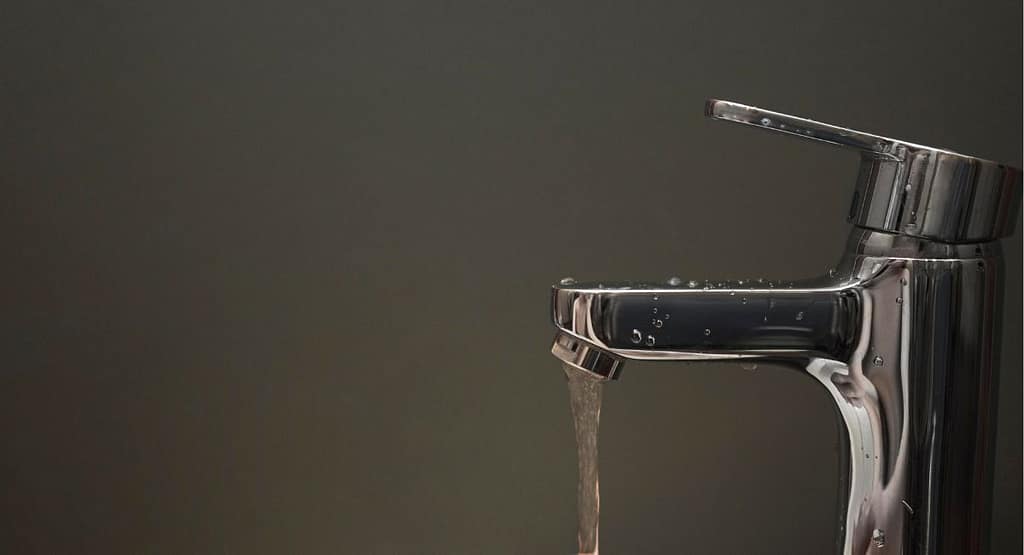
A dripping faucet is a common problem that can waste a lot of water and increase your water bill. This may be caused by worn-out O-rings, worn valve seats, or a damaged cartridge.
Low water pressure
If the water pressure in your Moen kitchen faucet is low, it may be due to a clogged aerator or a damaged cartridge.
Leaking around the base
Leaks around the base of the faucet may be caused by a loose mounting nut or worn-out O-rings.
Handle issues
If you have trouble turning the faucet on or off or the handle is loose, it may be due to a damaged cartridge or worn-out O-rings.
Spray wand issues
If your Moen kitchen faucet has a spray wand, you may experience problems with the spray pattern, such as a weak or inconsistent spray. This may be due to a clogged aerator or spray head, or a damaged cartridge.
Hose problems
If the hose on your Moen kitchen faucet is leaking or has become stiff, it may need to be replaced.
It’s important to note that these problems may not be unique to Moen kitchen faucets and may also be present in other brands.
How can you tight your Moen kitchen faucet handle?
If your Moen kitchen faucet handle is loose or wobbly, it may be a sign that the mounting nut underneath the handle needs to be tightened. Here’s a step-by-step guide to tightening your Moen kitchen faucet handle:
Turn off the water supply to the faucet: Locate the water valves under the sink and turn them off to cut off the water supply to the faucet.
Remove the handle: Depending on the type of Moen kitchen faucet you have, you may need to remove a decorative cap, a screw, or a set screw to take off the handle. Use a flathead screwdriver or an Allen wrench to remove any screws, and gently pry off the cap with a small knife or screwdriver.
Locate the mounting nut: Once you’ve removed the handle, you should see a mounting nut underneath. This nut is what secures the faucet handle to the valve cartridge.
Tighten the mounting nut: Use an adjustable wrench to tighten the mounting nut by turning it clockwise. Be careful not to overtighten the nut, as this could damage the cartridge or cause the handle to become too difficult to turn.
Reassemble the handle: Once you’ve tightened the mounting nut, reassemble the handle by reversing the steps you took to remove it. Make sure everything is aligned properly and the handle is securely fastened.
Turn on the water supply: Finally, turn on the water supply to the faucet and test the handle to make sure it’s working properly.
If your Moen kitchen faucet handle is still loose after tightening the mounting nut, there may be an issue with the cartridge or other internal components of the faucet. In this case, it’s best to contact a professional plumber or Moen customer service for further assistance. There is a video that can you guide fully!
How to install a new cartridge in your Moen kitchen faucet:
Gather your tools: You will need a pair of pliers, a flathead screwdriver, a Moen cartridge puller (if the cartridge is stuck), and the new Moen cartridge.
Turn off the water supply: Turn off the water supply to the faucet by turning off the valve under the sink.
Remove the handle: Use a screwdriver to remove the screw on the handle and pull the handle off.
Remove the retaining clip: Use pliers to remove the retaining clip that holds the cartridge in place. If the cartridge is stuck, you may need to use a Moen cartridge puller to remove it.
Install the new cartridge: Insert the new cartridge into the valve body and push it in until it clicks into place. Make sure to align the cartridge tabs with the slots in the valve body.
Reassemble the faucet: Reinstall the retaining clip and reattach the handle using the screw.
Turn on the water supply: Turn on the water supply and check for any leaks.
One unique tip to keep in mind when installing a new cartridge in your Moen kitchen faucet is to use silicone lubricant on the cartridge O-rings. This will help the cartridge glide smoothly into place and ensure a tight seal, which can prevent leaks and improve the overall performance of your faucet. Be sure to use a silicone lubricant that is safe for use with potable water systems.
How can I know that my Moen kitchen faucet cartridge has damaged?
If you are experiencing issues with your Moen kitchen faucet, it may be due to a damaged cartridge. Here are some signs that can help you determine if the cartridge is damaged:
Leaking water
If you notice water dripping from the faucet or handles, it could be due to a damaged cartridge. The cartridge controls the flow of water, and if it is damaged, it can cause leaks.
Low water pressure
If you notice a decrease in water pressure from the faucet, it could be due to a damaged cartridge. The cartridge regulates the water pressure, and if it is damaged, it can cause a decrease in pressure.
Difficulty in turning the handle
If you find it difficult to turn the faucet handle or it feels loose, it could be due to a damaged cartridge. The cartridge controls the movement of the handle, and if it is damaged, it can cause difficulty in turning the handle.
Strange noises
If you hear unusual sounds, such as grinding or squeaking, when you turn on the faucet, it could be due to a damaged cartridge. The sounds can indicate that the cartridge is not functioning correctly.
Temperature issues
If you notice problems with the hot or cold water temperature, it could be due to a damaged cartridge. The cartridge controls the mix of hot and cold water, and if it is damaged, it can cause issues with the temperature.
If you experience any of these signs, it may be time to replace your Moen kitchen faucet cartridge.