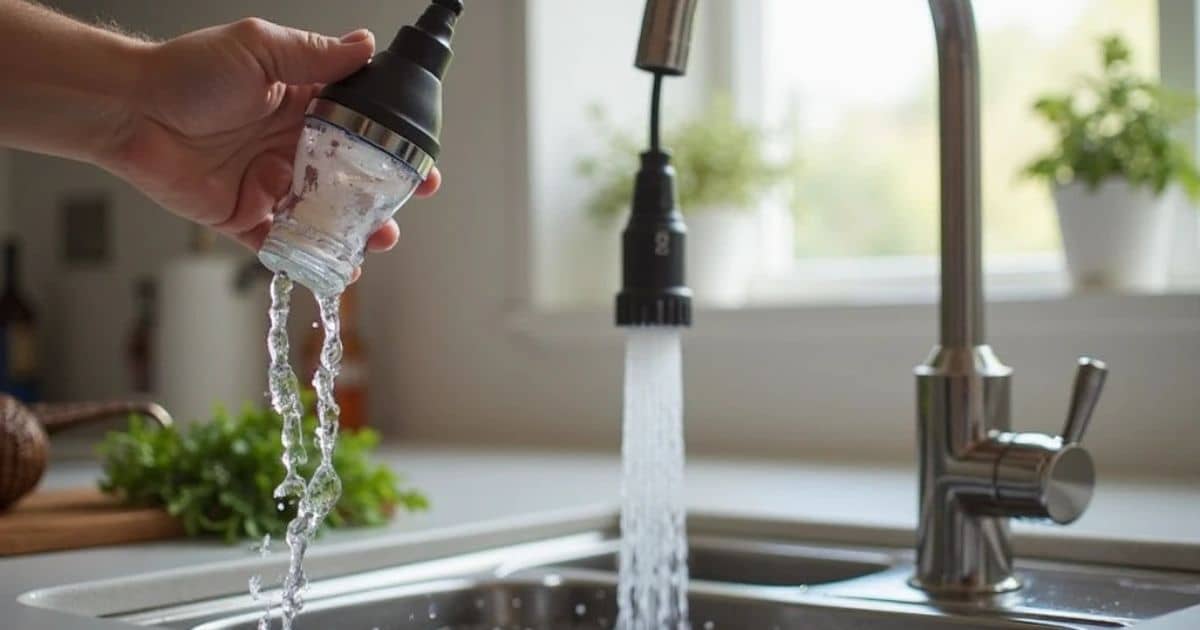
When I saw many people facing the problem of dirty spray heads on their kitchen faucets, so I tried to bring easy ways to clean them easily at home. So, I spent many hours in research, so I found some solution for how to clean kitchen faucet head with less effort. I also tried these steps to clean my spray head.
How to Clean Kitchen Faucet Spray Head?
Step 1: Gather Your Tools & Turn off the Water
The first thing your supplies. I knew I’d need something to remove the showerhead, so I grabbed my pliers. An old toothbrush is perfect for scrubbing, and white vinegar does wonders on hard water stains. I also lined a plastic bag to catch any drips.
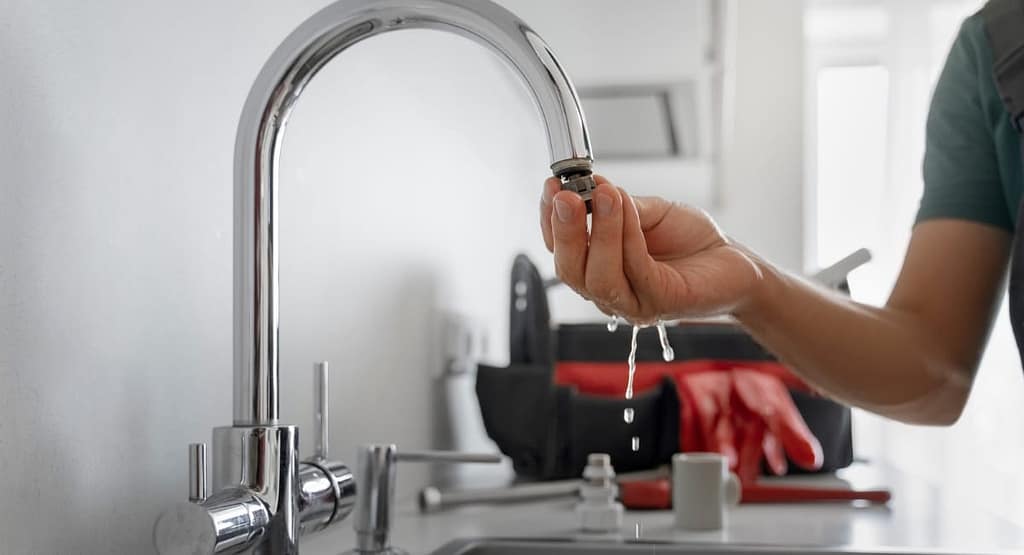
Make sure to turn off the water supply first thing – trust me, you do NOT want to be dealing with water spraying everywhere while you work. I had to do some feeling around under the sink, but eventually found the little valves. With the water off, I could remove the showerhead safely.
Step 2: Remove the Spray Head
If it’s been a while since the head has been removed, it can take a little muscle to get it going at first. What I like to do is wrap the base with a clean dish towel before grabbing it with my pliers – that helps protect the finish and gives me a better grip.
Then it’s just a matter of turning it counterclockwise. Sometimes these things can really be stuck on their tight! I like to put some serious UMPF into it at first to break the seal. Don’t be afraid to bear down if needed.
Once it starts to budge, that’s when it gets easier. A few more twists by hand should do the trick. Just be careful not to over-tighten it when putting it back on later or you might strip the threads.
Taking it off is definitely the messiest part, so have a rag ready to wipe your hands. But it feels so satisfying once it finally comes free! Then the real cleaning can begin.
Step 3: Soak in Vinegar
When it’s time for that part, I like to use a large ziplock bag. It’s the perfect size to fully submerge the spray head while keeping the vinegar contained. Just drop it in, seal it up, and let it work its magic.
Thirty minutes is usually plenty of time for the vinegar to do its thing. But if you’ve really got some hardened crud, an hour’s soak never hurts. I’ve even been known to let it go overnight for really stubborn cases.
The acid in the vinegar cuts through limescale and other deposits like nothing else. Just be sure to seal up that bag tight so it doesn’t spill. Vinegar can be a pain to clean up!
After soaking, the gunk should be wiped off easily. But if any remains, a quick scrub with a toothbrush does the trick. Just rinse well when finished so you don’t get that lingering vinegar smell on your dishes later.
Step 4: Scrub Away
When the vinegar soak is done, I like to rinse the spray head first before scrubbing. This helps loosen any leftover gunk. Then it’s time for the toothbrush!
I always start by giving the outside a good going over. But the real work happens when you focus on the nozzles and crevices. These little spots tend to collect the most crud. I gently brush back and forth, rinsing often to check my progress.
If there’s any stubborn residue clinging on, a few drops of vinegar right on the brush can help break it down further. Just a little dab’ll do ya!
The nozzles especially need attention to fully unclog. I run the brush through each one a few times to really scrub them out. It’s satisfying to see the mineral chunks swirling away.
With a bit of elbow grease, the whole cleaning process only takes about 10 minutes. But the results are totally worth it for freshening up your spray patterns.
Step 5: Rinse and Reattach
When it’s time to reattach the head, be sure to give it one last good rinse under the faucet first. This washes away any leftover vinegar or mineral flakes.
I also like to quickly dry it off with a dish towel to prevent water spots from forming. Those can be such a pain!
Twisting the head back on clockwise is easy once it’s dry. Just hand tighten it at first to avoid strips. You can always give it an extra quarter turn with pliers if needed later.
Alright, moment of truth – it’s time to test that bad boy out! Turn the water valves back on and see how that spray looks. The difference is always amazing.
No more sputtering or weak streams. Just a nice powerful spray pattern to blast away food particles. You’ll be so glad you took ten minutes to deep clean it!
How to clean kitchen faucet spray head vinegar?
Have you ever noticed your kitchen faucet spray isn’t as powerful as it used to be? Chances are some gunk has built up inside the spray head and is restricting the water flow. I used to struggle with this too until I discovered the magic of vinegar!
Vinegar is hands-down the best natural cleaner for removing mineral deposits. All you need is equal parts white vinegar and water mixed in a small bowl. Start by unscrewing the spray head – it may take a little muscle if it’s really crusted on. No worries if it’s stubborn, just don’t force it too much.
Once you’ve got the spray head off, drop it right into the vinegar solution. The acetic acid in vinegar dissolves all kinds of junk over time. Give it a good 30 minutes to soak, then it’s time to scrub away! An old toothbrush is perfect for getting into those tiny spray holes. Scrub gently so you don’t damage any of the parts.
After scrubbing, just rinse thoroughly under running water. This ensures you get all the vinegar residue off before putting the spray head back on. Reattach it and test out that spray – the difference is amazing, right?!
Vinegar is so handy to have around the house for quick cleaning fixes. Give this spray head trick a try next time yours starts sputtering. You’ll be back to spraying with ease in no time.
How to clean kitchen faucet spray head without vinegar?
Gotta love how baking soda is a kitchen workhorse! If you don’t have vinegar on hand, don’t fret – baking soda alone can work wonders on a gunky spray head too.
Start by removing the spray head as before. Then mix up a thick paste of baking soda and just enough water to form a spreadable consistency. Go ahead and slather this paste all over the spray head, really packing it into the nooks and crannies.
Let the paste sit for at least an hour to break down the buildup chemically. No need to soak – the baking soda is doing deep cleaning work on contact. When you come back, just scrub away with a toothbrush. Watch all that grime slide right off!
Rinse thoroughly under warm water to dissolve any remaining paste. Reattach and test that spray – I bet you’ll be impressed. Baking soda scrubs without harsh chemicals or abrasives.
So whether you’ve got vinegar or baking soda on hand, with a little elbow grease you can restore your spray head to new.
How to clean kitchen faucet head with baking soda?
I saw many people asking about cleaning faucet heads the other day. You know, I’ve been using baking soda for years to get those pesky mineral deposits and grime off. It’s seriously one of the best kept secrets for shiny sink fixtures.
When I first moved into my apartment, the faucets were absolutely disgusting. There was this weird orange crust all over them that just wouldn’t budge no matter how hard I scrubbed. Out of desperation, I dumped some baking soda directly on the heads and let it sit overnight. You won’t believe the mess that washed off in the morning! The baking soda totally dissolved all that gunk with minimal effort.
Since then, I always keep a box in the cabinet under the sink. Whenever the faucets start looking dull again, I just mix up a paste with the baking soda and a little water. I slather it on good with an old toothbrush, especially focusing on the nozzles and crevices. After 15 minutes or so of letting it work its magic, the residue just wipes away. No harsh chemicals needed!
The best part is you probably already have baking soda at home. It’s way more affordable than those specialty cleaners and works just as well, if not better in my experience. Just be sure to rinse well and dry thoroughly afterwards so you don’t get water spots. Trust me, your faucets will thank you!
How to clean kitchen sink faucet Spray head with CLR?
You know, CLR has been a real lifesaver for me over the years when it comes to removing those stubborn mineral stains.
When I first moved into my old apartment, the water was incredibly hard. Within a few months, the faucets started looking really grimy – there was this gross white film building up everywhere. No amount of scrubbing with dish soap seemed to make a dent in it. That’s when I discovered CLR.
Honestly, I was a little skeptical at first since I’d never used it before. Just diluted some CLR according to the bottle instructions, soaked the faucet heads for 15 minutes, and – wow! – it wiped away that mineral crud like it was nothing. The faucets looked brand new.
Now CLR is my go-to whenever I notice the water spots starting to return. I like to remove the heads first so I can soak the nozzles and hard-to-reach spots. A quick scrub with a toothbrush after soaking does the trick. Just be sure to rinse well so you don’t get any residue.
It’s definitely a stronger cleaner than baking soda, so use it sparingly. But if you live in an area with hard water like I do, CLR is the best option I’ve found. Hope this helps give those faucets a new lease on life!
Is it safe to use CLR to clean my faucet spray head?
CLR is a great option for cutting through hard water stains and mineral buildup. But you do need to take some precautions with it since it is such a strong cleaner.
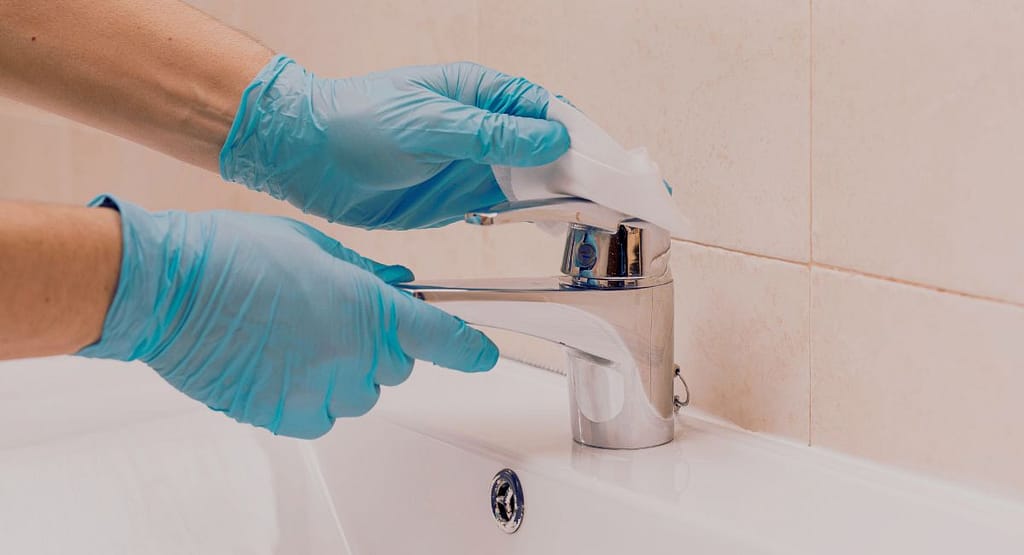
I remember the first time I tried using CLR – yikes! I didn’t have gloves on and got some on my hands. Let’s just say I was in for a world of hurt afterward. My skin was NOT happy with me! Ever since, I always suit up in gloves AND goggles anytime CLR comes out. That stuff lives up to its “acid” name for sure.
When it comes to the actual spray head, I like to remove it from the faucet first so I have better access to soak all the nozzles and crevices. Usually, 10-15 minutes in the diluted CLR does the trick. Just be gentle if it’s an older spray head since over time, the acid could potentially damage weaker materials. I usually stick to metal or plastic ones to play it safe.
Rinsing the spray head well after is also crucial. I like to flush it inside and out under running water to remove any residue that could corrode it down the road.
As long as you take precautions and don’t oversoak it, CLR does an amazing job of getting spray heads unclogged and restored. Just don’t use it on fancy-coated ones – for those, a baking soda paste has worked better in my experience.