Installing a 4-hole kitchen faucet might seem daunting at first, but with the right tools and a systematic approach, it can be a rewarding and straightforward DIY project. In this blog post, we will guide you through the installation process, providing well-researched tips and techniques to ensure a successful and leak-free installation. So, let’s dive in!
How to Install a 4-Hole Kitchen Faucet
Materials and Tools Needed:
Before you begin, make sure you have the following materials and tools ready:
- 4-hole kitchen faucet
- Adjustable wrench
- Basin wrench
- Plumbers putty or silicone sealant
- Tape measure
- Screwdriver
- Teflon tape
- Safety goggles and gloves
- Bucket or container to catch water
Step 1: Preparation
Before beginning the faucet replacement, ensure you have all the necessary tools and materials ready. This may include an adjustable wrench, basin wrench, drill, appropriate drill bits, plumber’s putty, and the new 4-hole kitchen faucet.
Step 2: Remove the Old Faucet
When disconnecting the supply lines, it’s essential to place a bucket or container underneath to catch any residual water. This will prevent water from spilling onto the cabinet floor. Additionally, inspect the supply lines for any signs of wear or damage and replace them if needed.
Step 3: Clean the Sink Area
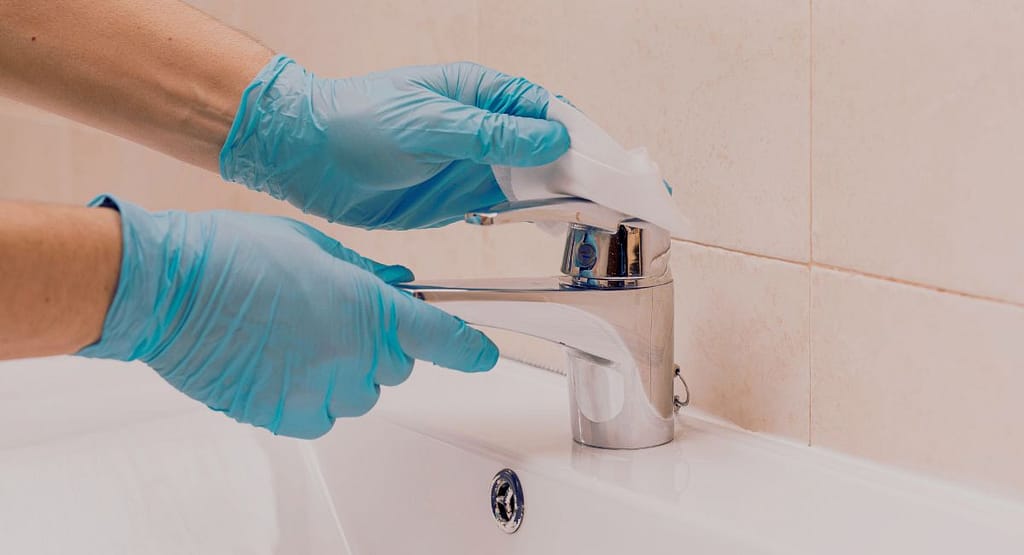
To ensure a proper seal for the new faucet, it’s vital to remove any old putty or debris from the sink surface. Use a mild cleaner or vinegar solution to clean the area thoroughly, and allow it to dry before proceeding.
Step 4: Position the New Faucet
When positioning the new faucet, make sure to align the holes in the sink with the corresponding holes in the faucet base accurately. If your sink doesn’t have pre-drilled holes, measure and mark the locations carefully before using the drill to create the holes. Take caution not to damage the sink during this process.
Also read How to Save Water Bill in Your Home with the Best Strategies.
Step 5: Secure the Faucet
When securing the faucet, it’s essential to ensure that it is stable and properly positioned to prevent any future leaks or issues. The mounting hardware provided by the manufacturer should be used as directed. Depending on the faucet design, you may need to insert a rubber or plastic gasket between the faucet and the sink to create a watertight seal. After positioning the gasket, carefully insert the mounting bolts through the holes in the sink and the faucet base, and then tighten the nuts underneath using a basin wrench. Take care not to overtighten, as this could damage the sink or the faucet.
Step 6: Connect the Supply Lines
The supply lines are responsible for delivering water to the faucet, so it’s crucial to connect them properly. Using Teflon tape on the threaded connections helps create a tight seal and prevents water from leaking around the fittings. Wrap the Teflon tape clockwise around the threads of the faucet tailpieces before attaching the supply lines. After connecting the supply lines, use an adjustable wrench to tighten the fittings gently. Be cautious not to apply too much force, as overtightening can lead to leaks or damage to the faucet components.
Step 7: Install Additional Fixtures (Optional)
If your 4-hole faucet includes additional fixtures like soap dispensers or sprayers, follow the manufacturer’s instructions for their installation. Typically, these fixtures come with their own mounting hardware and instructions for connecting them to the faucet or sink. Pay close attention to any rubber gaskets or O-rings that may be included to ensure a proper seal.
Throughout the installation process, it’s essential to double-check all the connections and fittings for any potential leaks. Once everything is securely in place, turn on the water supply and observe the faucet for any signs of leaking. If you notice any leaks, promptly address them by adjusting the connections or replacing faulty components.
Step 8:
Sealing the faucet base is an essential step in the installation process. By applying plumber’s putty or silicone sealant around the base of the faucet, you create a durable and watertight seal. This helps to prevent water from seeping under the faucet, which could potentially lead to water damage and structural issues if left unchecked.
Step 9:
Turning on the water supply is the next crucial step after securely installing the faucet. Once you have completed the installation and sealed the base, it’s time to open the shut-off valves to allow water flow to the faucet. It is essential to carefully check for any leaks around the connections and the base of the faucet. If you do notice any leaks, you should promptly tighten the connections to ensure a proper and leak-free installation.
Step 10:
After completing the installation and checking for leaks, it’s time to test the faucet. Turn on both the hot and cold water to ensure smooth water flow. Additionally, test any additional fixtures that come with your 4-hole kitchen faucet to ensure their proper functioning. By doing this, you can be confident that your newly installed kitchen faucet is working correctly and ready for regular use.
Conclusion
Congratulations! You have successfully installed a 4-hole kitchen faucet. This DIY project not only adds functionality to your kitchen but also gives it a fresh and updated look. By following this well-researched guide and taking your time, you can achieve a professional installation and enjoy your new faucet for years to come. Remember, if you encounter any challenges during the installation, don’t hesitate to seek professional help for a flawless finish. Happy plumbing!
FAQS
1. What is a 4-hole kitchen faucet?
A 4-hole kitchen faucet is a type of faucet that requires four separate holes in the sink or countertop for installation. It typically consists of three components: the spout and two handles for hot and cold water, along with an additional fourth hole for a side spray or soap dispenser.
2. What are the advantages of a 4-hole kitchen faucet?
The main advantage of a 4-hole kitchen faucet is the flexibility it offers. With the extra hole, you can add accessories like a side spray for easier cleaning or a soap dispenser for added convenience. It also allows for a more sophisticated and aesthetically pleasing setup compared to single-hole or three-hole faucets.
4. Can I replace a 3-hole faucet with a 4-hole faucet?
Yes, it’s possible to replace a 3-hole faucet with a 4-hole faucet. However, you’ll need to ensure that your sink or countertop has an additional hole to accommodate the extra component, such as a side spray or soap dispenser.
5. Are 4-hole kitchen faucets more expensive than other types?
The cost of a 4-hole kitchen faucet can vary depending on the brand, materials, and features. In general, they may be slightly more expensive than single-hole or three-hole faucets due to the additional components.
6. Are all 4-hole kitchen faucets the same size?
No, 4-hole kitchen faucets come in various sizes and designs, so it’s essential to measure the distance between the holes on your sink or countertop to ensure a proper fit before purchasing a new faucet.

