Thinking of upgrading your kitchen with a new sink but not sure where to start? Installing a Kraus sink is a great choice, but the process can seem daunting if you’ve never done it before.
In this guide, I’ll cover everything you need to know to successfully install a Kraus kitchen sink, from start to finish. We’ll go over preparing your countertop and cabinet space, attaching the necessary plumbing connections, applying plumber’s putty to seal it up, and securing the sink in place. I’ll also share some helpful tips I’ve learned along the way to make the job go smoothly.
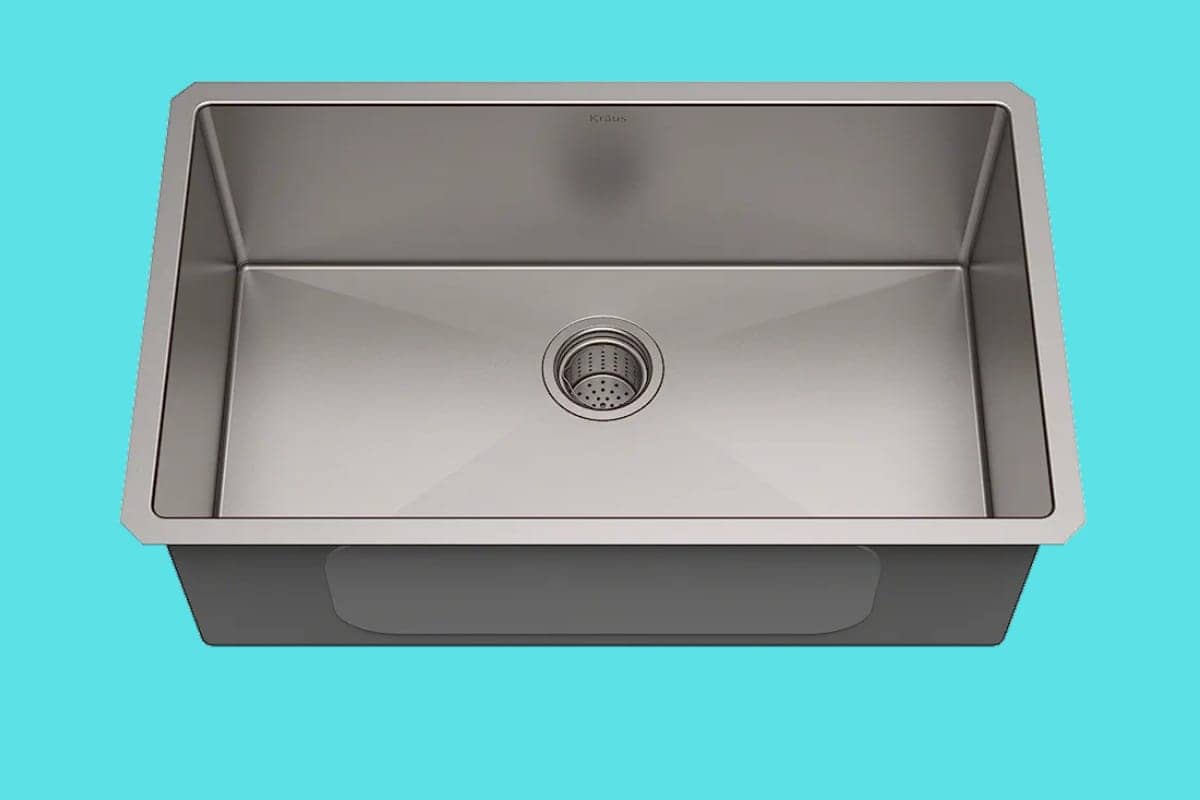
How to Install A Kraus Kitchen Sink
Step 1: Gather Your Tools
It’s always a good idea to be prepared before tackling any home improvement task. For a simple plumbing job like replacing a faucet or drain stopper, there are just a few essential tools you’ll need within arm’s reach.
Rather than rushing out to the hardware store unprepared, take a moment to inventory what’s already in your toolbox. Chances are, you likely have most of the basics covered. Make sure to grab your trusty adjustable wrench – it’s arguably the most useful plumbing tool thanks to its ability to fit virtually any pipe or fitting. A pair of pliers is also a must for gripping and twisting small parts.
No plumbing project is complete without some good old-fashioned plumber’s putty. This putty-like sealant is perfect for creating watertight seals around sinks, drains and other fixtures. Be sure to have a roll on hand before removing any old fittings. You’ll also want a Phillips head screwdriver for removing mounting hardware.
A measuring tape is handy for ensuring any replacement parts are the proper size before installation. It’s always better to double check measurements rather than making multiple trips to the store for the wrong size fitting. Last but not least, keep an empty bucket nearby just in case you need to catch any stray drops of water as you work.
Taking a few minutes to gather these basic plumbing tools will help your project go much smoother. With the right equipment prepped and ready, you’ll be able to tackle small plumbing repairs with confidence. Just be sure to turn off the water and take safety precautions before diving in.
Step 2: Prepare the Area
The first step is always recommended to shut off water supply. This is typically done by locating your main water shut-off valve, which is usually found where the main water line enters your home. Make sure to turn the valve fully so no water can flow into the lines you’ll be working on.
Once the water is off, it’s a good idea to release any pressure still left in the pipes. Open the faucet you’ll be working on to allow any remaining water to drain out.
Next, grab that bucket you gathered earlier and position it directly below the sink or fixture you’re replacing. Even with the water shut off, there’s always a chance a few drops may escape as you disconnect lines. Having a bucket in place will catch any surprises so you don’t end up with a wet mess all over the floor.
Lay down some old towels or a tarp as well to protect surfaces just in case any splashes occur. It’s better to be over-prepared than to have to stop and clean up a spill mid-project.
Finally, clear any items from your immediate work area so you have plenty of space to spread out tools and parts. The last thing you want is obstacles getting in the way when you’re elbow deep under the sink.
Step 3: Remove the Old Sink
At this point, you’ll be ready to remove the old kitchen sink and clear out the work area. Here are a few tips for getting that dated fixture out of there:
Start by locating the water supply lines connecting your sink to the wall valves. Usually these can be disconnected by hand-twisting the coupling nuts that hold the flexible lines in place. Have a rag ready to wrap these fittings as you unscrew them to prevent any residual drips.
Next, turn your attention to the drain pipes. You may need to use a wrench or pliers to loosen the slip nuts connecting the drain assembly to the trap and wall pipes below. Remove these carefully, keeping track of any washers that may fall out in the process.
Once all supply and drain connections are detached, give your sink a gentle nudge to break the seal from any residual plumber’s putty. With any luck, it will lift freely out of the cabinet. You may need to wiggle it side to side to break it fully free from the mounting brackets.
Take advantage of the empty space to give your cabinet walls and countertop a good wipe down. Use a rag dampened with cleaner or mineral spirits to remove any built up grime left behind by the old fixture over the years.
Inspect the drain assembly and supply lines for any signs of damage as well. Now is a great time to replace worn washers, slip nuts or flex lines if needed before installing the new sink.
With the old sink removed and area cleaned, you’ll be all set to drop in that sparkling new fixture looking like a pro!
Step 4: Measure and Prepare
Before installing the new sink, it’s important to take accurate measurements and do any prep work needed. Here are a few tips:
Pull out the Kraus sink you selected and lay it in the empty cabinet space. Take a moment to verify the overall dimensions work with your existing setup. It may need to be a very precise fit, so double check width, length, and depth.
If it looks like the sink base won’t clear any internal braces or isn’t sitting flush, you may need to do some minor cabinet adjustments first. A jigsaw or reciprocating saw can help remove small pieces of wood to tweak the opening as needed.
With the fit verified, take a good look at where the faucet holes and other features like the soap dispenser opening are located on the new sink. Mark these directly onto the cabinet wallpaper with a pencil for later reference.
This ensures your faucet and other accessories line up perfectly the first time. It also prevents any second-guessing later when caulk or mounting brackets need to be installed in precise locations.
Taking these measuring and marking steps up front makes the actual installation process much smoother. You’ll be confident your new sink is going to fit like a glove in the space.
Step 5: Apply Plumber’s Putty and Secure the Sink
It’s time to make that sink installation watertight! Plumber’s putty is your new best friend here. Take a small piece and roll it between your hands into a nice thin snake shape. Then lay it right along the edge of the sinkhole. You want to make sure to completely seal up that opening so water doesn’t go anywhere it shouldn’t.
Go ahead and gently set the sink down into place. Take your time lining it up with the marks you made earlier. This is important so it sits just right. Once it’s positioned, use a little pressure to press the sink edges firmly against the putty. This helps squeeze out any air bubbles that could cause leaks.
Your kit should have come with some metal clips, brackets, or other hardware for holding the sink down. Follow the instructions closely to place them evenly around the sink edge. Then take your screwdriver and tighten them up just enough to keep everything snug but not too tight.
And just like that, your sink is in, sealed, and ready to use! Be sure to clean up any excess putty. Then you can fill it up and test for leaks before calling it a day. With a little patience and following the steps, anyone can get the job done.
If you’re looking Kraus kitchen sinks, we have reviewed some following models: