Installing a soap dispenser in your kitchen can be a convenient and hygienic addition to your daily routine. In this guide, we’ll walk you through the step-by-step process of installing a soap dispenser in your kitchen, ensuring a seamless and efficient setup.
How to install a Soap Dispenser in Your Kitchen
Step 1: Gather Your Tools and Materials
Before you begin the installation process, make sure you have all the necessary tools and materials. Typically, you’ll need a soap dispenser kit (including the dispenser, bottle, and pump), a screwdriver, plumber’s tape, and a wrench.
Step 2: Choose a Suitable Location
Select a suitable location for your soap dispenser. Most people prefer to install it near the kitchen sink for easy access. Ensure that the chosen spot is easily reachable and doesn’t interfere with other kitchen activities.
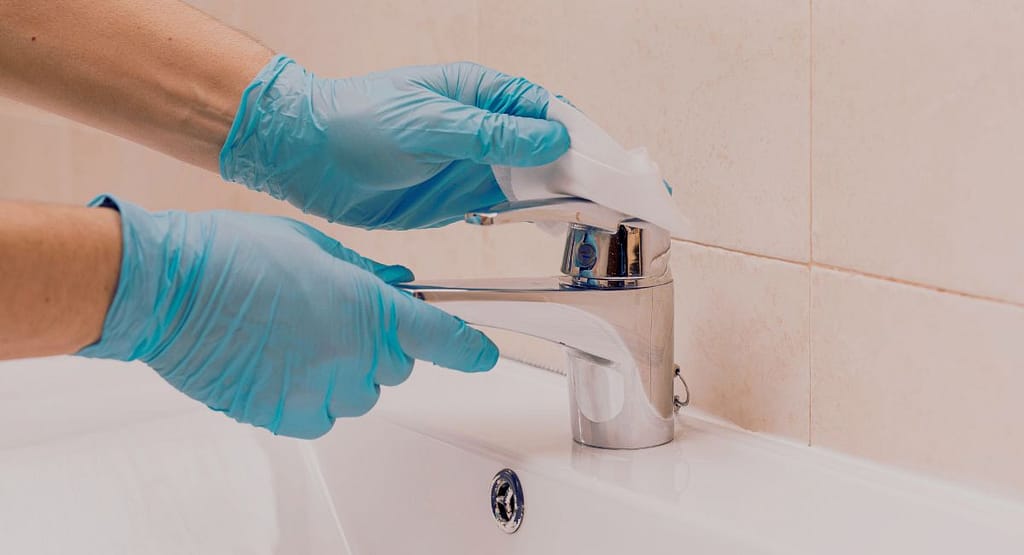
Step 3: Prepare the Sink Surface
Clean the area around the chosen location to ensure a smooth and secure attachment. Wipe away any dirt, grime, or residue that may affect the adhesive or mounting process.
Step 4: Mount the Soap Dispenser
Depending on the type of soap dispenser you have, follow the specific instructions for mounting. Some dispensers come with adhesive backing, while others require screws for secure attachment. Use a level to ensure that the dispenser is straight and aligned.
Step 5: Connect the Pump to the Bottle
Make sure to follow the manufacturer’s instructions when connecting the pump to the bottle for your soap dispenser, and ensure a secure seal to avoid any potential leakage.
Step 6: Install the Bottle Under the Sink
If your soap dispenser is designed to be filled from under the sink, install the bottle accordingly. Use a wrench to tighten the connections and prevent any potential leaks.
Step 7: Test the Dispenser
Before declaring the installation complete, test the dispenser to ensure that it functions correctly. Pump a few times to prime the pump and check for any signs of leakage or malfunction.
Step 8: Adjust Dispensing Amount (if applicable)
Some soap dispensers allow you to adjust the amount of soap dispensed per pump. Refer to the dispenser’s manual to make any necessary adjustments based on your preference.
How to Install a wall-mounted soap dispenser?
Certainly! Installing a wall-mounted soap dispenser involves a few key steps:
1. Choose Location: Select a suitable location for the dispenser near the sink, preferably at a convenient height for users.
2. Locate Studs: Locating studs is essential for a sturdy installation. A stud finder helps identify the vertical framing members behind your wall. These studs provide a solid anchor point, crucial for stability when mounting items like a soap dispenser. When you mark positions for mounting, make sure they align with the studs. This ensures a strong connection, reducing the risk of the dispenser coming loose or causing damage to the wall over time. Using a level during this process ensures that your markings are straight, contributing to a neat and professional-looking installation.
3. Mark Positions: After locating the studs, mark the positions for mounting the dispenser and ensure straight markings by using a level. This helps achieve a secure and level installation.
4. Drill Holes: Drill pilot holes into the marked positions. Make sure the drill bit is appropriate for the wall material (drywall, tile, etc.).
5. Insert Wall Anchors (if needed): If the dispenser didn’t come with anchors and your wall material requires them, insert wall anchors into the drilled holes.
6. Attach Mounting Bracket: Securely attach the mounting bracket or plate to the wall. If using anchors, ensure they are snug.
7. Mount the Dispenser: Align the dispenser with the mounting bracket and attach it securely. This may involve screws or other fasteners depending on the design.
8. Fill the Dispenser: Once the dispenser is mounted, fill it with the desired soap or sanitizer according to the manufacturer’s instructions.
9. Test Dispenser: Test the dispenser to ensure proper functionality. This may involve pumping the dispenser a few times to prime it.
10. Cleanup: After the installation is complete, take the time to clean up any debris or dust that may have accumulated during the process. This ensures a tidy finish and leaves your space looking neat and well-maintained.
Always refer to the specific instructions provided by the manufacturer of your wall-mounted soap dispenser, as installation steps can vary based on the product design.
Conclusion
By following these step-by-step instructions, you can easily install a soap dispenser in your kitchen, adding a touch of convenience and cleanliness to your daily routine. Enjoy the benefits of a mess-free and easily accessible soap solution right at your fingertips.
Frequently Asked Questions About Installing a Soap Dispenser in the Kitchen
Q: Can I install a soap dispenser on any type of kitchen sink?
A: Yes, most soap dispensers are designed to be versatile and can be installed on various types of kitchen sinks, including stainless steel, ceramic, and composite sinks.
Q: Do I need any special tools to install a soap dispenser?
A: Basic tools such as a screwdriver, plumber’s tape, and a wrench are usually sufficient for the installation process. However, it’s essential to check the specific requirements outlined in the dispenser’s manual.
Q: Can I install a soap dispenser without professional help?
A: Yes, installing a soap dispenser is typically a DIY-friendly task. The provided instructions in the dispenser kit, along with basic tools, should enable most users to complete the installation successfully.
Q: Where is the best location to install a soap dispenser in the kitchen?
A: The ideal location is near the kitchen sink for easy access. Choose a spot that doesn’t interfere with other kitchen activities and is easily reachable during food preparation and clean-up.
Q: How do I prevent leaks during the installation process?
A: Use plumber’s tape on the threads to ensure a secure and watertight connection. Tighten the connections properly, and test the dispenser for any signs of leakage before considering the installation complete.
Q: Can I refill the soap dispenser from the top or under the sink?
A: Certainly! Whether you can refill the soap dispenser from the top or under the sink depends on its design. Check the dispenser’s manual for specific instructions, as some models allow top refilling, while others may require refilling from under the sink.
Q: How do I adjust the amount of soap dispensed per pump?
A: Refer to the dispenser’s manual for instructions on adjusting the soap dispensing amount. Some dispensers have a feature that allows users to customize the amount based on personal preference.
Q: What should I do if the soap dispenser is not pumping correctly?
A: If your soap dispenser is not pumping correctly, first, ensure the pump and bottle connections are secure. If the issue persists, consult the troubleshooting section in the manual for guidance. Alternatively, reach out to the manufacturer for assistance in resolving the problem.
Q: Can I use any type of liquid soap in the dispenser?
A: Most soap dispensers are designed to accommodate various types of liquid soap. However, it’s advisable to use a soap that is compatible with the dispenser to prevent clogs or malfunctions.