When it comes to kitchen faucets, Kohler is a renowned brand that offers both style and functionality. However, if you find that your Kohler kitchen faucet’s water flow is not as robust as you desire, the culprit might be the flow restrictor. A flow restrictor is a small device installed in faucets to conserve water.
While it serves an important purpose in water conservation, some users may prefer to remove it to increase water flow. In this blog post, we will guide you step-by-step on how to remove the flow restrictor from your Kohler kitchen faucet, empowering you to customize your water flow experience.
Removing the Flow Restrictor in Kohler Kitchen Faucet
Before We Begin:
Before attempting to remove the flow restrictor, it is crucial to check local regulations regarding water usage. Keep in mind that removing the flow restrictor may increase water consumption, leading to higher utility bills and environmental impact.
Step 1: Gather the Necessary Tools
To successfully remove the flow restrictor, you will need a few tools. You must have the following tools:
- Adjustable wrench or pliers
2. Soft cloth or towel
3. Penetrating oil (e.g., WD-40) – optional, but helpful if the flow restrictor is stuck
Step 2: Shut off the Water Supply
Before working on your faucet, locate and turn off the water supply valves underneath the sink. This precautionary step will prevent any accidental water leaks or mess.
Step 3: Disassemble the Faucet Head
Carefully remove the faucet head by twisting it counterclockwise. Use an adjustable wrench or pliers to provide a firm grip while unscrewing the faucet head. Protect the faucet surface by wrapping it with a soft cloth or towel to prevent scratches.
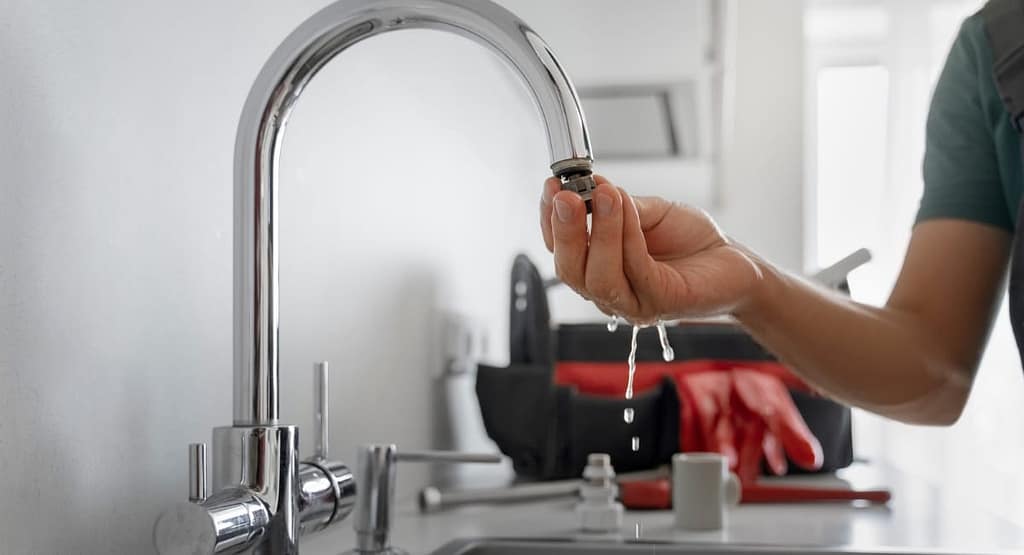
Step 4: Locate the Flow Restrictor
Once the faucet head is removed, inspect the inside for the flow restrictor. The flow restrictor is typically a small plastic or metal disc with perforations. It is often located near the aerator, which is responsible for creating a smooth water stream.
Step 5: Remove the Flow Restrictor
To remove the flow restrictor, you can try the following methods:
Method 1: Gently Twist and Pull
Using your fingers or a pair of pliers, try twisting the flow restrictor counterclockwise. Apply steady pressure while turning until it loosens. Once it’s loose enough, you can pull it out with your fingers.
Method 2: Using Penetrating Oil
If the flow restrictor seems stuck or difficult to remove, you can try applying a small amount of penetrating oil, such as WD-40, to help loosen it. Allow the oil to penetrate for a few minutes, then try twisting and pulling it out again.
Step 6: Reassemble the Faucet Head
After successfully removing the flow restrictor, it’s time to reassemble the faucet head. Place the aerator back into the faucet head, ensuring it is properly aligned. Use your hands to tighten it securely, avoiding overtightening that could damage the components.
Step 7: Turn on the Water Supply
With the faucet head reassembled, turn on the water supply valves beneath the sink to restore the water flow. Gradually increase the water flow and observe if it meets your desired expectations.
Conclusion
By following these step-by-step instructions, you can remove the flow restrictor from your Kohler kitchen faucet, providing a potentially higher water flow rate. However, it is essential to consider the environmental and financial implications of increased water consumption. Always be mindful of local regulations and strive for a balance between comfort and sustainability. Enjoy your newfound customized water flow experience while keeping water conservation in mind.
How to Remove Kohler kitchen faucet Handle

Removing the handle of a Kohler kitchen faucet is a relatively straightforward process that requires a few basic tools. Before you begin, make sure to gather the necessary equipment: an adjustable wrench, a flathead screwdriver, and a cloth or towel to protect the faucet finish from scratches. Additionally, it’s recommended to turn off the water supply to the faucet to prevent any accidental leaks or water damage during the removal process.
1. Locate the water supply valves: Look under the sink for the water supply valves and turn them off by rotating the handles clockwise. This step is crucial to prevent water from flowing when you detach the faucet handle.
2. Remove the decorative cap: Many Kohler faucet handles have a decorative cap covering the retaining screw. The cap is typically located at the top or front of the handle. Gently pry off the cap using a flathead screwdriver. Be cautious not to scratch the surface while doing this. Some models may have a se screw instead of a cap, so you can skip this step if your faucet doesn’t have a cap.
3. Loosen the retaining screw: Once the cap is removed, you will find a retaining screw securing the handle. Use a screwdriver to loosen and remove the screw. Turn it counterclockwise until it comes out completely. Place the screw in a safe location, as you will need it for reassembly later.
4. Lift off the handle: After removing the retaining screw, you can now lift the handle off the faucet body. Sometimes the handle may be tight or stuck due to mineral deposits or long-term use. In such cases, gently wiggle the handle back and forth while pulling upwards to free it from any adhesive or friction.
5. Inspect the cartridge: With the handle removed, you will likely see the cartridge, which controls the flow of water. Take this opportunity to inspect the cartridge for any signs of damage or wear. If you notice any issues, it may be necessary to replace the cartridge.
By following these steps, you should be able to successfully remove the Kohler kitchen faucet handle. Remember to store the removed parts in a safe place and keep them organized for easy reassembly. If you encounter any difficulties or have concerns about the process, it’s always a good idea to consult the specific product manual or contact Kohler customer support for further assistance.
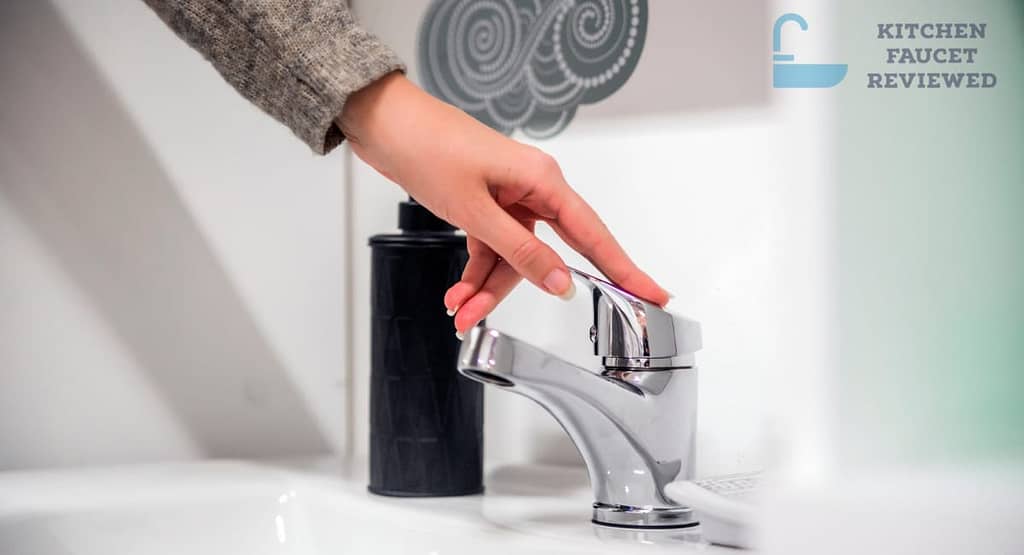
How to tighten Kohler kitchen faucet handle
To tighten a loose Kohler kitchen faucet handle, you can follow these steps:
1. Turn off the water supply: Before you begin any work on the faucet, it’s important to turn off the water supply to avoid any accidental leaks or water damage. Locate the water supply valves under the sink and turn them clockwise to shut off the water flow.
2. Identify the type of handle: Kohler kitchen faucets may have different types of handles, such as lever handles or knob handles. The method for tightening the handle may vary slightly depending on the type.
3. Remove the decorative cap or cover (if applicable): Some Kohler faucet handles have a decorative cap or cover that conceals the screw or fastener. Look for a small cap on top or near the base of the handle. Use a flathead screwdriver to gently pry off the cap, being careful not to damage the finish.
4. Locate the retaining screw: Once the cap is removed, you will see a screw or fastener that holds the handle in place. Use an appropriate screwdriver or Allen wrench to tighten the screw. Turn it clockwise to tighten it securely. If the screw is already tight and the handle is still loose, you may need to try a different method.
5. Access the handle base: In some cases, the handle base may be hidden under a decorative escutcheon plate or cover. Look for any visible screws or tabs that secure the escutcheon plate. Remove any fasteners or screws, and carefully lift off the escutcheon plate to expose the handle base.
6. Tighten the handle base: Once the handle base is accessible, you can tighten it to secure the handle. Depending on the specific model, you may need a wrench or adjustable pliers to tighten the nut or collar beneath the handle base. Turn it clockwise until it is snug and the handle feels firm and stable.
7. Reassemble the faucet: After tightening the handle base, reassemble any components that were removed, such as the escutcheon plate or decorative cap. Make sure everything is aligned properly and securely fastened.
8. Turn on the water supply: Once you have completed the tightening process and reassembled the faucet, you can turn the water supply back on. Check for any leaks around the handle or the faucet body. If you notice any leaks, double-check the tightness of the handle and associated components.
By following these steps, you should be able to tighten a loose Kohler kitchen faucet handle. It’s important to note that the specific process may vary depending on the model of your faucet. If you have difficulty or encounter any issues during the tightening process, referring to the product manual or contacting Kohler customer support for guidance is recommended.
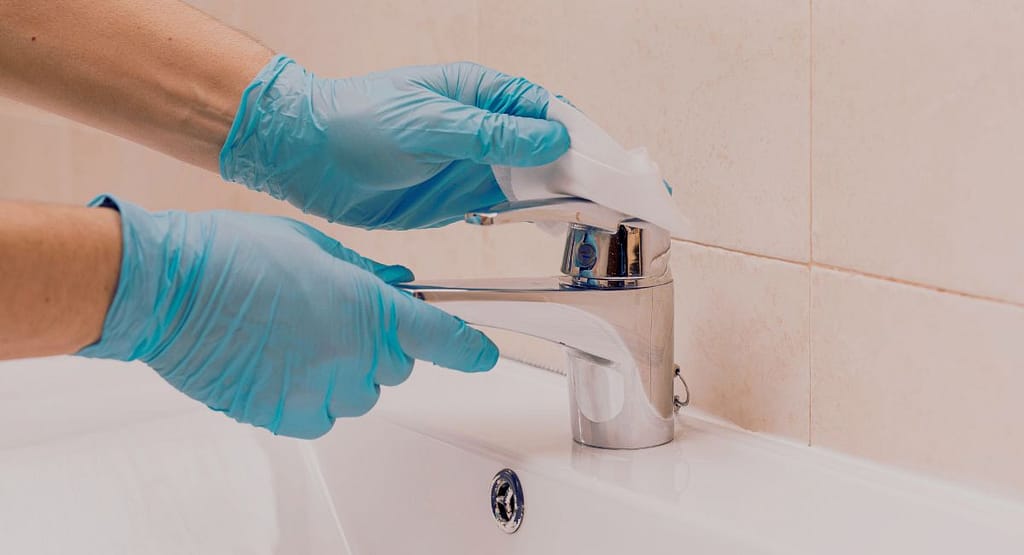
How to clean Aerator on Kohler kitchen faucet
Cleaning the aerator on your Kohler kitchen faucet is an essential maintenance task that ensures the faucet operates efficiently and provides a steady flow of water. Here’s a step-by-step guide on how to clean the aerator thoroughly:
1. Gather the necessary tools: Before you start, gather a few tools that will make the cleaning process easier. You’ll need an adjustable wrench, a pair of needle-nose pliers, a small bowl, white vinegar, a toothbrush, and a clean cloth.
2. Turn off the water supply: Locate the water supply valves under your sink and turn them off by rotating them clockwise. This will prevent water from flowing while you clean the aerator.
3. Prepare the work area: Place a towel or rag in the sink to prevent any small parts from falling down the drain. This will also provide a soft surface for you to work on without damaging the faucet or aerator.
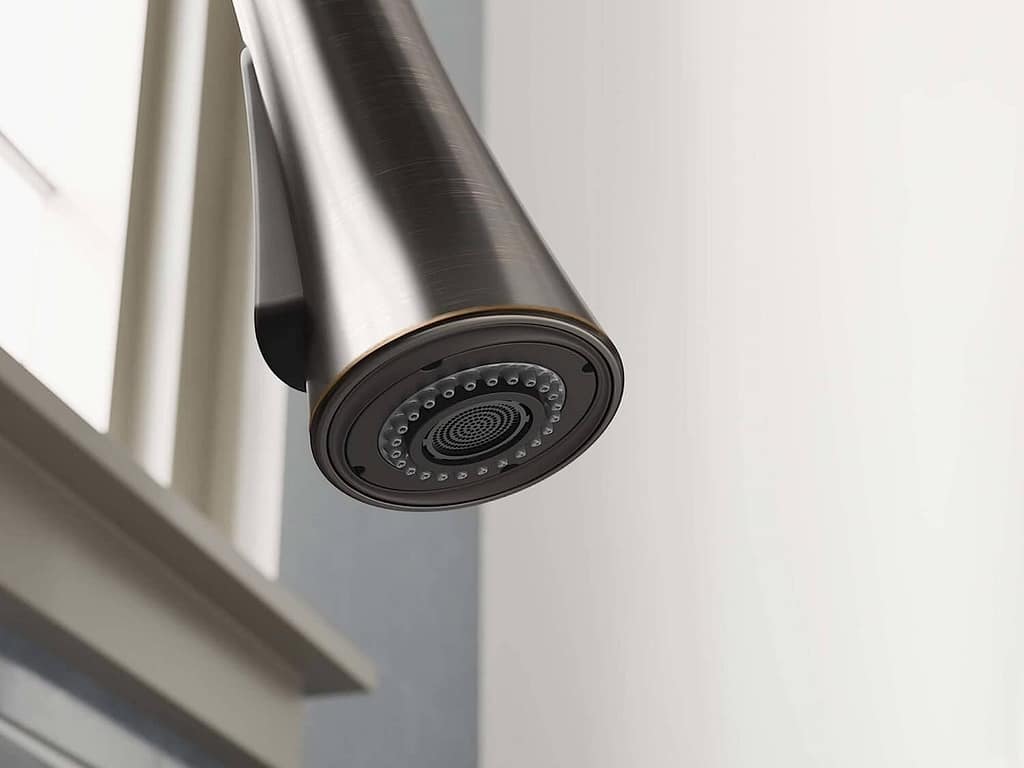
4. Remove the aerator: Locate the aerator at the tip of your Kohler kitchen faucet. It is a small device with mesh screens and a circular shape. To remove it, wrap a cloth around the aerator to protect its finish and use adjustable pliers or an adjustable wrench to grip the aerator tightly. Rotate counterclockwise to unscrew the aerator from the faucet spout. Be careful not to apply excessive force to avoid damaging the aerator or faucet.
5. Disassemble the aerator: Once you have removed the aerator from the faucet, disassemble it carefully. Some aerators have multiple parts, including the outer casing, mesh screens, and a flow restrictor. Pay attention to the order of the parts as you take them apart, or take a photo for reference.
6. Soak the parts in vinegar: Fill a small bowl with white vinegar and submerge the disassembled parts of the aerator in the vinegar. Vinegar is an excellent natural cleaning agent that helps dissolve mineral deposits and lime scale that can clog the aerator. Let the parts soak for about 30 minutes to loosen any buildup.
7. Scrub the mesh screens: After soaking, take a toothbrush and gently scrub the mesh screens to remove any remaining debris. Be thorough but gentle to avoid damaging the delicate screens.
8. Clear the flow restrictor: If your aerator has a flow restrictor, inspect it for any clogs. It is usually a small plastic disc with tiny holes. Use a needle or pin to clear any debris or mineral deposits that might be blocking the flow. Ensure the holes are completely clean and free of obstructions.
9. Rinse and reassemble: Once you have cleaned all the individual parts, rinse them thoroughly under running water to remove any vinegar or loosened debris. Make sure all the parts are completely clean before reassembling them in the correct order. Check for any damaged or worn-out components and replace them if necessary.
10. Reinstall the aerator: Take the cleaned and reassembled aerator and screw it back onto the faucet spout by turning it clockwise. Use a cloth to grip the aerator and avoid scratching its finish. Tighten it firmly, but be careful not to overtighten, as this could cause damage.
11. Turn on the water supply: After you have securely reattached the aerator, open the water supply valves under the sink by rotating them counterclockwise. Turn on the faucet to check for any leaks and ensure that water flows smoothly through the cleaned aerator.
By following these steps, you can effectively clean the aerator on your Kohler kitchen faucet, allowing it to maintain optimal performance and providing you with a satisfying water flow. Remember to schedule regular cleanings to prevent future buildup and ensure a long lifespan for your faucet.