Some people are using Acrylic Tubs in their bathrooms but after some usage, they look dirty or show some stains. Many people are searching for how to clean an Acrylic tub. So, after research, and my own experience, I brought the solution to this problem. Yeah, in this blog, you can completely know how can you clean an Acrylic tub.
Also, I tried to answer some questions that usually people ask.
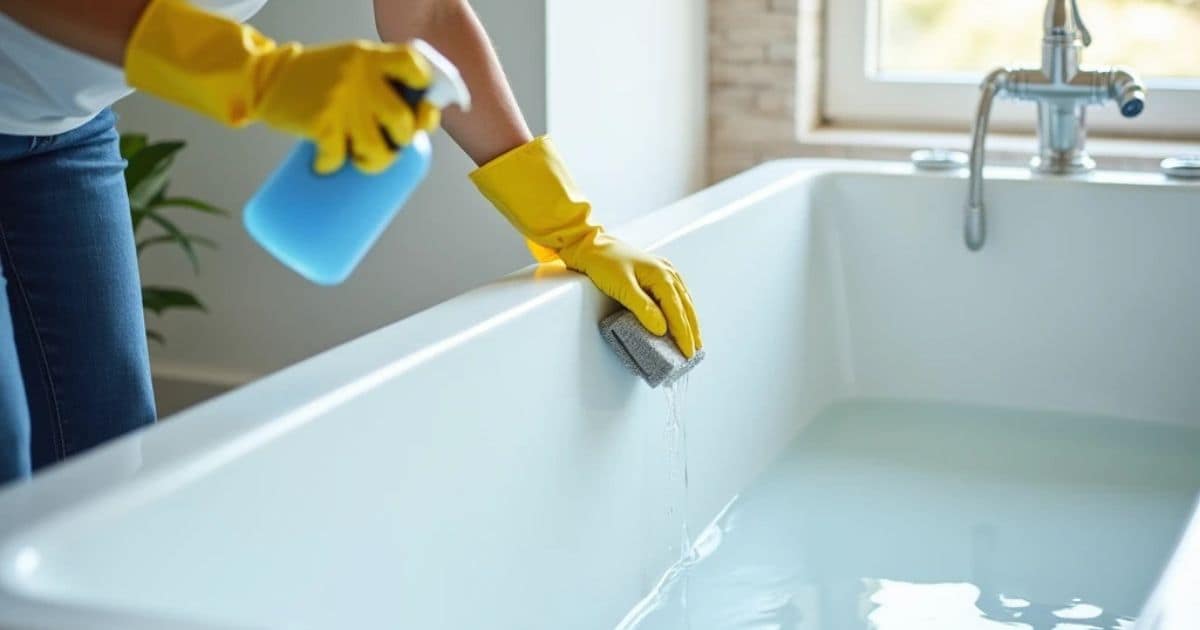
How to Clean an Acrylic Tub?
1. Gather your supplies:
To clean your acrylic tub, you’ll need a few things. A soft sponge or cloth so you don’t scratch the surface, some mild dish soap to cut through the grime, baking soda as a gentle scrubber, vinegar to help remove any tough residue, and warm water.
2. Rinse it down:
Okay, once you’ve got your supplies gathered it’s time to get rinsing! Start by giving that whole tub area a good spray down with warm water. This helps loosen up any dirt or grime that’s just clinging on for dear life. Get it nice and wet so it’s ready to really soak up the cleaning power.
No need to go crazy scrubbing at this point. Just let the water do the work of lifting away what wants to come up easily. Think of it like a pre-treatment before you slather on the deep cleaning mask. Give it a good spray all over, including any taps or fixtures.
You’ll be surprised how much comes off with just a rinse. Always better to start with this step so you’re not rubbing hardened crud around and potentially scratching the surface. Just take your time rinsing nooks and crannies until it runs pretty clear.
3. Mix up a cleaning solution:
In a small bowl, combine one tablespoon of your favorite dish soap with a cup of the warm water. Just a little squirt is all you need – we’re not trying to blow bubbles here!
Give it a good whisk together until the soap is fully dissolved. I like to pretend I’m a mad scientist in my lab.
This soapy solution is your secret weapon. That dish soap cuts through dirt and grease like nobody’s business. And diluting it with water means it’s gentle enough for your tub material.
No harsh chemicals needed when you’ve got this on your side.
4. Scrub-a-dub:
Next, it’s time to scrub! Work in gentle circular motions all over the tub surface. Keep focusing on dirty or stained areas. Go slowly to lift the grime without damaging the tub material.
The key is being gentle with your scrubbing, just like my friend Luigi always says. No need to scrub too harshly. With some steady circular rubbing, the tub will be fresh and clean before you know it.
5. Dealing with Stubborn Stains
For those tough marks that remain, it’s time to call in the big guns – baking soda. Just sprinkle a little directly onto the stubborn stain. The baking soda acts as a mild abrasive to lift the stain without scratching the surface.
Then gently scrub the baking soda into the stain using your sponge or cloth. With a bit of elbow grease, I find this typically does the trick. Just be patient and don’t scrub too hard.
Once all the stains have disappeared, it’s time for the final rinse. Use warm water to thoroughly wash away any remaining cleaning solution or baking soda residue. You don’t want anything left behind!
To finish, wipe down the tub with a clean, soft cloth. This removes any excess water and leaves behind a beautiful clean sheen. Your tub will be fresh, stain-free and ready for soaking!
Extra Tips
So you’ve scrubbed away the dirt and stains but still see some soap scum lingering? No problem – vinegar is your secret weapon. Just dampen your sponge with some white vinegar and gently scrub the scummed areas.
Vinegar is amazing at cutting through that grimy film without harsh chemicals. Give it a good going over and watch as the scum melts away. Be sure to rinse well with warm water afterwards so no residue is left behind.
Almost done! To get that final shine, I like to give the tub one last wipe down with a clean, dry cloth. This helps prevent any water spots from forming. Just buff away any remaining moisture.
Now your tub is fresh and gleaming, ready for a nice long soak. I hope these extra tips come in handy next time your tub needs some TLC.
Will baking soda scratch acrylic tub?
Let me assure you that baking soda is generally safe to use on acrylic tubs without causing scratches. However, it’s important to be cautious and follow these steps:
First, dampen a soft cloth or sponge with water. Put a little amount of baking soda onto the wet cloth or sponge. Gently scrub the acrylic tub using a circular motion. Be sure to cover the entire surface while being gentle to avoid any potential scratching.
After scrubbing, rinse the tub thoroughly with warm water to remove any residue. It’s important to ensure that all the baking soda is rinsed away. Finally, dry the tub using a soft towel to prevent any water spots or streaks.
Can I polish an Acrylic tub?
After a good scrub, does your acrylic tub ever seem a little dull? No need to worry – it’s easy to bring back the shine with a quick polish.
All you need is a soft cloth and some olive or mineral oil. The oil moisturizes without harsh chemicals that could damage the surface over time. I like to dip my cloth in the oil and wipe it all over the inside of the tub.
Pay special attention to any areas that seem faded or lackluster. Gently buffing in small circles brings back that beautiful gloss. No elbow grease required!
For tougher jobs, you can find acrylic polish at most home stores. Apply a thin, even coat and buff to a high shine. Just be sure not to over-apply, which could leave residue.
A quick polish every few months or so keeps my tub looking its best. The acrylic really responds well to these natural oils.
Are acrylic tubs hard to clean?
I know firsthand how acrylic tubs can sometimes feel like they attract dirt faster than other materials. But have no fear – with the right approach they don’t have to be a headache to clean.
The key is using gentle, non-abrasive cleaners that won’t scratch the surface. Harsh scrubbing is a no-no. I like to mix a solution of warm water and a few drops of dish soap or all-purpose cleaner. This cuts through grime without damaging the tub.
For tough stains, a sprinkling of baking soda does the trick. Just be sure to scrub lightly in circular motions. Rinse fully to remove any residue that could dull the shine over time.
Vinegar is another secret weapon against soap scum buildup. Dampen a soft cloth with vinegar and wipe down the tub – it melts away that grime instantly. Just be sure to rinse thoroughly to remove any traces.
With the right approach, your acrylic tub can stay fresh and clean with minimal effort. Avoid powders or anything too abrasive.
How do I protect my acrylic tub?
protecting your acrylic tub is crucial to keep it in pristine condition!
1. Use gentle cleaning products: Stick to mild, non-abrasive cleaners specifically designed for acrylic surfaces. Harsh chemicals can cause damage.
2. Avoid abrasive materials: When cleaning or scrubbing your tub, opt for soft cloths, sponges, or non-abrasive brushes. Abrasive materials like rough scrub brushes or scouring pads can scratch the acrylic surface.
3. Wipe dry after use: To prevent water stains or buildup, wipe your tub dry after each use. This will help maintain its shine and minimize the risk of any long-term damage.
4. Avoid direct impact: Be cautious when placing heavy or sharp objects in your tub, as they can potentially chip or scratch the acrylic surface. Use mats or protective covers to prevent any accidental damage.
5. Regular maintenance: Perform regular cleaning and maintenance routines to keep your acrylic tub looking its best. Follow the manufacturer’s guidelines and recommendations for proper care.
How can be removed deep scratches from acrylic bath?
Firstly, it’s important to determine the severity of the scratches. If they are only minor surface scratches, you may attempt to address them yourself. However, if the scratches are deep or extensive, it would be wise to seek professional assistance.
There are specialized acrylic repair kits available in the market that can be of great help. These kits usually contain filler compounds and buffing agents specifically designed to minimize the appearance of scratches.
Begin by thoroughly cleaning the scratched area. Then, apply the filler compound as directed, ensuring that it completely fills the damaged area.
Once the filler has dried, gently buff the repaired area using a soft cloth or buffer provided in the repair kit. This will help blend the repaired portion with the surrounding surface, reducing the visibility of the scratches.
In cases where the scratches are deep or extensive, it is advisable to seek the expertise of a professional acrylic repair specialist. They possess the necessary skills and tools to handle more severe damage and ensure the best possible outcome.
Do acrylic baths scratch easily?
Acrylic baths are generally more resistant to scratches compared to other materials like porcelain or enamel. However, it’s important to note that while acrylic is durable, it is not completely scratch-proof.
Acrylic baths are designed to withstand everyday use and normal wear and tear. They can resist minor scratches caused by regular cleaning or gentle handling. However, it’s always best to take precautions to avoid any potential damage.
Read our recommended Guides:
- How to Install Sprayer in Kitchen Faucet?
- How to Tighten Moen Bathroom Faucet Handle?
- How to Clean Your Tarnish Chrome Faucet
- How Can You Remove Delta Kitchen Faucet
- How Can You Repair Moen Kitchen Faucet
- How to Replace Cartridge in a Delta Faucet?
- How Can Be Fixed A Stiff Faucet Handle
- How to Fix a Leaky Grohe Bathroom Faucet?
- How to Install a 4-Hole Kitchen Faucet
- How to install a Soap Dispenser in Your Kitchen?