How to Clean Your Tarnish Chrome Faucet?
Shiny chrome fixtures make your kitchen and bathroom shine, but as they spend time in the workplace they start to dull. This problem has to face by every homeowner, this is why some people buy a new model to renovate the kitchen. But, this is not a solution to the problem since the solution is to clean the faucet so that we can save our money.
in this article, we brought some tips that will help you to clean the tarnished kitchen or bathroom faucet. We guide you step by step for how to clean your tarnished chrome kitchen faucet. Also, we tell you about the cleaners that can remove the stains which came on the faucet.
What Are the Method for Cleaning A Tarnish Chrome Faucet?
Plain Soap & Hot Water
Step 1: Prepare a solution of warm water and soap
When it says to use a “small bucket”, we’re talking something around 1-2 gallons in size. You only need a little solution for this job. Personally, I like to use one of those blue Sterilite buckets I have under the sink – just the right height to work over efficiently.
As for the soap, any basic dish soap will do the trick. Dawn or Joy work great, in my experience. I usually go with 2-3 good squirts directly into the bucket. It’s too little and won’t suds up enough, but you don’t want to go overboard either since residue could gum things up later.
Use lukewarm water – too hot, and it might melt things; too cold won’t dissolve the soap well. I fill my bucket about 3/4 of the way, then check the temperature before adding more. You want it comfortably warm to the touch.
Please give it a good stir to incorporate the soap bubbles throughout. I like to use one of the disposable chopsticks I keep in the utensil drawer for easy mixing.
Once it’s all sudsy, you’re good to go for the rest of the repair steps. I usually prepare it first so it’s ready when needed.
Step 2: Soak a rag in the solution
When it recommends using an “old cloth”, you definitely want something you don’t mind getting grimy. An old cotton t-shirt or hand-me-down towel from the linen closet works well.
To cut it into pieces to make a rag, you’ll want sections that are about 6-8 inches square. This size is big enough to scrub with but still maneuverable in tight spots.
Drop the rag pieces right into your soapy water solution bucket. Make sure they’re fully submerged so all surfaces get thoroughly soaked. Let it sit for 5 minutes or so to ensure saturation.
When you pull it out, gently but firmly ring it out over the bucket. You’re looking to remove excess liquid but still leave lots of soapy bubbles clinging to the fibres. Ringing allows for good scrubbing action without drips everywhere.
Please give it a test squeeze to check the dampness level. It should feel moist but not dripping. If it’s too wet, money it again before use. And make sure to wring with your hand protected; I wouldn’t want soap in a cut later!
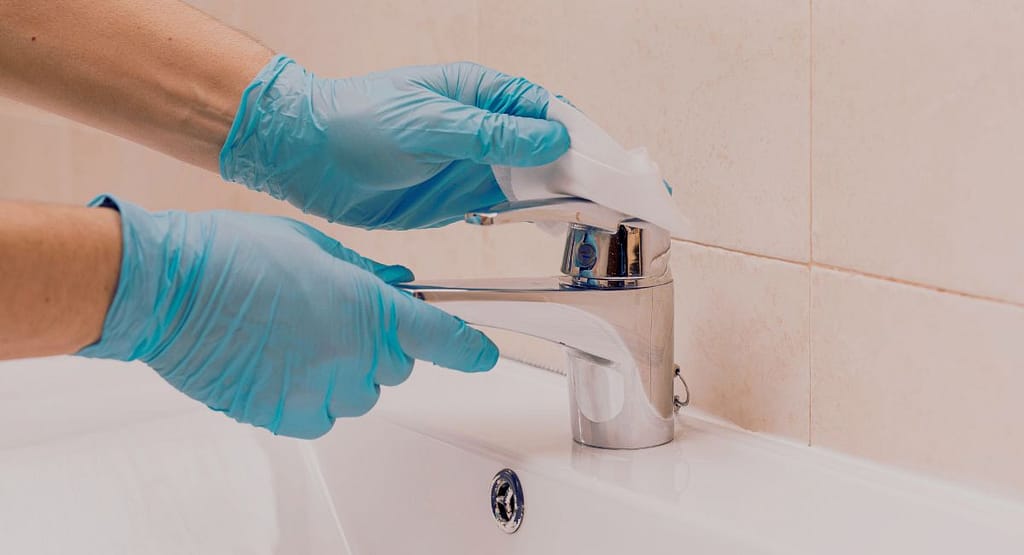
Step 3: Remove dirt
Once you’ve got your soapy rag all prepped from the last step, it’s time to start tackling that built-up dirt and grime!
First, give your faucet a once-over with your eyes. Really inspect all nooks and crannies to identify where dirt seems caked on thickest. Those trouble spots may need an extra scrub or two.
Start by folding your rag into quarters to get all four sides involved in the cleaning. Then, gently but firmly rub them over handle surfaces and spout areas. The suds will help cut through greasy films.
Use a bit more elbow grease in a back-and-forth motion for any embedded gunk. Don’t be afraid to press down – these rags can take some pressure. And re-wet with the solution as needed.
Pay extra attention to rounding base areas and behind handles where junk really accumulates over time. Get in there with your fingernail if you are smoothing out scratches.
Rinse and inspect frequently as you clean. You’ll be amazed how much comes off even on that first pass! Wipe away residue before it dries.
With some patience, you should eventually see clear polished metal emerging under all that yuck. Fresh towel when this one gets to be a lost cause.
Step 4: Rinse the faucet
Once you’ve given the whole thing a good go-over with the soapy rag, it’s time for the final rinse. Run that rag under cool water until the bubbles are gone – that’ll remove any lingering soap scum.
Then, take your rinsed rag and do one last wipe down of all surfaces. Pay attention to crevices that could hold onto moisture. A dry faucet is a happy faucet!
Now for stubborn stains – soaking is your friend. Fill a small bowl with warm water and a few drops of dish soap. Submerge just the problem areas for 5-10 minutes.
The heat and bubbles work to dissolve in stuck-on grime. You’ll likely see it start lifting off into the water. Have patience here; it will take some time.
A soft bristle toothbrush is a great gentle scrubber if a stain is still hanging on. Use light pressure in a circular motion rather than harsh back and forth. The bristles safely reach trouble spots without scratching.
Once you’ve coaxed up all you can, rinse thoroughly and towel dry. Polished chrome never looked so good! These tips will help you achieve burble faucet bliss.
Aluminum Foil Trick
Step 1: Take a square shape of aluminum foil
Using a piece of Aluminum foil can remove rust and tarnish from the faucet, therefore, we want to share this tip with you. If you have aluminum foil then you need to cut it into a square shape (a square shape is not compulsory since you can cut it in any shape but the square is better than another).
Step 2: Crumble and soak in warm water
After cutting the aluminum foil, now we need to crumble it and soak it in vinegar or warm water.
Step 3: Scrub the faucet
After the process, put out the foil and rub it on the faucet body like a rag or brush until the foil becomes brittle or too dirty. While the foil becomes crumbled or dirty, then take another aluminum foil and do the same work and keep the work continuous. You should be careful not to press the foil too hard on the faucet body or you will damage the chrome finish.
Step 4: Rinse with warm water
Once you have used the aluminum foil, then you should use a rag to wipe the faucet and knobs and rinse them off with warm water.
Step 5: Use a soft cloth to wipe
Once you have cleaned the faucet and its knobs, now it’s time to dry the faucet with a soft, dry cloth.
Tip: Keeping the aluminum sheet damp will give you the best results.
Conclusion – How to Clean Your Tarnish Chrome Faucet?
Right then, that about wraps this up nicely! After running through these ins and outs of faucet fusses, your chrome connections ought to be gleaming like new once more. And best yet, without having to shell out a dime to the “professional” plumbers – isn’t nothing’ feels quite so satisfying.
When mine started looking worse for wear, I was this close to throwing in the towel and calling in the big guns. But I’ll tell you, I’m glad I took a stab at DIY’ing it first. Sure, it was a lot more rewarding to rescue those fixtures myself, and the money saved didn’t hurt any either!
Now you have all the know-how tucked in your back pocket for whenever the next dirty deed calls. Let’s face it: with how much we put these poor things through daily, it won’t be too long in the coming. But armed with some aluminum bravado or good old elbow grease, I’m not worried about you.
Of course, feel free to holler if a step ever has you stumped. That’s what neighbors are for, right? In the meantime, you take a load off and savor that sparkle – you’ve earned yourself some R&R for a job well done! I am proud of you for tackling it yourself. Now go soak up that shiny success and enjoy that fresh faucet life here. Till next time!
I hope this information of mine will help you in cleaning chrome kitchen or bathroom faucet, if it help you then please share it with others.