How to install Sprayer in kitchen faucet?
Are you ready to upgrade your kitchen with a spruced-up faucet? Installing a sprayer can take your sink setup to the next level, making tasks like washing vegetables or rinsing dishes a breeze.
If you’ve never tackled a plumbing project before, fear not – with the proper steps and patience, it’s a very doable DIY mission. All it takes is breaking the job into simple stages and taking safety precautions.
In this guide, I’ll walk through the process from start to finish. We’ll cover preparing your work area, removing old components, installing the new sprayer hose, and fine-tuning the spray settings. Along the way, I’ll share tips for achieving a leak-free result.
By the end, you’ll be genuinely wowed by your kitchen’s upgraded utility. Best of all, the sense of pride from completing your first plumbing feat will have you eager to take on more home projects. So read on to discover how easy it is to install a sprayer faucet yourself!
How to install Sprayer in kitchen faucet?
Materials and Tools Needed:
- Kitchen faucet sprayer kit (available at most hardware stores or online)
- Adjustable wrench
- Pliers
- Teflon tape
- Bucket or towels (to catch excess water)
- Safety goggles (optional but recommended)
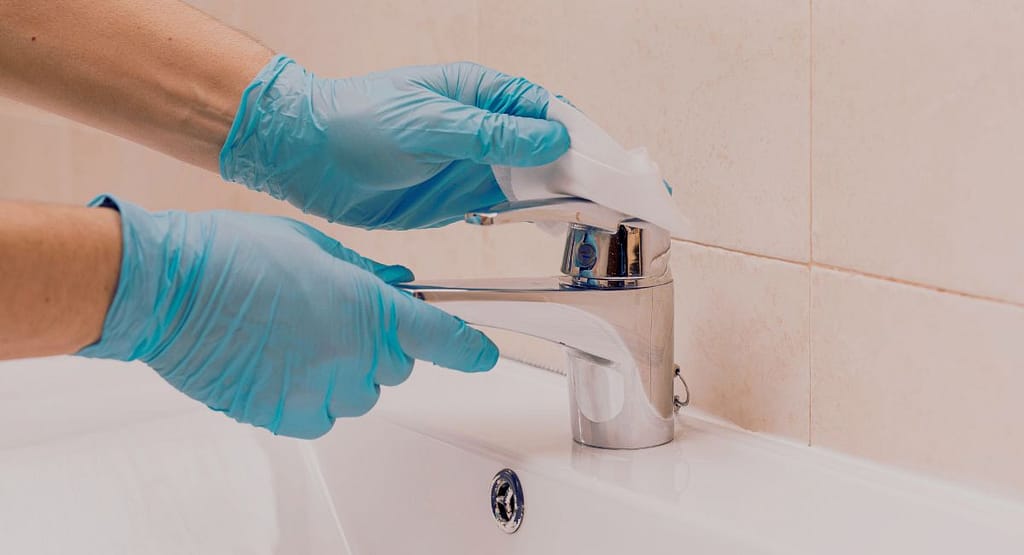
Step 1: Prepare for Installation
I recently decided to upgrade my old kitchen faucet that had seen better days. While it was still functioning, the finish was worn, and it didn’t have the style I wanted. So, I set out to replace it myself to save on installation costs.
The first step was getting ready, which meant turning off the water supply. I’m no handyman, but even I knew water and electrical work don’t mix. So, before unpacking the new faucet, I got under the sink to locate the shut-off valves. They were a bit grimy, but with some elbow grease, I could turn them clockwise and cut the flow.
With the water shut off, I took extra precautions by laying down towels where the work would occur. No need to flood my kitchen cabinets if a fitting came loose! The towels offered a layer of protection in case any water spilt out. Plus, they’d soak it up to contain the mess.
It’s easy to get excited about a new project and want to dive right in. But taking these preliminary safety steps gave me peace of mind. By turning off the water and laying down towels, I knew I could focus on the installation without worrying about leaks or surprises. Sometimes, prepping is just as important as the actual “doing.” Hopefully, this helps you prepare for your kitchen faucet swap – happy wrenching!
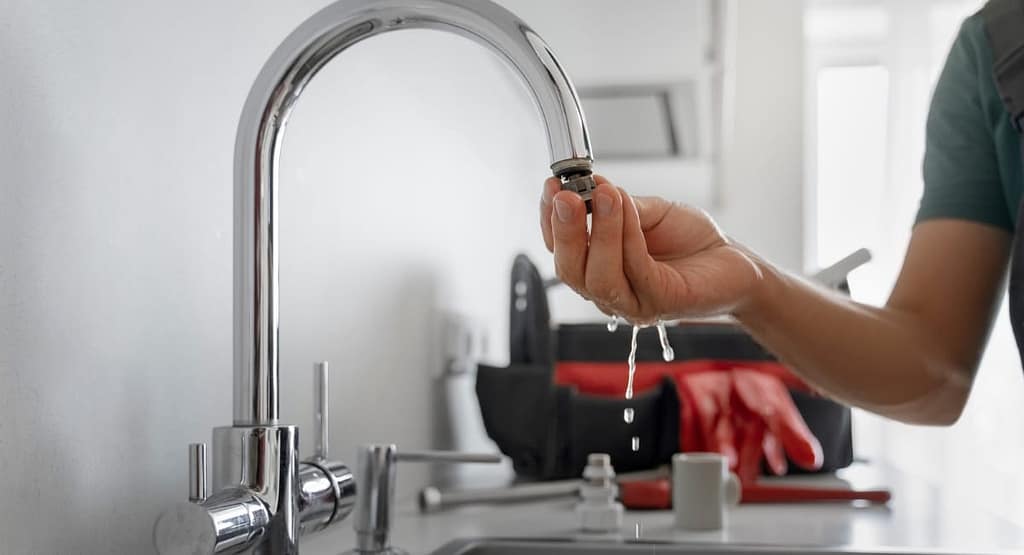
Step 2: Remove the Existing Aerator
After shutting off the water supply and laying down towels, it was time to start disassembling the old faucet. The first piece to remove was the aerator – that handy little filter screen at the tip.
Aerators can be tight, so I grabbed my adjustable wrench for some leverage. But before cranking down, I wrapped the jaws with a cloth to protect the finishes. Then, I could crack it loose with some elbow grease and unscrew it fully.
Removing that aerator was a satisfying first step. It showed I was progressing on the project and getting to the core parts I needed to access. Protecting it from scratches ensures the old faucet components can still be reused if required.
Step 3: Apply Teflon Tape
After removing the aerator, it was time to prep the faucet spout for reassembly. This meant wrapping some Teflon tape around the threaded end where the spray attachment would screw on.
Now, Teflon tape is pretty handy stuff. It creates an excellent watertight seal when joining water lines or fitments. So, I took the roll and began wrapping it clockwise around the spout threads.
Just a few layers did the trick. The tape smooth out imperfections to help make a tight friction fit. This would prevent any leaks once the new spray head was installed. I have got love that plumber’s insurance!
The little things like applying Teflon tape can make or break a project. Taking a few minutes to seal threads properly goes a long way toward the hassle-free performance of the new faucet setup. Before long, I’d connect everything – but only after ensuring each piece was prepped correctly.
Step 4: Install the Sprayer Hose
After prepping the sprayer port with Teflon tape, it was time to attach the hose to the faucet head. Most kits include a stainless steel braided line for durability.
First, I screwed one end of the hose onto the sprayer fitting using my adjustable wrench. With just the right amount of torque, it clicked tightly in place. Then, I connected the other end to the spout threads I’d wrapped earlier.
I was sure not to over-crank it, so I turned the wrench until that joint also felt snug. The Teflon tape did its job, providing a smooth seal without much resistance. Before long, the hose was installed, and both ends were securely fitted.
It felt good to see the components starting to come together. Connecting those lines was a visual sign of progress. And taking my time to fasten everything just right meant one less thing to stress over down the road. Now, the fun part awaited – attaching the faucet base and testing the new setup!
Step 5: Connect the Sprayer
The home stretch was in sight as I attached the sprayer head. This involved inserting the hose I’d connected into the fitting on the sprayer base.
Each manufacturer has a different mating method, so I double-checked the instructions. Luckily, mine pushed firmly into place with an audible “click.” No twisting is required in this case.
Joining that last piece gave me the thrill of nearing the done stage. Soon, I’ll be putting my new faucet assembly to the test. But first, ensuring the sprayer port was adequately secured to the hose avoided future frustrations.
It’s incredible how something as minor as joining two small parts can wrap up an entire project. But sweating the small stuff is what distinguishes an amateur from a pro. I was confident everything was joined correctly, so I prepared to mount the new faucet and unveil the finished upgrade. One step left to complete the refresh of my kitchen sink!
Step 6: Test for Leaks
Now for the moment of truth – it was time to turn the water back on and see if everything held tight. I opened the shut-off valves slowly, observing for signs of springing leaks.
No immediate damp spots appeared, which was encouraging! But I gave it a few minutes to pressurize fully before inspecting each joint closely. The connections where the hose met the fittings seemed secure—no hints of moisture forming either.
I turned on the faucet next to check for leaks at the spout. Still dry as a bone. A quick spray from the pull-down head showed that the last attachment held up, too. My new sink setup was water-worthy!
Of course, it’s always good practice to test plumbing work thoroughly. Any leaks could threaten cabinets down the line. But after double-checking no drips occurred under modest pressure, I felt confident the Teflon tape did its magic.
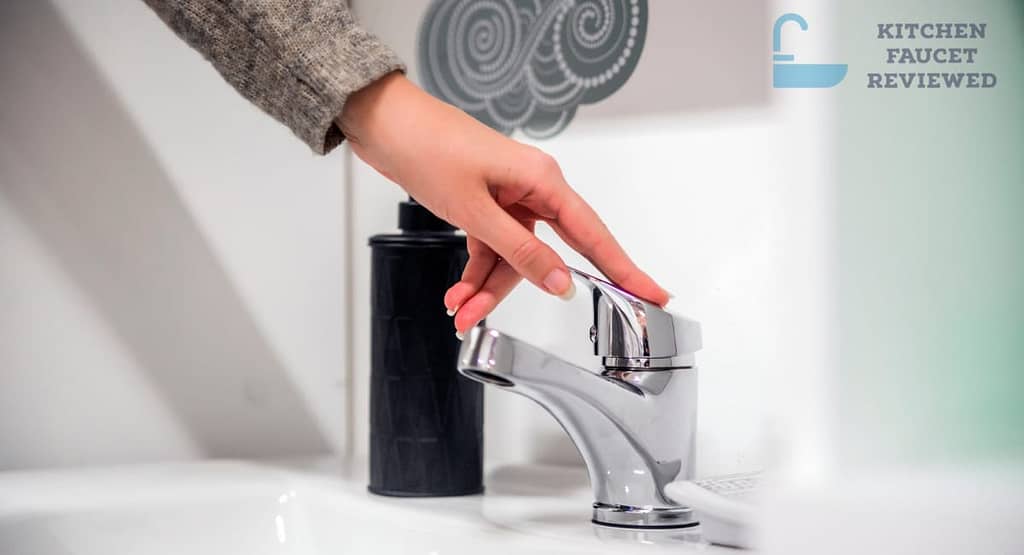
Step 7: Adjust the Sprayer
After verifying a watertight installation, it was time to fine-tune the spray settings. These pull-down kitchen wands offer different options.
Flipping through the instructions, I learned mine featured separate dials for flow and pattern control. So, I started with the pressure dial first.
A few turns clockwise boosted it to a robust stream, just as I like for pre-rinsing dishes. If it’s any more complicated, it might splash too much.
Then, I switched to the pattern adjustment ring. A twist offered a choice of stream, mist, or pulsating spray. Playing around, the mist setting seemed best for delicate glassware.
Such minor calibrations can make a big difference in enjoyment. With everything functioning smoothly, my faucet upgrade was fully operational.
Conclusion
Well, there you have it – installing a sprayer in your kitchen faucet from start to finish. As you can see, it’s a very doable project that doesn’t require any advanced skills. The hardest part is just taking your time and being methodical through each step.
I hope the tips I’ve shared have helped break down what may seem like an intimidating task. But by carefully preparing your workspace, correctly applying sealant tape, and double-checking for leaks, your new sprayer is almost guaranteed to work like a charm for years.
Don’t be afraid to try it yourself – you’ll save big on installation costs and gain confidence in your abilities. And knowing you accomplished it with your two hands will make you feel even more proud every time you use that hands-free spray setting.