The aerator in your bathroom faucet plays a crucial role in controlling water flow and conserving water by mixing air with the water stream. Over time, mineral deposits and debris can accumulate in the aerator, affecting water pressure and quality. Knowing how to remove and clean the aerator is a simple DIY task that can improve your faucet’s performance. In this guide, we’ll walk you through the easy steps to remove the aerator from your bathroom faucet.
How to Remove Aerator from Bathroom Faucet?
Materials Needed:
- Adjustable wrench or pliers
- Towel or cloth
- White vinegar
- Small brush or toothbrush
1: Gather Your Materials and Turn off the water
First things first – gather your gear. You’ll need an adjustable wrench or pliers to twist off the aerator ring. Make sure to lay down a towel too because nobody wants tiny rust bits all over their counters. Trust me, been there.
Once you’ve got your tools in hand, it’s time to shut off the H2O. This is key so you don’t end up dripping wet like a forgot-to-turn-off-the-shower rookie. Look for those little valves underneath and give them a clockwise twist until they’re good and tight. If your setup is older you may need to hunt down the main line valve too.
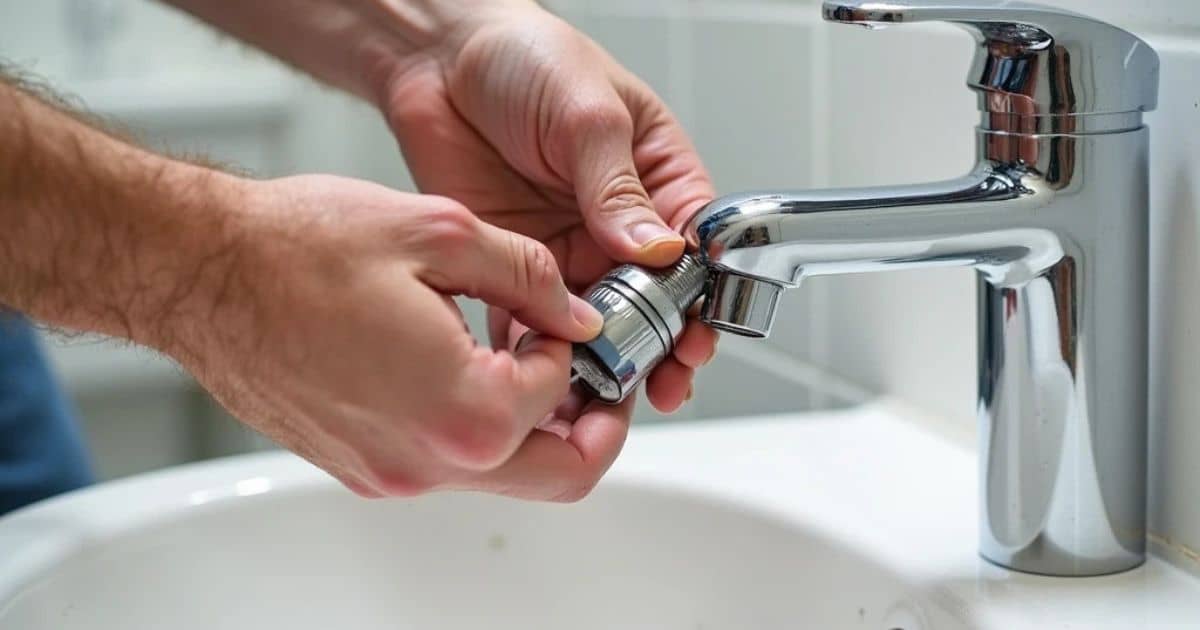
2: Remove the Aerator
The key things you need are protection for the faucet and the right tool. Lay down a towel and gently wrap the faucet threads to avoid scratches. An adjustable wrench or pliers will work for loosening the aerator.
Start by placing your tool on the aerator housing and giving it gentle pressure as you twist counterclockwise. Listen for any changes in resistance. Go slow at first to break through mineral deposits.
As it begins to loosen, maintain the twisting motion but ease off the pressure. Make sure there is not need any force it – use the tool to do its work. Keep at it until the aerator spins freely off by hand.
Have a rag ready underneath to catch drips once removed. With the aerator in hand, you can now soak it in vinegar or lemon juice to cut through buildup.
When ready to replace, spin the clean aerator back on with your fingers, going clockwise until snug. Return water flow and inspect for leaks before calling it complete.
3: Clean the Aerator
After removing your bathroom aerator, check it from the inside there minerals, calcium, and whatever was with it.
The easiest way to purge all that is with some good old vinegar. Just plop the aerator in a small glass/cup/container and fill ‘er up with the acetic acid. Let it sit for at least a half hour – the longer the better.
That vinegar will start breaking down every last mineral deposit until it all fizzles away. Give it an occasional stir if you think about it. No need to get obsessive though.
When time’s up, grab a toothbrush or small brush and scrub the aerator and its all parts. Most of the junk should be brushed away easily. Rinse with clean water and inspect for any stragglers.
A few rounds of vinegar soaks should have her gleaming again. Just be sure to dry thoroughly before putting her back on duty. Clean aerator = happy water flow.
4: Replace the Aerator if Necessary
Rather than trying to scrub the screen clean (trust me, it’s not worth the effort!), it’s usually best just to replace the whole aerator assembly. You can find them pretty cheap at the hardware store or even on Amazon. It only takes a few minutes to unscrew the old one and put the new one on.
While you’ve got it off, consider upgrading to one of those swivel models. They make aiming the water stream a lot easier. Perfect for rinsing your face without soaking the whole counter. Some aerators also have different flow settings, so you can customize how powerful or soft the water feels.
5: Reattach the Aerator
Carefully reassemble all the little pieces of the aerator the same way you found them. Make sure the flow washers and screens are facing the right direction – I always take a quick pic before removing them just to be sure.
Once the aerator is reconstructed with all parts, screw it back onto your bathroom faucet tip with your fingers. Usually, that’s plenty tight but give it a test run before calling it quits.
If you notice any droplets forming around the base, don’t panic. Just crack it loose again and give it an extra quarter turn with your channel locks or pliers. Go gentle though – don’t crank it so hard the whole thing falls apart!
There, is it all better now? Sparkling clean water flowing freely once more? I’m always here if you ever get in over your head with plumbing projects.
Conclusion
I hope all these steps will be easy for you because I brought all the tips that are easy for everyone. Also, all the materials that are needed for this work are available in every home. You just need to follow my steps and make your work easy. Save your time and money.
FAQs
What if the aerator is too small to grasp?
I know, those tiny aerators can be so fiddly! If it’s just too darn small for your fingers, try this – wrap a thick rubber band around it. The texture should give you just enough grip to twist it off. Or slip the eraser end of a pencil in the hole for leverage.
Is there an easy way to tell if it’s on too tight?
When in doubt, give it a few test turns in each direction before muscling in. If it budges at all, even just a smidge, it’s likely just stuck versus cross-threaded. Cross-threaded means the threads aren’t aligned and it won’t budge no matter what. Better to walk away than strip those threads!
What’s the best way to clean a mineral-caked aerator?
Goo Gone is my secret weapon for heavy-duty cleaning jobs. Squirt some on a cotton ball and let it soak for 5-10 minutes to break down that buildup. It cuts through calcium and lime like butter. Then scrub away with an old toothbrush. Just be sure to rinse super well when finished so no residue gums things up again.
One of the prongs is broken off – can I still use it?
As long as the aerator screen itself isn’t compromised, a single broken prong shouldn’t impact water flow too much. It might cause a slight change to the spray pattern but won’t affect performance. I’d only recommend replacing it if more than one prong is damaged for optimal water control.
Read our recommended Guides:
- How to Install Sprayer in Kitchen Faucet?
- How to Tighten Moen Bathroom Faucet Handle?
- How to Clean Your Tarnish Chrome Faucet
- How Can You Remove Delta Kitchen Faucet
- How Can You Repair Moen Kitchen Faucet
- How to Replace Cartridge in a Delta Faucet?
- How Can Be Fixed A Stiff Faucet Handle
- How to Fix a Leaky Grohe Bathroom Faucet?
- How to Install a 4-Hole Kitchen Faucet
- How to install a Soap Dispenser in Your Kitchen?