If you are experiencing low water pressure from your Pfister kitchen faucet, you may need to remove the flow restrictor. The flow restrictor is a small device that regulates the water flow in the faucet to conserve water. While it may be beneficial for water conservation, it can also cause inconvenience, especially when washing dishes or filling large pots.
How to remove flow restrictor from Pfister kitchen faucet in 2026?
Removing the flow restrictor from your Pfister kitchen faucet is a simple process that can be done in a few steps. In this blog post, we will walk you through the process of removing the flow restrictor from your Pfister kitchen faucet.
What You Will Need:
- Pliers
- A flathead screwdriver
- A cloth or rag
- Teflon tape (optional)
Step-by-Step Guide to Removing the Flow Restrictor from Your Pfister Kitchen Faucet
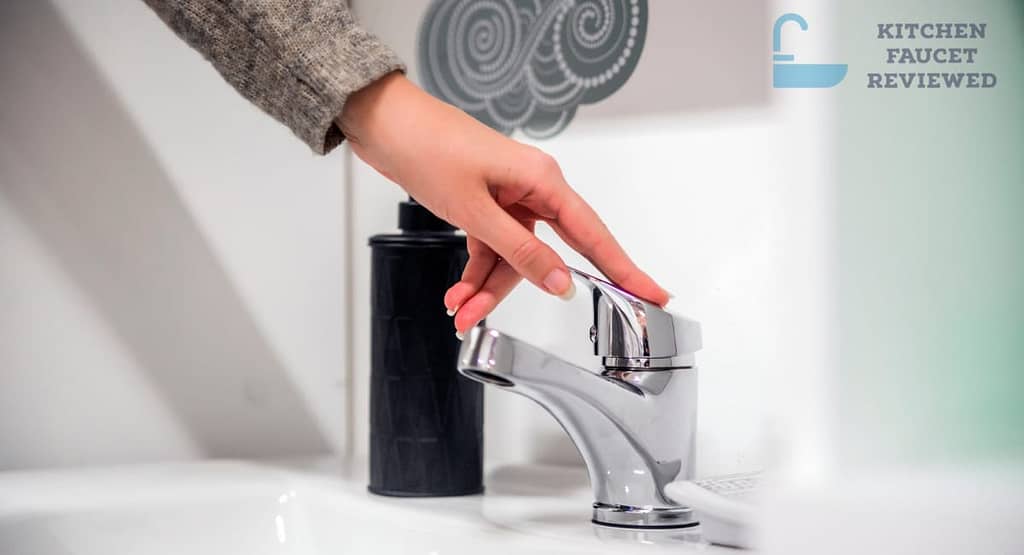
Step 1: Turn off the Water Supply
When it comes to repairing or replacing a faucet, one of the first things you need to do is turn off the water supply. This step is crucial to prevent water damage and avoid injury or accidents during the repair process. There are two ways to turn off the water supply to a faucet:
Locate the Shut-Off Valve Under the Sink
Most faucets have a shut-off valve located under the sink, which controls the flow of water to the faucet. To turn off the valve, locate it under the sink and turn it clockwise until it stops. This will shut off the water supply to the faucet, allowing you to work on it safely.
If you cannot locate the shut-off valve under the sink, check the other cabinets in the kitchen or bathroom. Sometimes, the valve may be located in a different cabinet than the one where the faucet is installed.
Turn off Your house’s Main Water Supply
If you cannot find the shut-off valve under the sink or if it is not working, you can turn off the main water supply to your house. The main shut-off valve is usually located outside the house, near the water meter or where the main water line enters the house.
To turn off your house’s main water supply, locate the main valve of your water and turn it clockwise until it stops. This will shut off the water supply to the entire house, so make sure you inform your family members or roommates about the water shut-off and avoid using any water fixtures until the repair is completed.
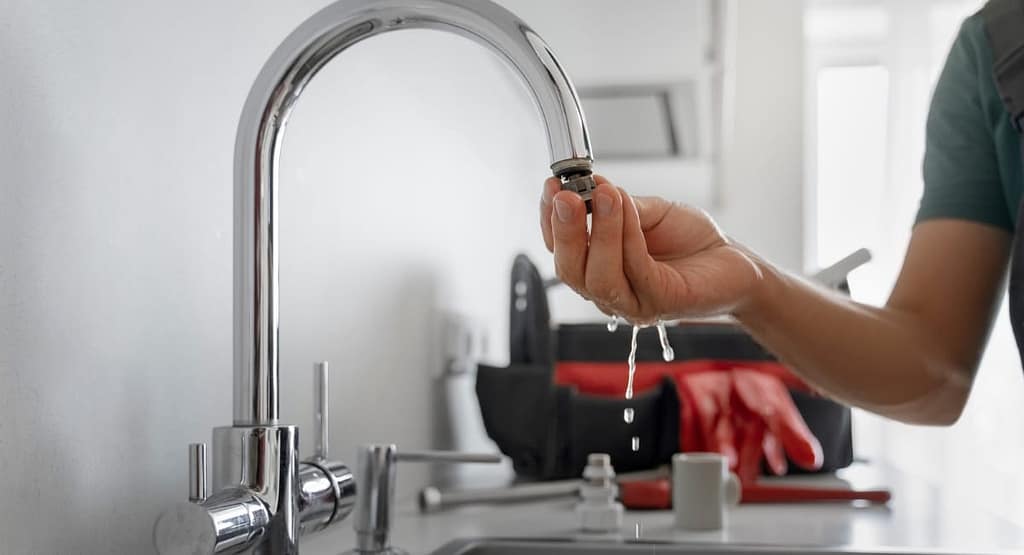
Step 2: Remove the Aerator
- The aerator is an essential component of most modern faucets. Its primary function is to regulate the water flow and prevent splashing, which can be helpful in conserving water and reducing water bills. However, over time, the aerator can become clogged with mineral deposits, dirt, or debris, which can affect the water flow and pressure. Removing the aerator and cleaning it can help restore the water flow and improve the faucet’s performance. Here is a more detailed explanation of how to remove the aerator from the faucet:
- Wrap a Cloth or Rag Around the Aerator Before you start removing the aerator, it is essential to protect it from scratches or damage. Wrapping a cloth or rag around the aerator can help prevent any scratches or damages during the removal process.
- Use Pliers to Twist the Aerator Counterclockwise Once you have wrapped the aerator with a cloth, use pliers to grip the aerator firmly and twist it counterclockwise until it comes off. Most aerators are designed to be hand-tightened, but if it is too tight or difficult to remove, using pliers can help provide a better grip and leverage to twist it off.
- Inspect the Aerator and Clean it After removing the aerator, inspect it for any dirt, debris, or mineral deposits that may have accumulated inside. If you notice any clogs or blockages, clean the aerator thoroughly using a toothbrush or a small brush to remove any buildup. You can also soak the aerator in vinegar or a descaling solution to dissolve any mineral deposits that may have accumulated.
- Reinstall the Aerator Once you have cleaned the aerator, reattach it to the faucet by screwing it back in place clockwise. Make sure not to overtighten the aerator, as it can cause damage to the threads or the aerator itself.
Step 3: Remove the Flow Restrictor
When it comes to household plumbing, a flow restrictor is a small device that is designed to limit the flow of water in faucets, showerheads, and other fixtures. The purpose of a flow restrictor is to conserve water and reduce water bills. However, some people find the water pressure too low with a flow restrictor installed, so they may want to remove it.
The process of removing a flow restrictor is relatively simple and can be done with a few basic tools. The first step is to remove the aerator from the faucet. An aerator is a device that mixes air with the water to reduce splashing and increase water efficiency.
Once the aerator is removed, the flow restrictor can be accessed. The flow restrictor is typically a small plastic or rubber piece that sits inside the aerator. It can be removed by using a flathead screwdriver to gently pry it off. Care should be taken not to damage the aerator or the flow restrictor during this process.
After the flow restrictor has been removed, the aerator can be reinstalled onto the faucet. It’s important to note that removing the flow restrictor may increase the water pressure and flow rate, which could result in higher water bills if water usage is not monitored.
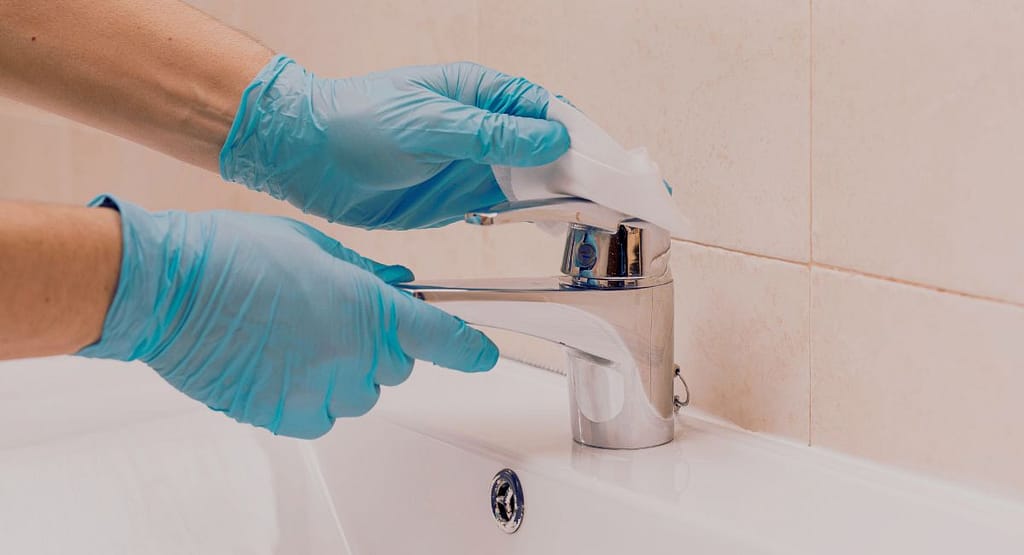
Step 4: Reassemble the Faucet
When removing the flow restrictor from a faucet, it’s essential to clean the aerator and faucet head thoroughly to ensure optimal performance. Over time, mineral buildup and debris can accumulate inside the faucet head and aerator, which can cause blockages and affect water pressure.
To clean the faucet head and aerator, you can use vinegar or a commercial cleaner. Vinegar is an effective and natural cleaning agent that can dissolve mineral buildup and eliminate bacteria. To clean with vinegar, remove the aerator and faucet head and soak them in a solution of equal parts vinegar and water for 30 minutes. After soaking, rinse the parts with water and dry them thoroughly before reassembling the faucet.
If you prefer to use a commercial cleaner, make sure to read the instructions carefully and choose a product that is safe for your faucet material. Some cleaners contain harsh chemicals that can damage certain types of faucets.
Once the parts are clean and dry, you can reassemble the faucet in the reverse order of disassembly. Make sure to tighten all connections properly and use a wrench if necessary. If you notice any leaks after reassembly, you may need to use Teflon tape to wrap around the threads to create a watertight seal. Teflon tape is a thin, white tape that can be wrapped around pipe threads to create a seal that prevents leaks. To use Teflon tape, wrap it around the threads in a clockwise direction, overlapping the tape slightly as you go. It’s important to use the right amount of tape and not to overtighten the connections, as this can cause damage to the threads or fittings.
Step 5: Test the Water Flow
When you are repairing or replacing a faucet, it is important to test the water flow to ensure that it is functioning properly. In this step, you will check the water flow to determine if it is at an appropriate level or if it needs adjustment.
Water flow is measured in gallons per minute (GPM). The ideal flow rate for a faucet can vary depending on its intended use. For example, a bathroom sink faucet typically has a flow rate of around 1.5 GPM, while a kitchen sink faucet may have a flow rate of up to 2.5 GPM.
If the water flow is too high, it can waste water and increase your water bill. Additionally, high water pressure can cause damage to your plumbing system over time. On the other hand, if the water flow is too low, it can be inconvenient and make it difficult to perform tasks such as washing dishes or filling a large pot with water.
One way to control the water flow rate is by using a flow restrictor. A flow restrictor is a device that limits the amount of water that can flow through a faucet or showerhead. Flow restrictors are typically installed in faucets to reduce the amount of water that is used, thereby conserving water.
If you have removed the flow restrictor during the repair process, you may need to reinstall it to control the water flow. Alternatively, if you find that the water flow rate is too low, you can replace the restrictor with a higher flow rate restrictor to increase the water flow rate.
Conclusion
Removing the flow restrictor from your Pfister kitchen faucet is a simple process that can be done with the right tools and knowledge. By following the steps outlined above, you can remove the flow restrictor from your faucet and improve water flow. Remember to turn off the water supply before starting, and use caution when removing the flow restrictor to avoid damaging the faucet or the flow restrictor.