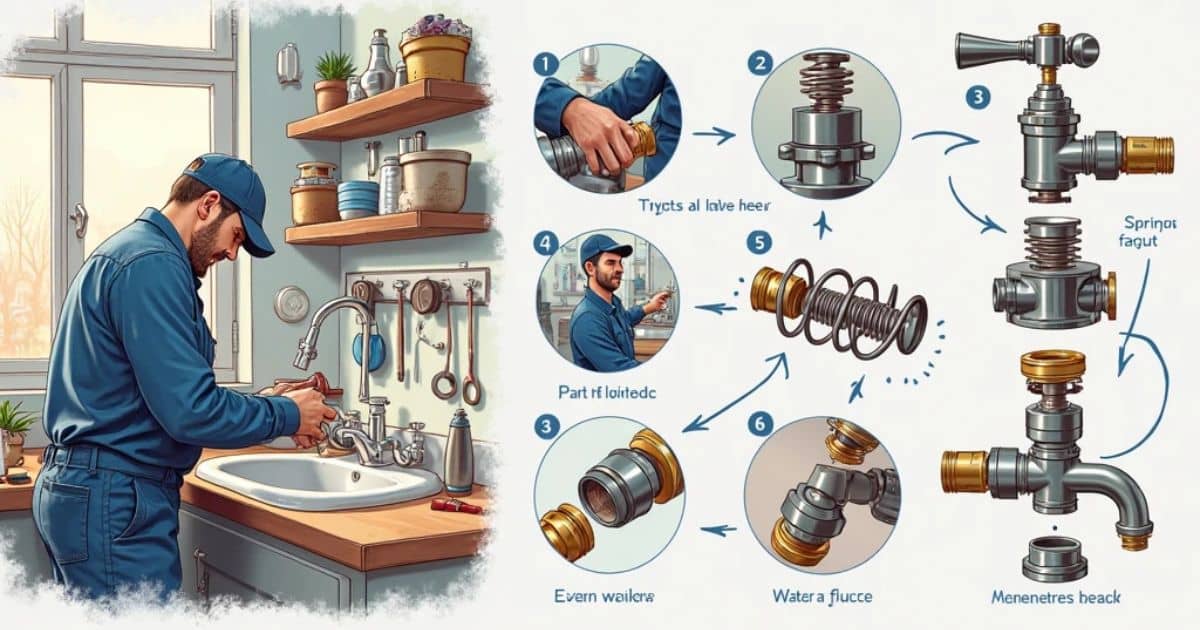
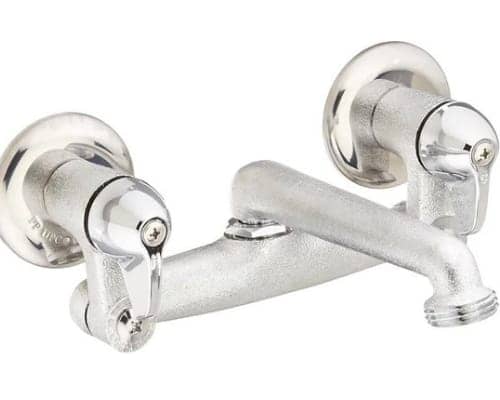
Compression faucets are one of the most common styles found in homes, known for their durable and simple design. But like any hardware, they can start to leak or act up over time. If your sink has suddenly started dripping or the handles feel stiff, then it’s likely one of the washers or gaskets inside needs replacing. But How to Repair Your Compression Faucet?
The good news is compression faucet repairs are generally very straightforward. With just a few basic tools and replacement parts, you can have your sink flowing freely again in no time. In this guide, I’ll walk you through the whole process step-by-step so you can successfully tackle the job yourself.
We’ll cover everything from safely shutting off the water supply, to removing the handle and valve stem assembly, finding the worn washers, and replacing them with fresh new seals. I’ll also give some tips for smooth reassembly. With a little patience and the right techniques, you’ll be fixing leaks like a pro in no time!
How to Repair Your Compression Faucet?
What do your equipment or tools need?
- Channel locks or adjustable pliers – for gripping nuts and twisting things. Can’t do much without these trusty vise-grips!
- Small flathead screwdriver – for prying caps and popping out washers. Look for one with a thin, sturdy blade.
- Phillips head screwdriver – to remove any screws you’ll encounter. Standard size will do.
- Handle puller (optional) – this special tool makes removing stubborn handles a breeze by giving you better leverage. Helpful to have on hand just in case.
1: Shut off the Water Supply
Repairing your compression faucet requires draining the lines. In times like these, it’s important to know how to safely shut off the water supply so you can make repairs without any surprises.
The first place to check is under your sink. Feel around for a small valve, usually with a little handle shaped like a football. Gently turn this clockwise until it stops – you’ll feel it click into the closed position. This valve controls the water flow to your sink specifically.
If there’s no individual shutoff, then the main water supply likely enters through the foundation or basement. Look for a larger valve, typically a wheel-style handle. It may be painted blue or have labels indicating “water” or “H2O.” Turn this clockwise as well until the water stops flowing.
Pro tip: Make sure to release any built-up pressure after shutting it off. Open the faucet fully and let the pipes drain out. This prevents messy bursts or leaks once you turn the water back on later.
With the supply cut off, you can now fix that drippy faucet in peace. Just be sure not to leave the water off for extended periods, as it could affect your appliances. But taking a few minutes to locate and use the shutoff valves will save you hassle down the road.
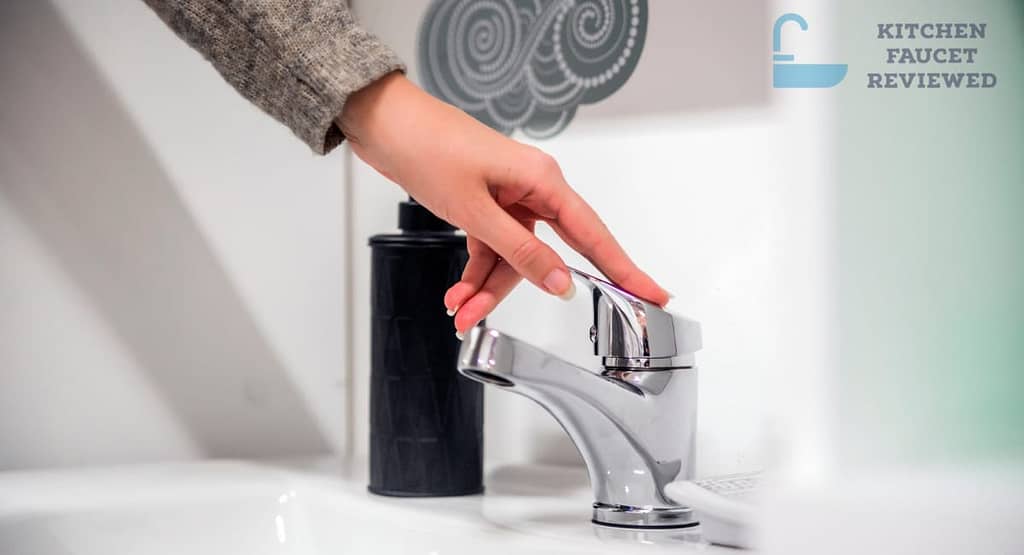
2: Remove the Faucet Handle
Taking the faucet handle off is usually an easy first step for repairs. The first thing is finding that tiny screw hiding underneath. See that little cap? Twist it with your pliers and it’ll pop right off on older models. Newer ones may just pry off with a flathead if they’re plastic.
Metal caps can go either way. Check the edges – if it’s got ridged grooves all around, twist away. But a smooth edge means prying action. Once uncovered, stick your Phillips head in there and loosen up that screw anchoring the handle in place.
Then just lift straight up and the whole thing should lift off. Sometimes those suckers get stuck though. If it won’t budge, a handy tool called a handle puller can give you better leverage without muscling it too hard.
Don’t stress if it’s being stubborn!
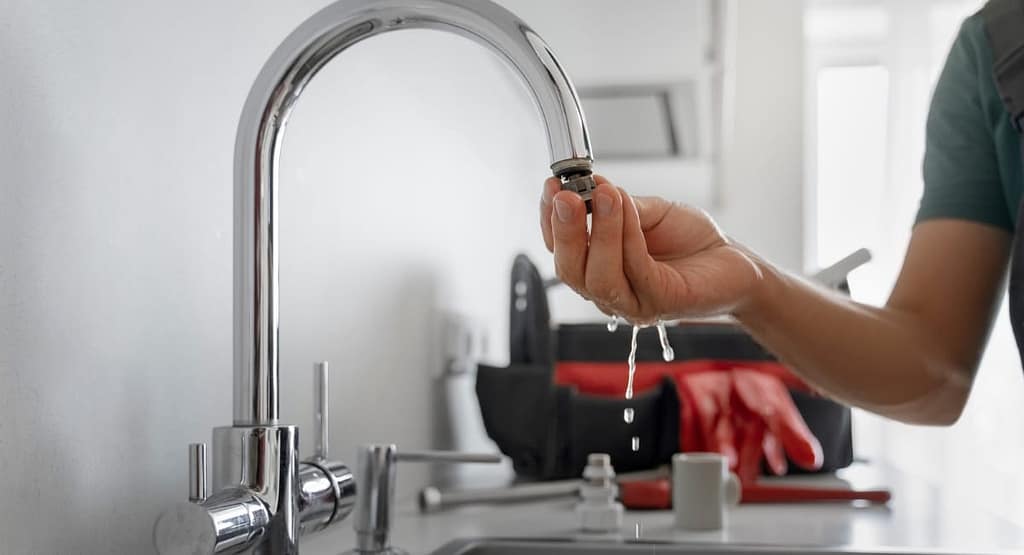
3: Remove the Valve Stem Assembly
Alright, so you’ve taken the handle off and are diving deeper into the guts of this faucet. Our next step is removing that valve stem assembly, which controls the water flow.
Sometimes there’s a little cover concealing it – look for a knurled knob (those raised dots help with grip) that you can twist off with pliers. No cover? No problem, just locate the hex-shaped nut where the stem joins the faucet body. Crank that sucker counterclockwise with pliers or an adjustable wrench.
Once it’s loose, the whole assembly should unscrew easily. Give it a good twist or two until it’s free, then gently pull it straight out. Check for any gaskets or washers inside that may need replacing too.
Remove the Stem Washer
Alright, you’ve got the valve stem out – now for that pesky washer that’s probably seen better days. See that tiny screw nestled in the end? Twist it out there using a flathead screwdriver.
The washer itself should then just pop right out, but sometimes those rubber gaskets put up a fight. No problem, just wiggle the end of your screwdriver into its hole and gently pry it loose from the valve seat.
Make sure to clean up the area well before putting in the new one. Scrape or scrub away any gunk that might be lingering. A sparkling clean seat will help the washer sit pretty.
Just position the replacement washer into place, then twist that holding screw back in to secure it. And with that, you now have a fresh seal to stop those leaks!
Nearly done – just reassemble everything in reverse order.
4: Find a Replacement for Your Old Washer
You’ll need a new gasket to replace that worn-out washer.
Luckily most hardware stores sell full faucet repair kits with all the common sizes you’ll run into. Just take your old part for reference. While you’re at it, you may as well snag a fresh O-ring for the valve stem too if it looks dry.
Pop that washer into its seat like a little rubber cup. Then twist the holding screw back in to lock it into place. Slide the O-ring onto the stem, making sure it’s nice and snug.
Last step before reassembly – coat the outside of the O-ring with a dab of the plumber’s grease. This will keep it lubricated and help prevent future leaks.
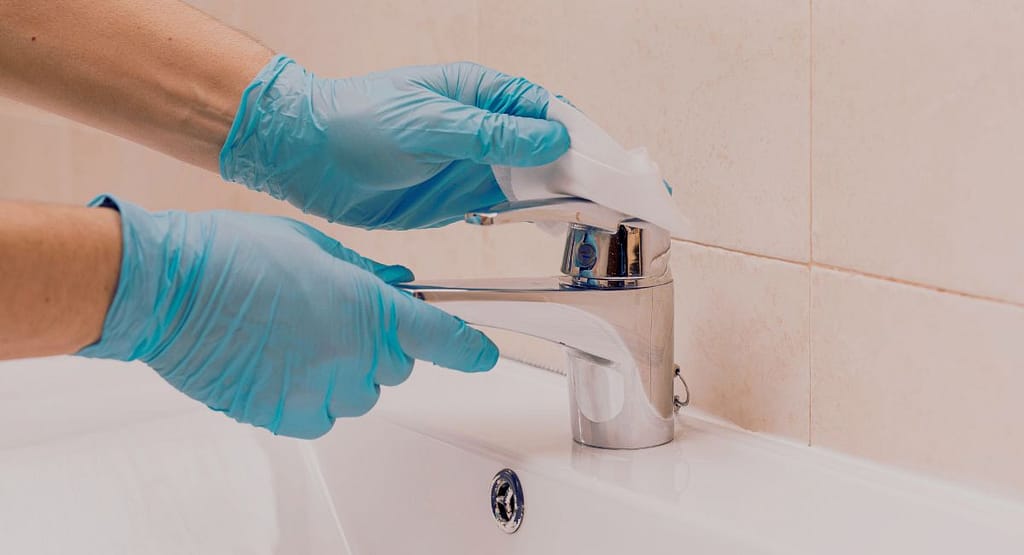
5: Reassemble the Faucet
Start by guiding the valve stem assembly back down into the faucet body. Twist it with your pliers to snugly rethread it into place.
Next, set the handle back on top. Don’t forget to position any washers or gaskets first if your model has them. Then screw on the little cap to conceal the fastening screw.
Almost there – just turn the water supply back on and check for leaks. Fingers crossed all your new seals do their job! If you notice any drips, don’t panic. Just turn off the water and retighten.
With any luck, your faucet should now be as good as new. Feel proud of your handy work! Basic repairs like this save cash compared to a repairman.