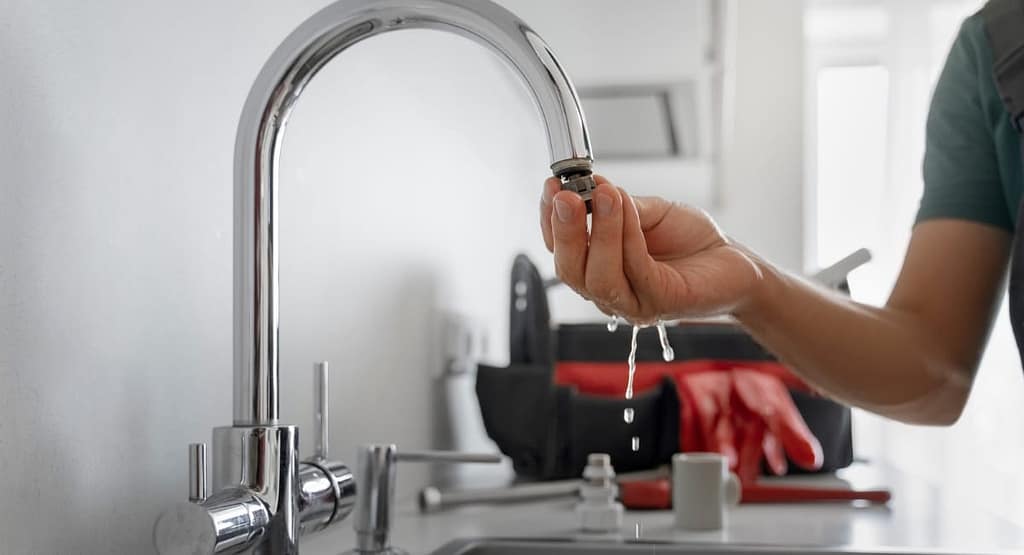
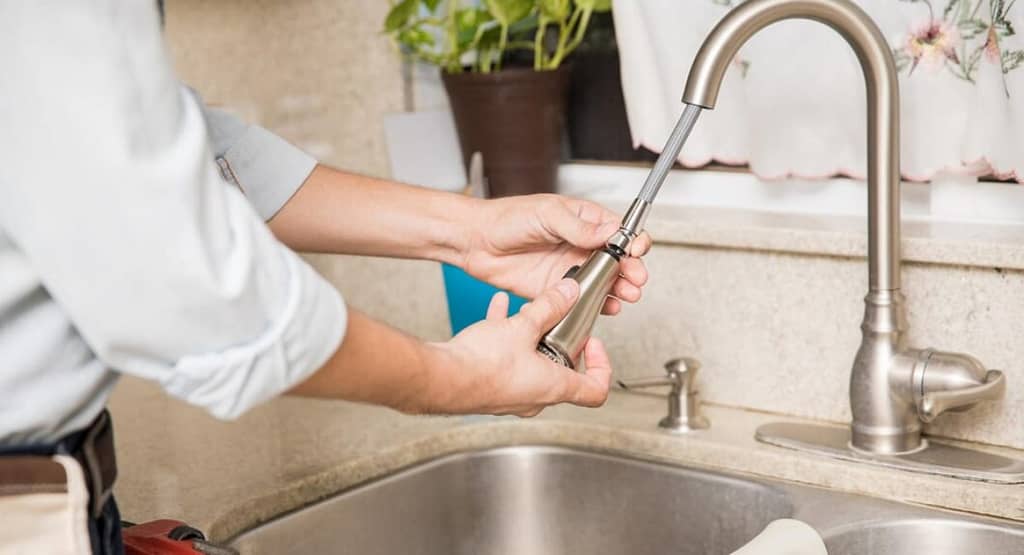
Has your kitchen faucet started dripping from the base lately? If so, there’s a good chance it’s leaking from the swivel connection. This is where the spout attaches to the faucet body, and it’s a very common source of leaks over time.
As homeowners, we rely on our kitchen taps daily for tasks like washing dishes, produce, and hands. But all that frequent use and regular wear and tear can take a toll on the components that create a watertight seal. Things like O-rings can dry out and crack, while connections may come loose with repeated movement.
In this article, we’ll take a look at some of the most common reasons your kitchen faucet might start weeping from the swivel area. From normal wear issues to mineral buildup, I’ll explain the causes in plain terms. I’ll also provide some easy solutions you can try yourself to get things leak-free again. By understanding the problem and fixing it DIY-style, you can save money versus a professional repair job.
Why is the Kitchen Faucet leaking from Swivel?
Reasons for a Leaking Swivel:
1. Worn-out O-rings:
One of the most common culprits behind a leaky kitchen faucet from swivel is good old wear and tear. Specifically, I’m talking about those little rubber gaskets called O-rings that help create a watertight seal where the faucet spout connects to the base.
O-rings don’t last forever – after years of being squeezed into place every time you turn on the tap, they can dry out and crack. When that happens, water has a way of finding any tiny gaps and sneaking on through, causing those annoying little drips.
It’s especially prone to happening in older faucets that have seen a lot of use over the years. All that daily scrubbing and turning takes its toll on those rubber washers. The motion of the spout swinging back and forth also contributes to faster O-ring wear.
The good news is it’s usually a quick and inexpensive fix once you know what the culprit is. All it takes is replacing the old, worn O-rings with new ones. Just make sure to lubricate them with a bit of petroleum jelly first before reinstalling to help extend their lifespan. No more leaks!
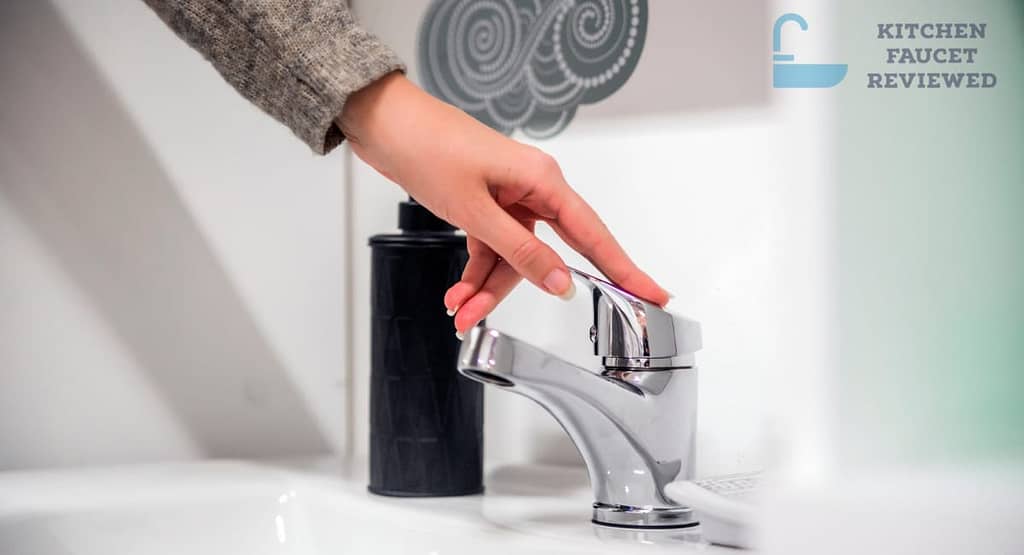
2. Loose connections:
You know how sometimes things just start feeling loosey-goosey if you don’t keep them snug? The same thing can happen with your kitchen sink faucet’s connections over time.
Frequent use puts stress on the joints – all that twisting and turning takes its toll if the fittings aren’t tightened down securely. And if the original installation wasn’t done right, connections that were just hand-tightened to begin with might work loose under pressure.
Before long, you could start noticing a few drops here and there around the base. That’s a telltale sign those fittings aren’t clamped together as tightly as they should be.
With even a slight gap, water will find its way through eventually. Just a tiny crack is all it takes to start leaking – and it’ll only get worse if you don’t address the root cause.
3. Sediment buildup:
You know what can really gunk things up? Hard water deposits, that’s what. If you’ve got minerals in your H2O like lots of folks do, that crud has a way of creeping into even the tiniest spaces.
Over time, it will slowly accumulate wherever water flows through. And one place it seems to love sticking around is in your faucet’s inner workings. All those nooks and crannies are prime real estate for sediment buildup.
Before long, things that are meant to move can start feeling pretty gritty. Take the swivel where the faucet spout connects – it’s not supposed to feel scratchy when you turn it. But mineral muck will do that.
When those deposits interfere with smooth operation, it can start to affect the seal too. Even the tiniest grit particles wedged in tight spots give water a way to leak through.
Solutions to Fix the Leaking Swivel:
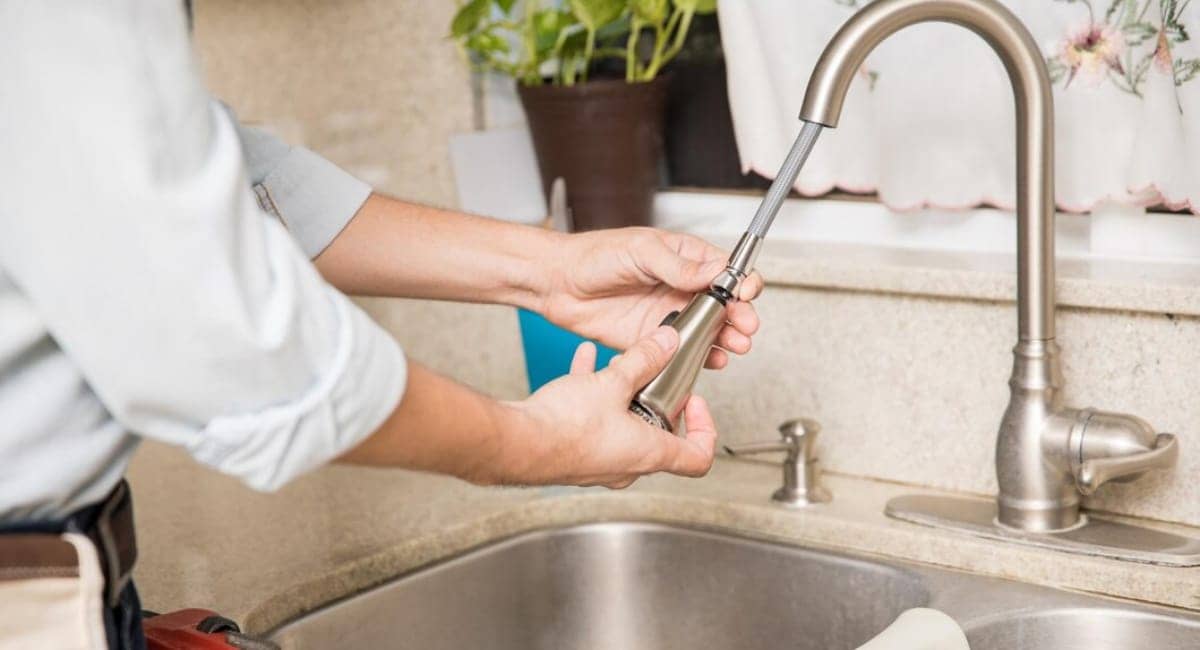
Replace the O-rings:
First turn off the water supply so you can work safely. No use making a bigger mess to clean up.
Take off any decorative caps or the handle itself so you can access the inner workings. This exposes the base where the spout connects. You’ll see the worn-out O-rings right away.
Go slow removing the old ones, they may be pretty fragile. Then comes the fun part – replacing them with brand new seals. Just make sure to get the exact right size for your faucet model.
Lubricate the new O-rings with a bit of petroleum jelly before sliding them into place. This helps them slide in easily and last longer too. Then reassemble everything – just go until it’s hand tight for now.
Now turn on the water back and check for leaks. Fingers crossed, it should be fixed! If not, just double check your work before tightening further.
In no time you’ll be back to leak-free washing. Replacing rubber is so much cheaper and easier than calling a plumber. Consider it routine maintenance to keep your kitchen running smoothly.
2. Tighten connections:
Alright, if replacing the O-rings didn’t do the trick, next thing to check is those connections. Loose fittings are another common culprit for leaks.
Take a look all around the swivel base where the spout attaches. Give any nuts or bolts a little wiggle – you’re looking for anything feeling less than rock solid.
If anything’s feeling on the loose side, it’s time to break out the tools. A wrench or pliers does the trick. But go slow and be gentle, you don’t want to strip anything.
Just tighten ’em up until they’re good and snug. You don’t need the death grip – overtightening can do more harm than good. As long as it feels secure, that’s all she wrote.
With any luck, just getting those fittings clamped down nice and tight again will do the job. Leaks popping up are usually a sign something’s come a bit undone over time.
Don’t be afraid to double check your work by turning the water back on. And voila – with some DIY love, your faucet should be back to new in no time!
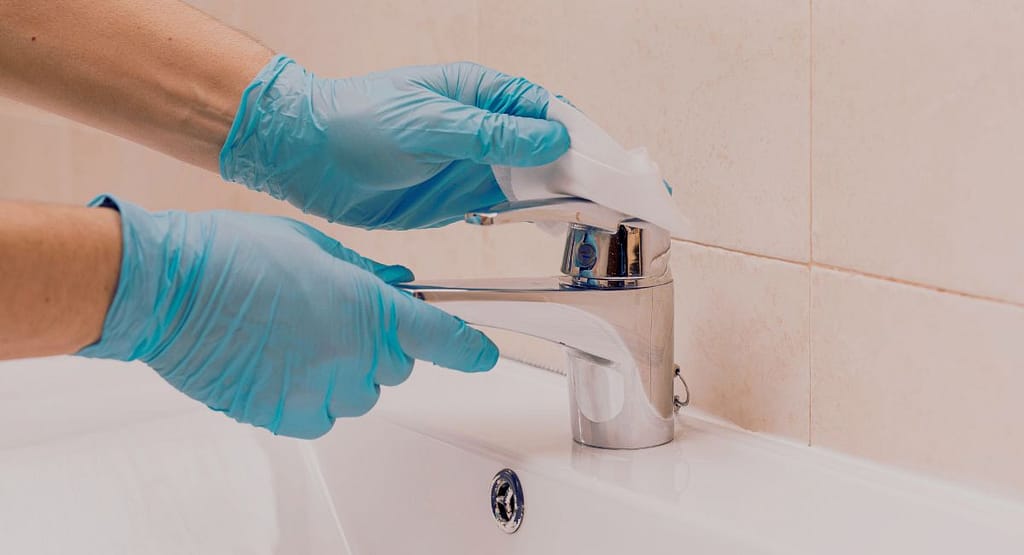
3. Clean out sediment:
Alright, if gunk is the culprit, it’s time to break out the big guns – vinegar! This stuff is magic for dissolving hard water crud. You may also see our top rated kitchen faucets for hard water of 2025.
First things first, turn off the water so you can safely take apart the faucet. Remove any caps or handles to access the swivel base.
Now comes the fun part – soaking all those gunky parts in a simple solution of equal parts vinegar and water. Just let it sit for a few hours to really work its magic.
When it’s time, take a good old toothbrush to any remaining deposits. You’d be amazed at how easily they wipe away after the vinegar does its thing!
Rinse everything thoroughly under running water when you’re done. You want that vinegar smell totally gone before putting it all back together.