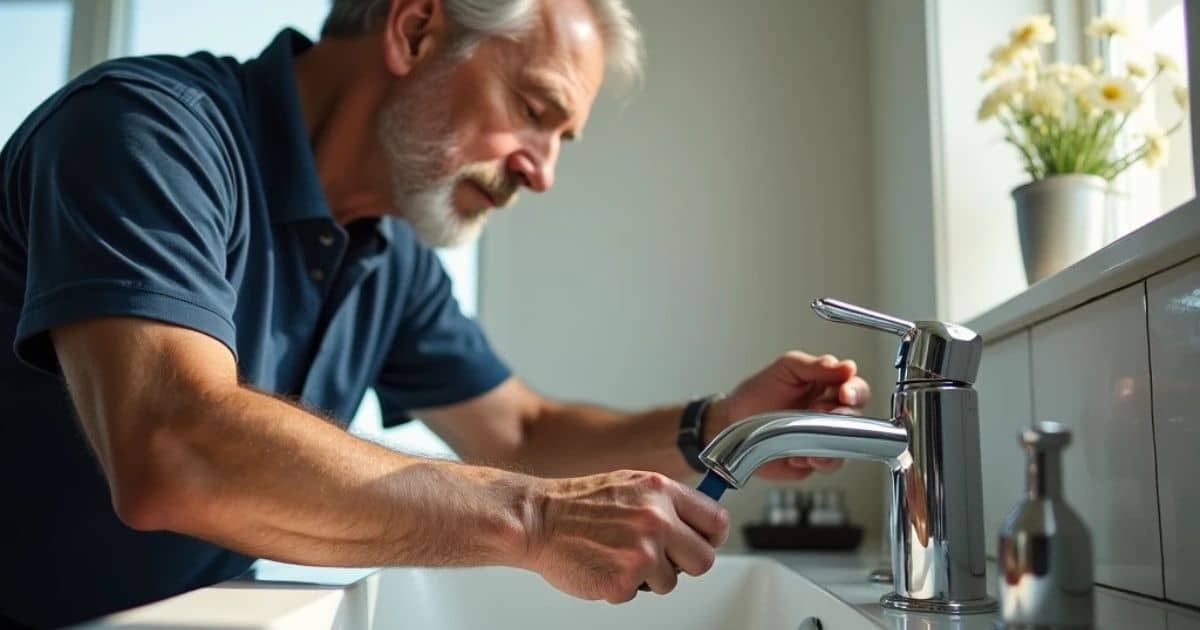
Delta faucets are known for their durability and reliability, but over time, even the best faucets may require some maintenance. One common issue that homeowners face is a leaky faucet, often caused by a worn-out cartridge. Fortunately, replacing a Delta faucet cartridge is a straightforward process that you can easily do yourself with just a few tools and a little patience. In this step-by-step guide, we’ll walk you through the process.
How to Replace Cartridge in a Delta Faucet?
Here’s a step-by-step guide on how to replace your Delta faucet cartridge, ensuring your faucet functions like new once again.
The tools and materials required to replace a Delta faucet cartridge:
Before embarking on your DIY journey to replace a Delta faucet cartridge, it’s essential to gather the necessary tools and materials. Here’s a comprehensive list of what you’ll need to ensure a successful project:
Screwdriver: A reliable screwdriver, typically a Phillips head, will be indispensable for removing screws and fasteners during the cartridge replacement process.
Allen Wrench: You may encounter Allen screws in your faucet assembly, so having an Allen wrench on hand will help you easily access and disassemble these components.
Adjustable Wrench: An adjustable wrench will allow you to tighten or loosen various nuts and bolts securely. It’s a versatile tool that comes in handy for multiple tasks throughout the replacement.
Groove-Joint Pliers: These pliers, also known as slip-joint pliers, offer an adjustable jaw size, making them invaluable for gripping and turning plumbing fittings without damaging them.
New Seats and Spring: While replacing the cartridge, it’s a smart move to replace the seats and springs as well. These components play a crucial role in preventing leaks and ensuring a tight seal.
Cartridge Puller: A cartridge puller is a specialized tool designed to safely extract the old cartridge from your Delta faucet. It simplifies the removal process and reduces the risk of damaging the faucet body.
Silicone Grease: Silicone grease is essential for lubricating the O-rings and seals on the new cartridge. Proper lubrication ensures a watertight seal and ease of operation when reassembling the faucet.
By having these tools and materials at your disposal, you’ll be well-prepared to tackle the Delta faucet cartridge replacement project with confidence. Each item on this list plays a crucial role in ensuring the smooth and successful completion of the task, allowing you to enjoy a leak-free and fully functioning faucet once again.
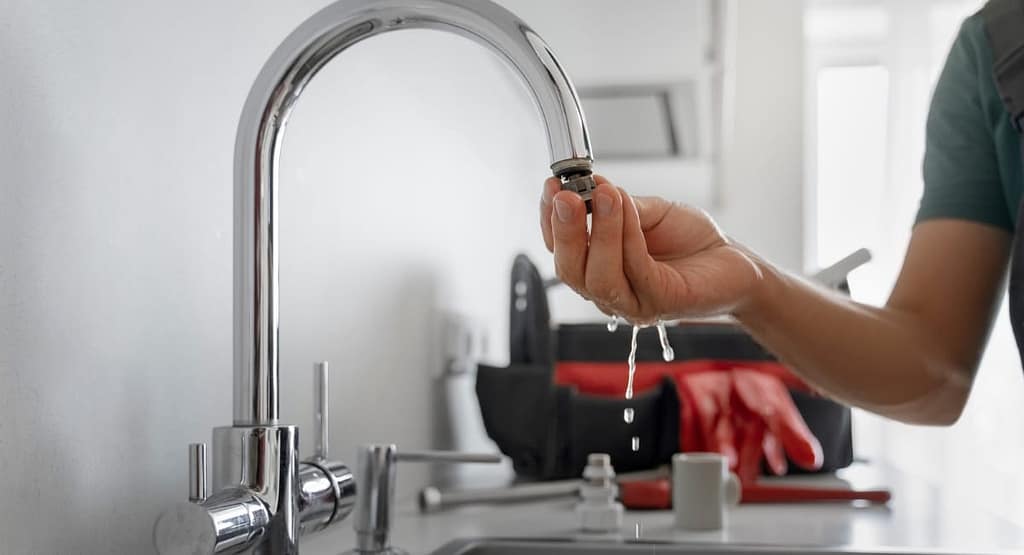
Step 1: Cease the Water Flow
To initiate the repair, it’s essential to halt the water supply first and foremost. This can be done by locating the shut-off valve and turning it off. To prevent any residual water within the pipes from interfering with your work, open the faucet or fixture to allow drainage.
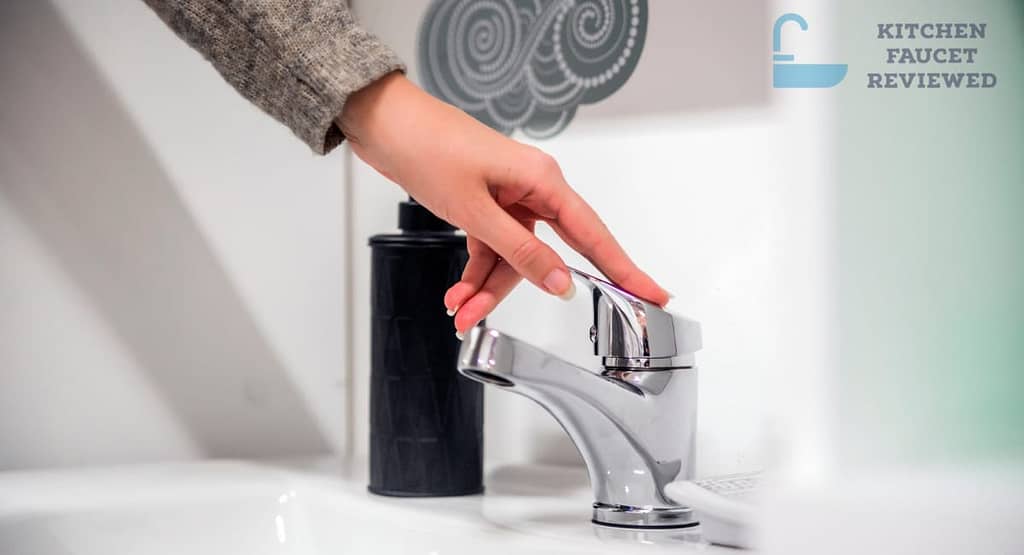
Step 2: Handle Removal
If your faucet is leaking from the spout, the initial course of action is to replace the seats and springs. However, if the leakage persists even after this replacement, you will need to replace the cartridge as well. Here’s how you can proceed:
Start by using a wrench to carefully remove the faucet handle.
Unscrew the handle while holding onto the escutcheon, which is the flat plate encircling the handle. This will grant you access to the inner components for further examination and necessary replacements.
Step 3: Disassemble the Retaining Mechanism
When dealing with a Delta faucet that incorporates a chrome sleeve, the next step is to disassemble this component. Here’s the procedure:
To access the chrome sleeve, employ a small-sized screwdriver to either unscrew or gently pull it out.
Within this step, your focus should be on the removal of the retaining clips. These clips play a crucial role in securing the cartridge firmly in its designated position. Gently extract these clips to further access and manipulate the cartridge as needed during your repair process.
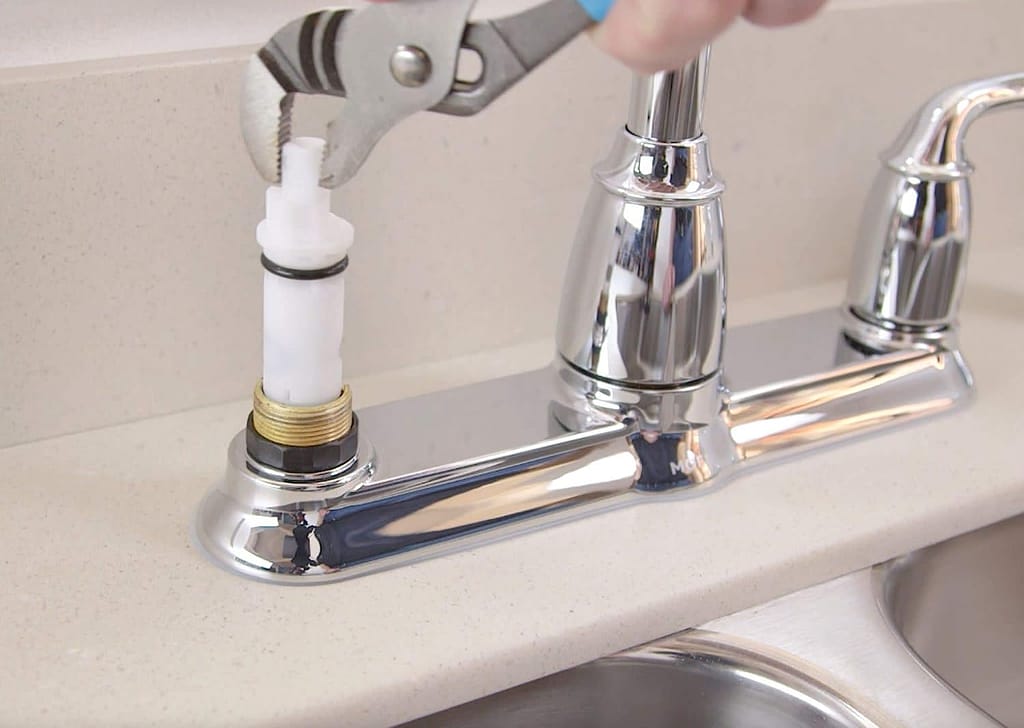
Step 4: Extracting the Worn Cartridge
Now that you’ve successfully disengaged the connections, it’s time to bid farewell to the old, malfunctioning cartridge. Here’s how to do it:
Pliers Method: Carefully grip the old cartridge with pliers and begin to extract it. Ensure you maintain a steady and controlled grip to avoid any damage to the surrounding components.
Specialized Tools: Alternatively, consider employing a cartridge puller, a purpose-built tool designed for this task. These tools offer added convenience and minimize the risk of causing unintentional harm to your faucet during the removal process.
Cartridge Compatibility: Take note, especially if your Delta faucet features a tapered cartridge. It’s imperative to replace it with a new one that matches the same compatibility. To ensure an exact fit, observe the orientation of the old cartridge before proceeding with installation, guaranteeing a seamless repair.
Step 5: Revitalize with New O-Rings
With the old cartridge out of the way, let’s shift our focus to a potential game-changer in your faucet’s performance – the O-rings.
Assess the Cartridge: Take a close look at the removed cartridge. If it appears burdened by excessive mineral deposits, don’t fret just yet. You can soak it in vinegar for effective cleaning. Sometimes, the root cause of faucet issues may lie within these O-rings, sparing you from replacing the entire cartridge.
Consider O-Ring Replacement: Before you proceed with a full cartridge swap, explore the possibility of a simpler solution. Replacing the O-rings can be a cost-effective and swift fix that addresses your problems in no time.
A Touch of Silicone Grease: When you’re ready to install the new O-rings, here’s a pro tip: before fitting them in place, apply a thin, even layer of silicone grease. This not only eases the installation process but also ensures proper sealing, preventing future leaks and prolonging the life of your faucet repair.
Step 6: Embrace the New Cartridge
Now that you’ve addressed the smaller details let’s focus on the heart of the matter – installing the new cartridge. Here’s your roadmap to faucet rejuvenation:
Cartridge Installation: Whether you’ve opted for a brand new cartridge or successfully revived the cleaned one, this is the moment to introduce it to its new home. Carefully insert the cartridge into its designated spot.
Securing the Essentials: Don’t forget to secure the key elements that ensure the faucet’s integrity. Place the retaining clip in position, and firmly fix the faucet handle and the escutcheon. This step is pivotal in keeping everything in place for seamless operation.
The Moment of Truth: With everything securely in position, it’s time for the moment of truth. Turn on the water supply and run a water test to evaluate your handiwork. Check for any lingering leaks to confirm that your faucet is operating flawlessly once again.
Anti-Scald Valve Consideration: If your faucet doesn’t feature an anti-scald valve, consider this as an opportunity to enhance its safety and longevity. By replacing the cartridge with a new anti-scald cartridge, you can safeguard your faucet against the damaging effects of scalding hot water, ultimately prolonging its lifespan.
Conclusion
The process of replacing a Delta faucet cartridge is a manageable task that doesn’t demand an extensive toolkit or expert-level skills. In fact, you can typically find most of the necessary tools neatly packed in a Delta faucet repair kit, complete with handy accessories designed to simplify your DIY faucet repair journey.
By following the step-by-step guidelines we’ve outlined, you’re well-equipped to address common faucet issues on your own, all while saving on plumbing expenses. However, if you ever encounter difficulties or simply prefer the peace of mind that comes with professional assistance, don’t hesitate to reach out to a plumbing expert.
Our aim is that these instructions empower you to successfully undertake this project without any hassle. A rejuvenated faucet not only enhances the functionality of your kitchen or bathroom but also puts you in control of its maintenance. Happy repairing!
FAQs
Q1: Can I use any cartridge in my delta faucet?
When it comes to selecting a cartridge for your Delta faucet, it’s essential to exercise caution and make an informed choice. Delta faucets come in various models, each with specific requirements. Here’s what you need to know:
Model Compatibility: Not all Delta cartridges are universally compatible. The ideal cartridge for your faucet depends on its specific model and design. Using the wrong cartridge can lead to leaks and functional issues.
Research Your Faucet: To find the right cartridge, start by identifying your faucet’s model and series. This information can typically be found in the owner’s manual or on the faucet itself.
Consult the Experts: If you’re uncertain about which cartridge to use, it’s advisable to contact Delta’s customer support or visit their official website. They can guide you in selecting the precise replacement cartridge for your faucet model.
Consider Upgrades: While replacing a cartridge, you may have the opportunity to upgrade to a more advanced version, such as an anti-scald cartridge for added safety. This can be a valuable enhancement if your current faucet lacks such a feature.
Quality Matters: Opt for genuine Delta cartridges or reputable, high-quality replacements. These ensure compatibility and reliability, reducing the risk of future issues.
In short, choosing the right cartridge for your Delta faucet is crucial to maintain its functionality and prevent potential problems. By doing your research and seeking expert guidance when needed, you can ensure a seamless and trouble-free replacement process that benefits both your faucet and your peace of mind.
Q2: Is the cartridge replacement process the same in the delta kitchen and bathroom faucet?
When it comes to Delta faucet cartridge replacement, the process can vary depending on whether you’re working in the kitchen or the bathroom. Understanding these differences is essential to ensure a successful repair. Here’s a breakdown:
1. The Core Mechanism: While the core mechanism of Delta cartridges remains consistent across kitchen and bathroom faucets, the external design and layout can differ. This means that the steps involved in accessing and replacing the cartridge may not be identical.
2. Faucet Design: Delta manufactures a wide range of faucet designs, and these distinctions can influence the replacement process. For instance, bathroom faucets often have smaller, more compact configurations, whereas kitchen faucets may have a larger, more complex structure.
3. Access Points: The way you access the cartridge can differ. Bathroom faucets might have easier access due to their simpler design, while kitchen faucets might require more disassembly or additional steps.
4. Tool Requirements: Depending on the specific faucet model, you might need different tools or adapters for cartridge removal. It’s crucial to have the right tools on hand to avoid complications.
5. Consult the Manual: Always consult the manufacturer’s manual or documentation specific to your faucet model. These resources often provide detailed, model-specific instructions for cartridge replacement.
6. Seek Expert Advice: If you encounter challenges or uncertainties during the replacement process, don’t hesitate to seek expert guidance or hire a professional. They can offer invaluable insights and ensure a successful repair.
Q3: Can I use a faucet without a cartridge?
Using a faucet without a cartridge is generally not recommended due to several crucial reasons. The faucet cartridge serves as a vital component that affects the faucet’s functionality and safety.
The primary function of a cartridge in a faucet is to control the flow of water. Without it, you lose the ability to regulate the water’s flow rate and temperature accurately. This can result in uneven or uncontrollable water output, making everyday tasks such as washing hands, dishes, or filling containers challenging and potentially wasteful.
Furthermore, faucet cartridges are designed to create a tight seal when the faucet is turned off, preventing water from continuously flowing or dripping. Without a cartridge, you risk constant leaks, which not only waste water but can also damage your sink, countertop, or cabinetry over time.
Safety is another critical consideration. Many modern faucet cartridges incorporate safety features like anti-scald technology. These features help prevent accidental exposure to extremely hot water, protecting you and your family from burns or injuries. Operating a faucet without a cartridge could expose you to these safety risks.
Lastly, continuously using a faucet without a cartridge can lead to wear and tear on the faucet’s internal components, potentially causing more significant damage. This could result in the need for extensive and costly repairs or a complete faucet replacement down the line.