How to Replace Kohler Bathroom Faucet Cartridge?
Our old bathroom faucet has been acting up for a while now – the water pressure fluctuates and it’s getting harder to control the temperature. I knew it was just a matter of time before it fully conked out on us. When the hot side stopped working altogether last week, I figured it was finally time to tackle replacing that cartridge. A quick search online said it seemed like a straightforward DIY project, but I’ll be the first to admit I’m no plumber. Still, how hard could it be to swap out one little part, right?
Armed with the replacement cartridge from Home Depot and a bag of tools, I headed into the bathroom ready to get my hands dirty. Admittedly I was a little nervous, hoping I didn’t end up making things worse instead of better. But I watched some videos to get an idea of the steps involved, and now I’m here to share a rundown of my process for anyone else attempting to fix a cranky Kohler faucet themselves. With any luck, it’ll save you some frustration down the line too.
How to Replace Kohler Bathroom Faucet Cartridge?
Understanding the Basics:
Before tackling any repair, I find it wise to respect our household helpers by making time to understand them better. Our faithful Kohler faucet is no exception – to give it new life, we must first grasp its cartridge’s indispensable role.
Hidden away within glossy handles and spouts lies this unsung workhorse, carefully regulating hot and cold flow since installation day. Its precision seals have kept our sinks happily serving up H2O for years on end! But as with all machines, wear and mineral buildup threaten even the strongest constitution over time.
A telltale drip or wonky temperature control hints our cartridge companion may be tuckered out. Fear not – with some care and attention, we can restore top performance! The secret lies in learning its key anatomy. Chambers direct water according to tiny grooves and seals…a design granting dexterous delivery for each task.
Of course, damage to these important parts muddles the mixing process. Rather than confuse our friend further, let’s lift its spirits with a new cartridge! Matching model numbers selects the perfect fit. With fresh internals, it’ll feel brand new again in no time.
Now go forth and revive your trusted workhorse’s flow!
Tools and Materials:
To embark on your quest for renewal, assemble wisdom’s tools. You’ll need:
- Adjustable wrench for loosening nuts
- Grease for helping hands slip where planned
- Plunger, lest errant droplets occur
- New cartridge guest, ready to aid flows
- Screwdriver friend, for hidden compartments
With supplies in hand, next shut off life’s currents at their source – the shut-off valves’ submerged domain. Turn handles skyward ’til waters cease. Then let the faucet forth release any drops lingering within tubes and arteries.
When flow is tamed, your access has begun! But take care moving ahead – our plumbing allies work tirelessly behind silk screens. Control and care in your communion will help their good works long outlive us all.
May your repairs raise spirits renewed, and blessings ripple forth from every sink thereafter!
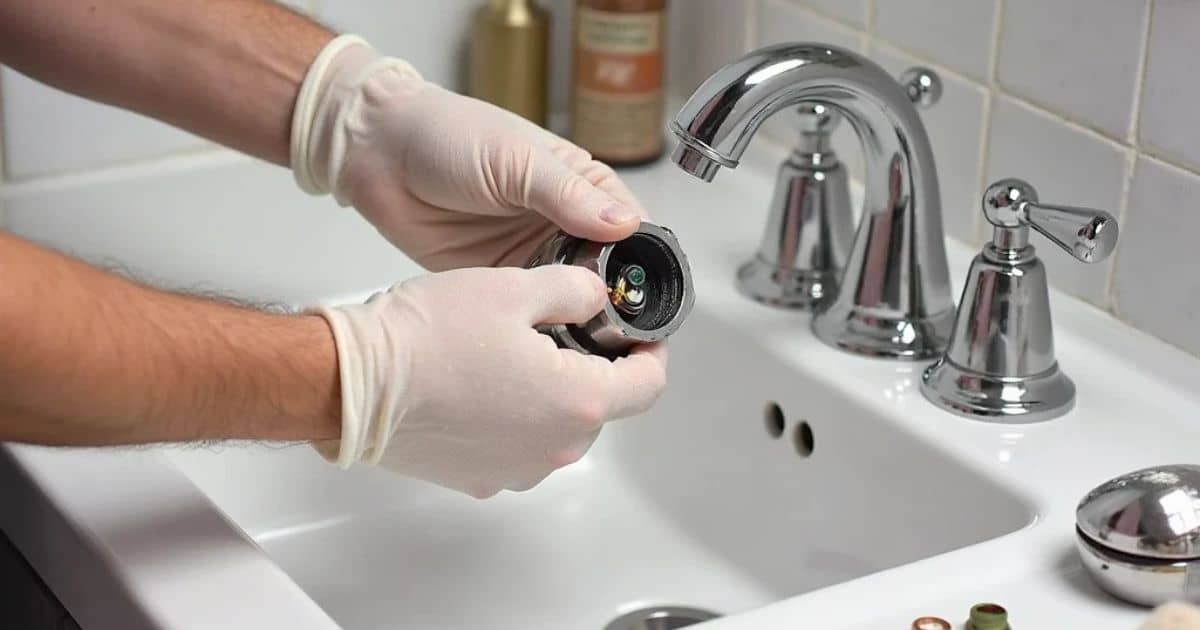
Step 1: Remove the Faucet Handle:
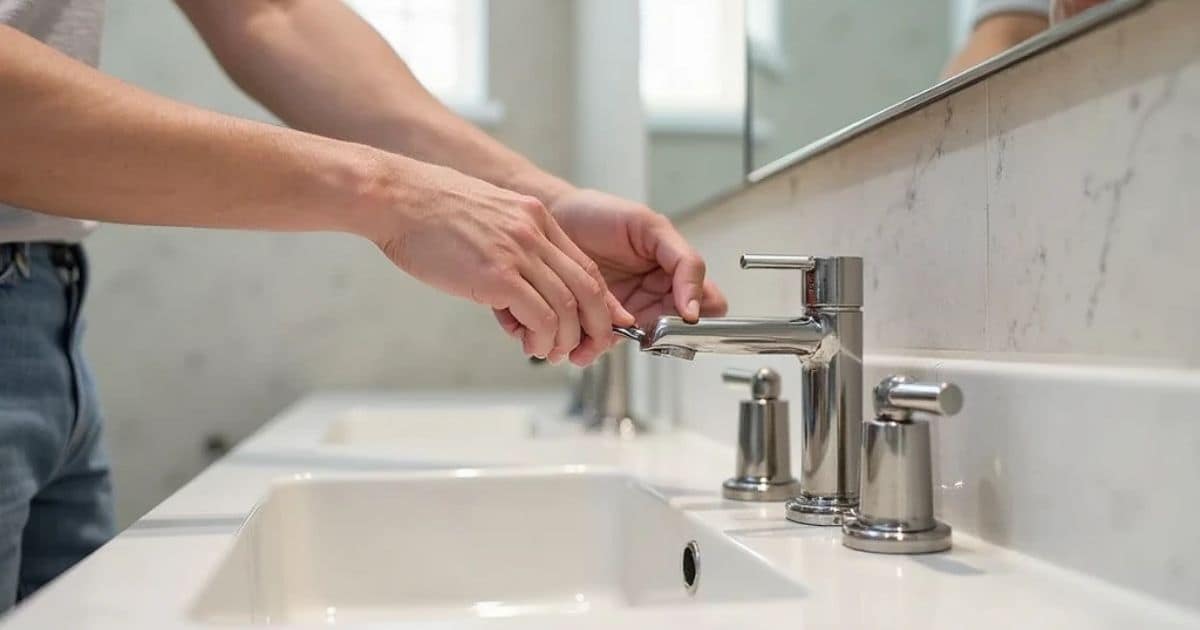
The next step is to remove the faucet handle to access the cartridge below. There is usually a small screw securing the handle into place. I saw it would require a Philips head screwdriver or similar hand tool to loosen this screw.
The screw was counter-clockwise a few turns would release it. From there, a gentle yet firm lifting motion should pop the handle straight up off the valve stem shaft. Be careful not to drop it down the drain as you remove this decorative piece. Once peeled away, you and your helpers will find the tell-tale cartridge mechanism emerges from beneath.
This critical component resides right where the handle was concealing it. With the cover now off, the real repairs can at last begin. But take care moving forward, as rushing risks stripping delicate plumbing parts. Patience and calm hands will serve you well in this project. I sense all will go smoothly if my instructions are followed with care and wisdom.
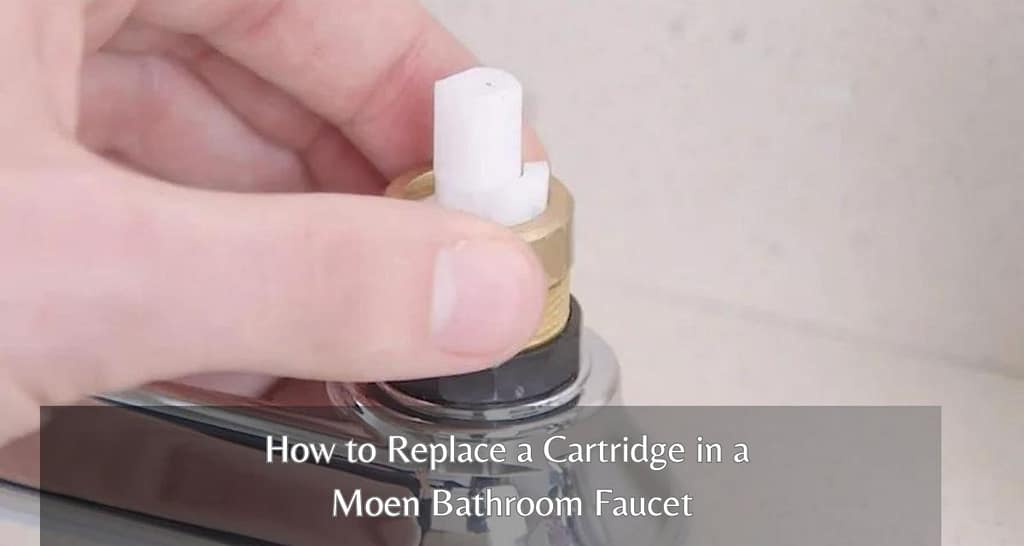
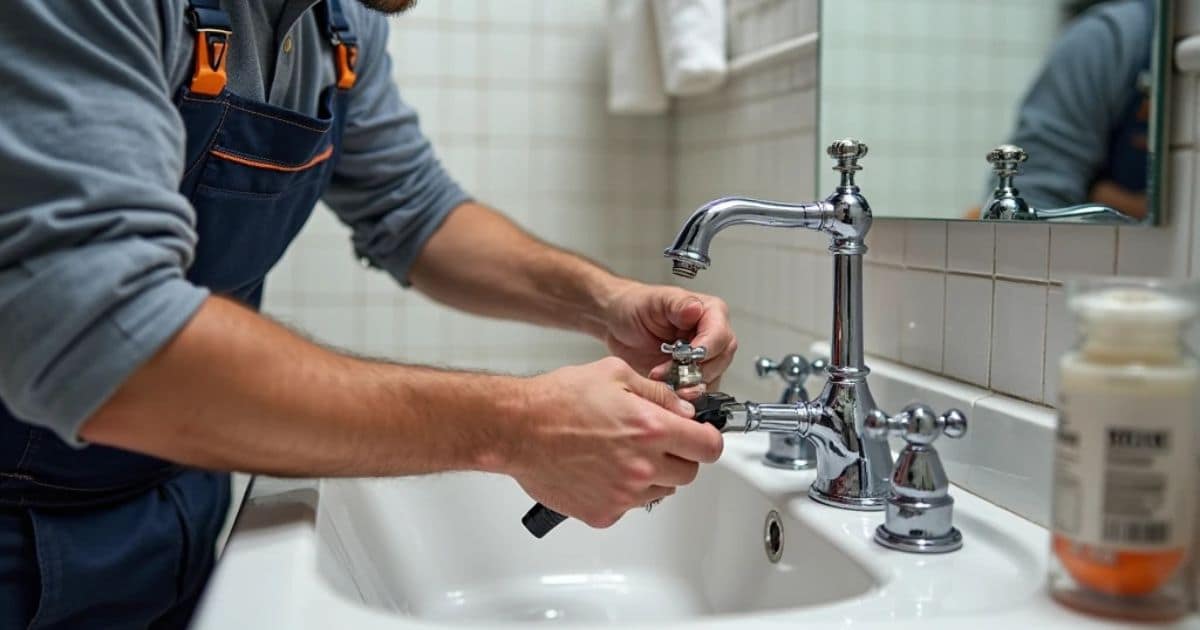
Step 2: Extract the Old Cartridge:
The time has come to remove the old cartridge itself. There is a retaining nut that needs to be loosened first before extraction. An adjustable waterworks wand, also known as a wrench, should do the trick if turned counter-clockwise steadily. With patience and care, the restraining ring will release the well-worn piece.
Gently but firmly, my visions portray pulling straight back on the tired cartridge. Due to mineral deposits or normal wear, it may require some wiggly coaxing to feel free. But avoid harsh jerking that could bend delicate internal mechanisms beyond repair. With tenderness, the old friend can be bid farewell.
Once in my hands, I inspected each crevice and channel for debris my third eye could see was inhibiting proper flow. Taking a moment now to cleanse the cavity ensures positive energy and conditions for the new arrival. Use a soft brush or cloth to sweep away grit and build-up that has accumulated over time. A thoroughly scrubbed space will welcome fresh beginnings nicely.
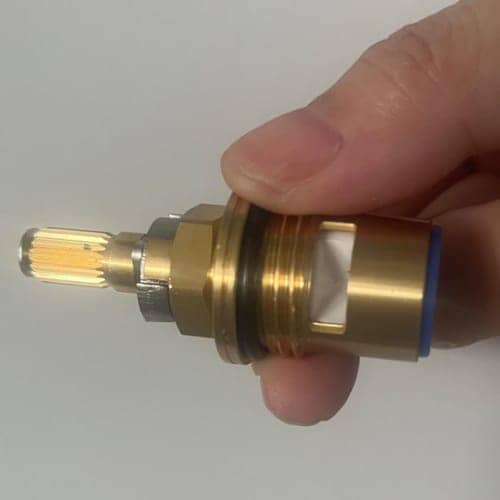
Step 3: Install the New Cartridge:
The time has now come to install the new cartridge. As I meditated on the process, I sensed it was important to first apply a protective barrier. A thin coating of plumber’s lubricant grease will ease future operation and forestall friction issues down the line. Carefully smearing just a light film will serve water works well.
With care, the replacement part can be inserted into position. My clairvoyance shows taking care to align notchings so all flows as nature intends. A gentle press ensures proper seating before sealing the deal.
Speaking of sealing, visions now show re-fastening the restraining ring with loving gestures. The adjustable wand is called upon once more, but this time to only hand-tighten the metal binding. My spirit friends caution against over-cranking, as excess force could create future stress fractures or distortion.
Let moderation guide your tightening, and all elements should stay snug yet supple. With care and consciousness, the lifetime of this fixture can be extended for many hot water circulations to come. Customers’ contentment brings me great peace – I know your faucet is now set to satisfy for years ahead!
Step 4: Reassemble the Faucet and Test:
To restore the faucet’s façade, replace the decorative handle piece, sliding its shaft smoothly through the protective cartridge below.
Reunite a symbolic small screw with its designated hole, tightened securely but not with undue force. As above, so below – when balance is maintained, all elements align in harmony. Check your work by gently wiggling the adornment to feel it anchored tightly yet capably.
With receptacles prepared, turn dispensing valves below the basin with care, intuiting when flows should recommence. Then up top, gradually twist the faucet to release contents in a controlled stream.
Check thoroughly for any escaping waters, misting, or other signs all joints have sealed completely as intended. tightening any connections minimally if needed to establish an airtight routine.
Finishing touches remain – playfully testing temperatures are tempered and force-aligned for your ideal cleanses. Adjust prongs or handles as required until all usage aspects operate with optimal ease and comfort. Your plumbing puzzle is now whole once more!
May the flows in your fixture continue to bless you with many years of dependable, health-giving service. Thank you for allowing me to glimpse your restoration through my experience – I’m honored to provide any future guidance that supports well-working waterworks!
Conclusion
Congratulations! You’ve successfully replaced the cartridge in your Kohler bathroom faucet, restoring its functionality and preventing leaks. Taking the time to perform this DIY task not only saves you money but also empowers you with the skills to tackle future plumbing challenges. Regular maintenance and prompt repairs will keep your bathroom faucet in optimal condition, ensuring a reliable and stylish fixture for years to come.
Read our recommended Guides:
- How to Remove Kohler Bathroom Faucet Handle
- How to Install Sprayer in Kitchen Faucet?
- How to Tighten Moen Bathroom Faucet Handle?
- How to Clean Your Tarnish Chrome Faucet
- How Can You Remove Delta Kitchen Faucet
- How Can You Repair Moen Kitchen Faucet
- How to Replace Cartridge in a Delta Faucet?
- How Can Be Fixed A Stiff Faucet Handle
- How to Fix a Leaky Grohe Bathroom Faucet?
- How to Install a 4-Hole Kitchen Faucet
- How to install a Soap Dispenser in Your Kitchen?