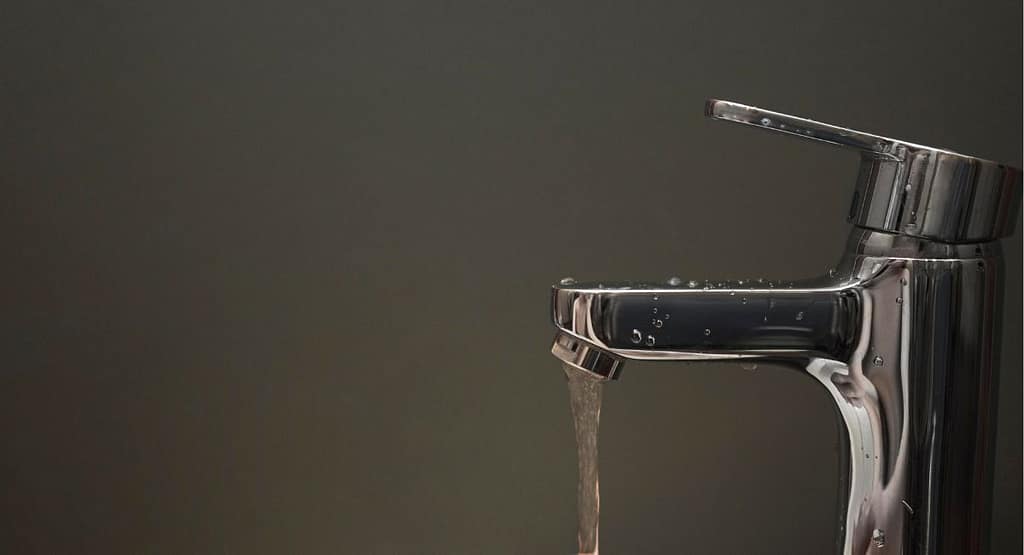
Are you tired of your leaky two-handle kitchen faucet? Dealing with a slow or stuck handle that just won’t turn smoothly anymore? Chances are it’s time to replace the worn-out cartridges inside. Learning how to do this basic plumbing repair yourself can save you money over calling a professional. In this guide, I’ll walk you step-by-step through the simple process of replacing the cartridges on your two-handle faucet.
Two-handle faucets are among the most common kitchen sink styles. Over time, the small rubber seals and washers inside the cartridges can break down from regular use and exposure to water chemicals. This leads to annoying leaks or stuck handles that need to be fixed. The good news is swapping out the old cartridges for new ones is an easy DIY job that anyone can do with just a few basic tools.
By following these 5 steps you’ll be down your job successfully!
Replacing Two-Handle Faucet Cartridge
Materials you will need:
- Adjustable wrench
- Screwdriver (Phillips or flathead, depending on your faucet)
- Replacement cartridge (specific to your faucet model)
- Plumber’s grease
- Towels or rags
- Bucket or container
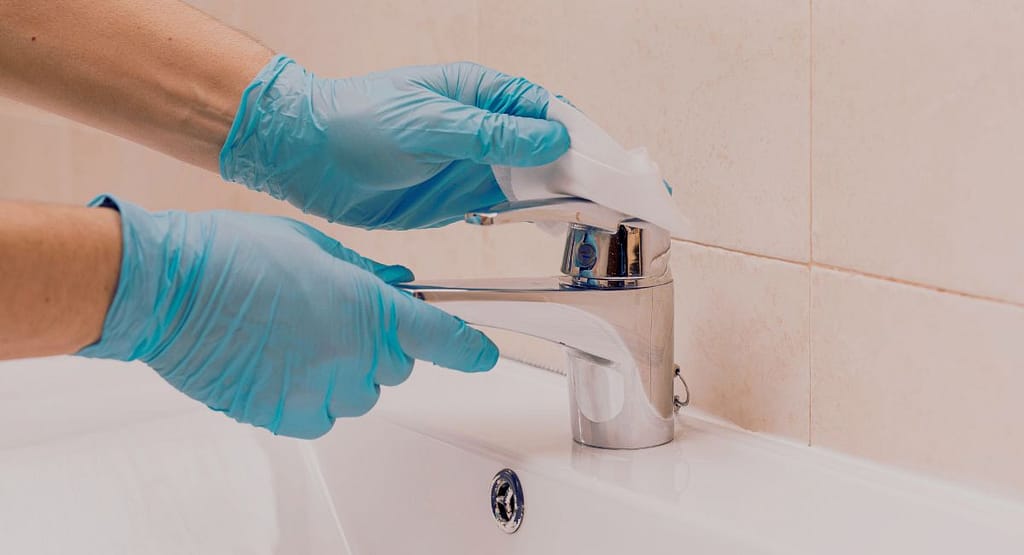
Step 1: Prep Your Workspace
Before fixing sinks or pipes, prep your work area safely. First, locate the water shut-off valves under the sink. These are usually small handles sticking out from the pipes – turn them clockwise to shut off the water supply.
Once turned off, open the faucet handles to release any leftover pressure. Lay down rags or towels too, in case a few drops leak out.
Wipe down the area with soap and water to remove dust or grime. A clean surface makes the job easier.
Organize your tools into groups so everything is handy. But not too messy – you don’t want parts falling into the drain!
By shutting off the water, protecting your space, and getting organized, you’ll be ready to fix leaks or other plumbing problems with no issues.
Step 2: Time to Take Off the Handles!
Now that our workspace is prepped, let’s get these old handles off so we can fix what’s underneath.
Start by locating the small screws attaching the handles to the faucet body – usually one on each side. A good set of screwdrivers is your BFF here. I like to keep mine organized in a magnetic tray so nothing walks off on me.
Take the screws out carefully so you remember which hole they came from. I’ve been known to mix them up on bigger jobs! No need to stress though, they’re usually the same size.
Once unscrewed, gently wiggle and pull the handles straight off. If one’s being stubborn, no problem – just slide a thin flathead screwdriver between the handle and faucet. Give it a little leverage and pop, off it comes!
Place all the parts in a safe spot so they don’t get lost under the sink. I like using a small tray or container to keep hardware corralled.
With the handles removed, you now have clear access to service whatever’s been causing leaks or issues. Just be sure to reinstall everything properly when you’re done. Let me know if you need any other plumbing tips!
Read kitchen faucet types.
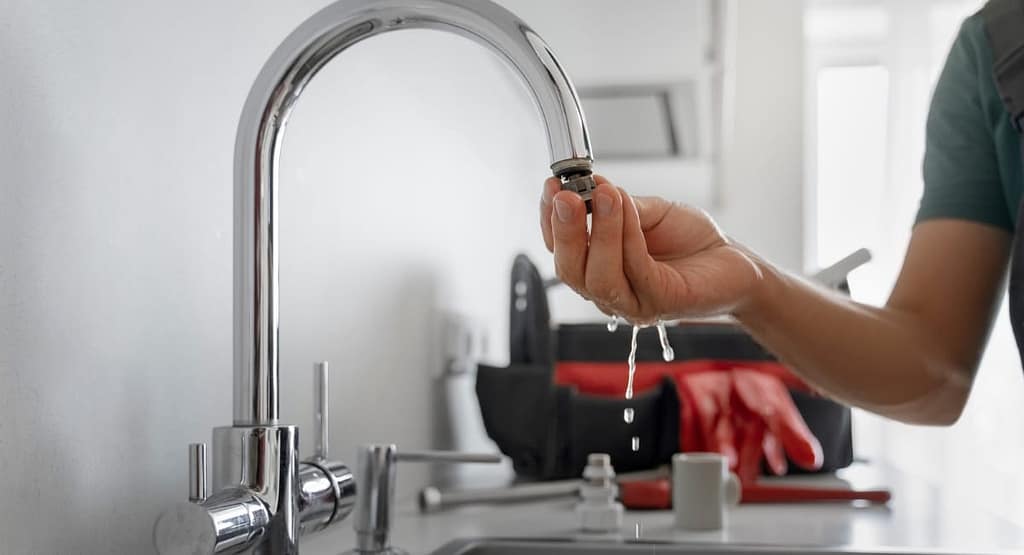
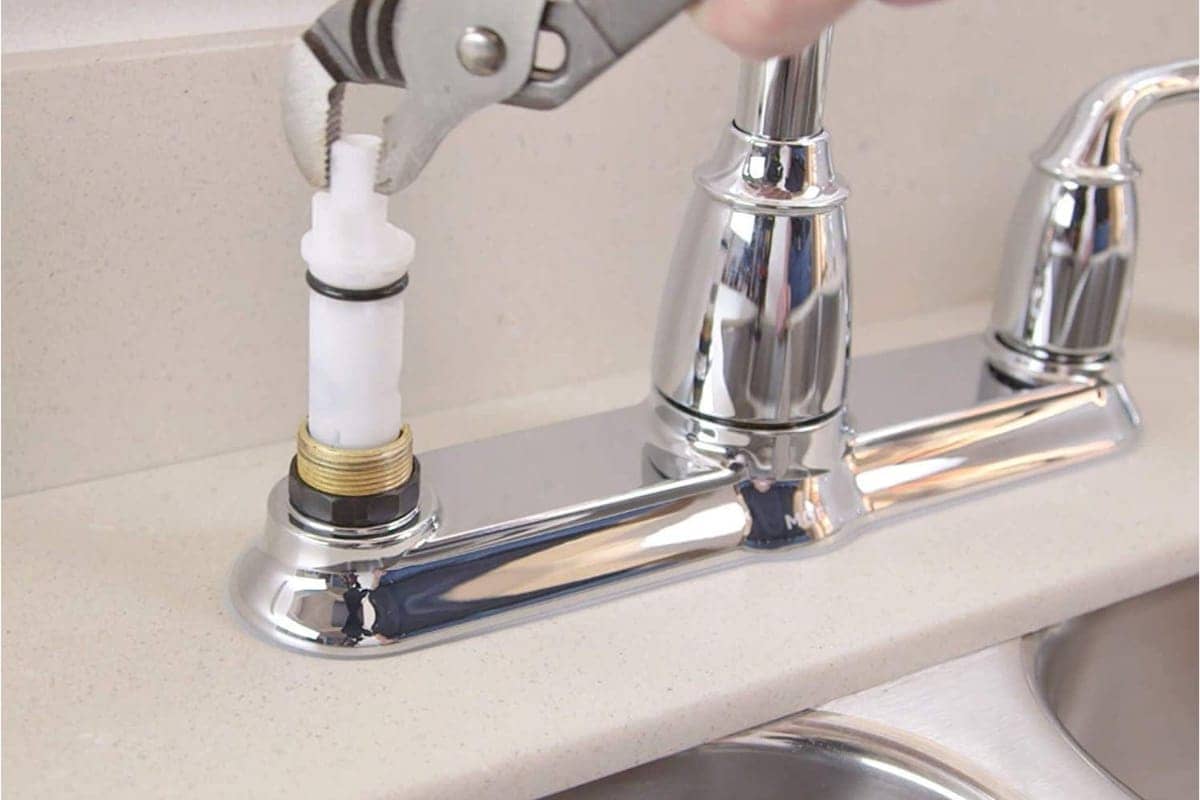
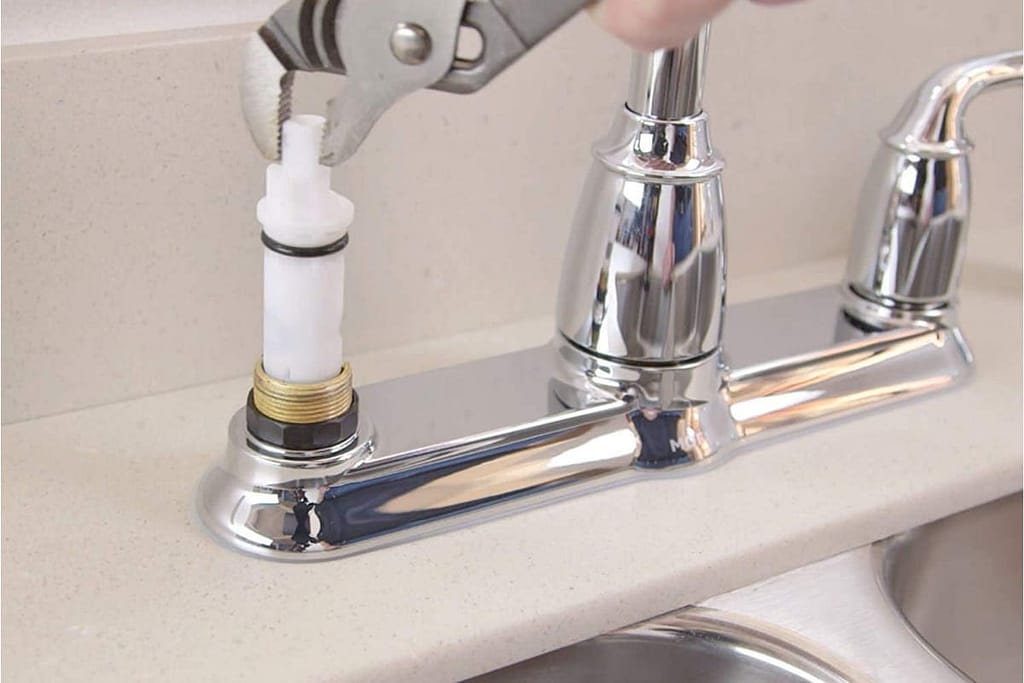
Step 3: Remove the Cartridges
we’re making progress on fixing this leaky faucet! With the handles off, it’s time to remove the cartridges that do the actual water control.
Reach on in there with a flashlight and you’ll spot a small nut under where each handle was attached. Those babies hold the cartridge snugly in place.
An adjustable wrench is perfect for loosening these nuts – give them a quarter turn to the left and they’ll spin right off. Be sure not to strip the threads!
Gently wiggle and pull out the cartridges. Take a quick peek at how they’re oriented so you can reinstall correctly later. No need to force anything, they’ll slide out smoothly with a little coaxing.
Now’s a good time to inspect any rubber seals or gaskets on the cartridges. If they look cracked or worn, definitely replace them. A leaky seal is usually the culprit behind a dripping faucet.
With the cartridges out, you have a clear view inside to see what’s really going on. From here it’s an easy fix of cleaning or replacing parts as needed.
Step 4: Install the new Cartridges
First things first, grab that tub of plumber’s grease. A little dab will do ya here – just smear a thin layer all over the rubber seals or O-rings.
This grease creates a nice watertight barrier that also lets everything slide together smoothly. It’s really the secret to preventing future leaks.
With the seals coated, gently slide each cartridge back into its proper place. Take your time getting them seated just right.
No need to force anything, but also don’t be afraid to give them a little encouragement with your hands. You’ll feel them pop into the correct position.
Next, secure those retaining nuts using the adjustable wrench. Snug them up just until the hand is tight. No need to gorilla grip and strip the threads!
And just like that, you’re all done! Give the handles a test turns to check everything is moving freely.
With any luck, your leak problems are now solved.
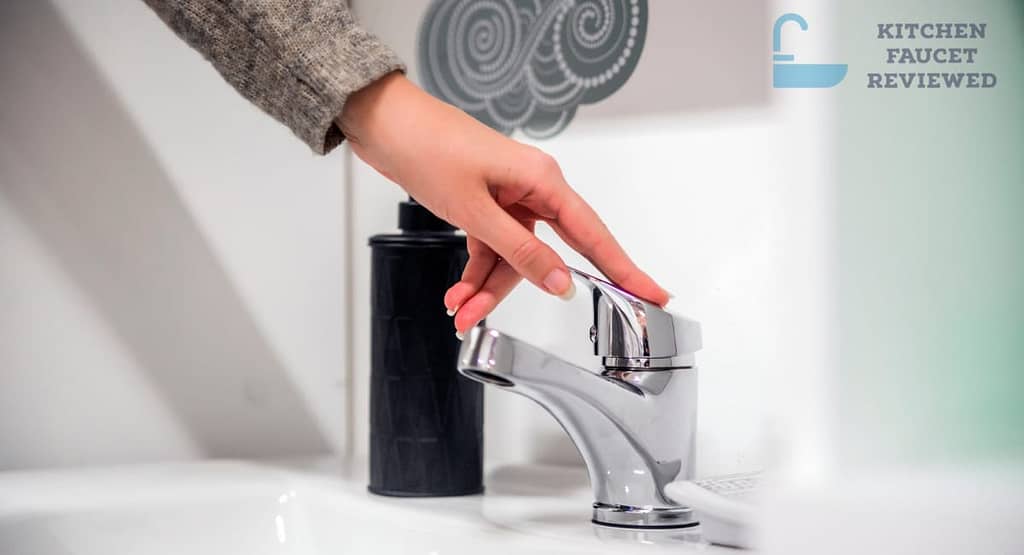
Step 5: Reassemble the faucet and Test
Start by placing those handles back on the faucet stems. Gently thread in the screws using your screwdriver. Be cautious not to over-tighten – snug is good enough.
Give each handle a spin to ensure they turn smoothly without catching on anything. Everything aligned correctly? Perfect!
Now for the moment of truth – let’s get that water flowing again. Locate the shut-off valves under the sink and slowly turn them counter-clockwise to open.
Keep an eye out as water pressure builds back up. Any wet spots around the base or handles? Fingers crossed you’re all leak-free!
If a trickle appears, no problem – just tighten the retaining nuts a quarter turn at a time with your wrench until it stops.
Conclusion
By walking through this process together, I hope you now feel confident tackling your own faucet fixes.
The most important things to remember are taking your time and paying attention to each step. Rushing will only lead to stripped screws or lost parts. With plumbing, slow and steady always wins the race.
Every project you complete will give you more experience under your belt. Before you know it, you’ll be a pro at all sorts of home repairs. Who knows, maybe you’ll be the one teaching someone else down the road!
Be sure to check back here for handier DIY tutorials. Whether it’s fixing appliances, basic electrical work, or other plumbing jobs, I’ll be sharing all my best tricks.
Thanks for joining me on this faucet adventure. Feel free to reach out if any other issues come up – I’m always here to help. In the meantime, keep on learning new skills!
FAQs
How Do I Identify My Faucet Cartridge?
the first step is knowing exactly what cartridges will work for your faucet. Luckily, identifying them is pretty straightforward.
Take a peek under one of the handles – you should see a round or oval piece with some holes or notches cut out. That’s your cartridge!
Common types include ball-style, disc-style and compression. Ball cartridges have a spherical shape while disc varieties are flatter. Compression models use a screw mechanism.
Pay attention to little details like brand name logos, numbers printed on the side, or unique shapes around the edge. Take a picture with your phone if unsure.
Armed with these identifying marks, a quick online search or trip to the hardware store will yield the right replacement cartridges for your setup. It’s usually a good idea to buy a set for both sides.
If still uncertain, removing an old cartridge (as outlined in the above guides) makes identification a breeze. Just take it with you shopping!
Are All Faucet Cartridges the Same?
While they might look similar at first glance, there are some important differences to be aware of when choosing replacement cartridges.
Style is one thing to pay attention to. You’ve got your basic ball-style cartridges, disc varieties, and compression models. Make sure to get the right style for your specific faucet setup.
Size and shape is another factor – even cartridges of the same style might vary a tiny bit between brands. You’ll want to measure the old one and find a new cartridge that matches as closely as possible.
Then there’s where the water inlet and outlet holes are placed. Their location needs to line up perfectly with the faucet body and stems for everything to fit together just right.
It can also be safer to stick with the original brand rather than mixing and matching if possible. Sometimes a cartridge from one brand just won’t cooperate in a faucet made by someone else.
And dual handle faucets require two separate cartridges, one for each side, so don’t forget to buy a complete set when replacing those.
Taking the time to research your faucet make and model will help ensure the replacement cartridges are an exact fit. And nothing beats bringing the old one along for a side-by-side comparison when shopping too. With the proper match, your faucet days will be leak-free!
How long do faucet cartridges last?
Well, it depends on a few factors, but on average most folks can expect to get 5-10 years of use out of their cartridges before needing to swap them out. Of course, every home and water situation is a little different.
If you’ve got hard water full of minerals, those cartridge seals may only last around 3-5 years before all those deposits start causing leaks. But if you’re on a well with nice soft water, they’ll tend toward the higher end of that lifespan range.
Faucets that see a lot of daily action like the kitchen sink are gonna put more wear and tear on those cartridges over time. So ones in a high-traffic area may need replacing every 3-7 years or so. Bathroom faucets with less daily use will typically go longer before needing new cartridges.
Signs like slow response, drips, or handles that get stuck in place are usually a good indication it’s about time to replace the cartridges. But sometimes they’ll keep on chugging for a little while longer even when showing their age!
Outdoor faucets or ones that deal with extreme temperature fluctuations in very hot or cold climates usually get about 2-3 years out of their cartridges on average before needing to be swapped. The constant temperature changes can break them down faster.
A little preventative maintenance like cleaning mineral buildup every so often can help maximize the lifespan of those cartridges. But in general, plan to replace them every 5 years or so to keep things running smoothly as silk without any leaks.
Check our more recommended guides for your further help:
- Cleaning kitchen faucet Spray Head?
- How to Replace Cartridge in a Delta Faucet?
- How to install a Soap Dispenser in Your Kitchen?
- How to Prevent Faucets from Freezing?
- Changing the Battery of Touchless Kitchen Faucet
- How to Clean Rinnai Tankless Water Heater?
- How to Install Sprayer in Kitchen Faucet?
- How to Tighten Moen Bathroom Faucet Handle?
- How to Use a Moen Cartridge Puller?