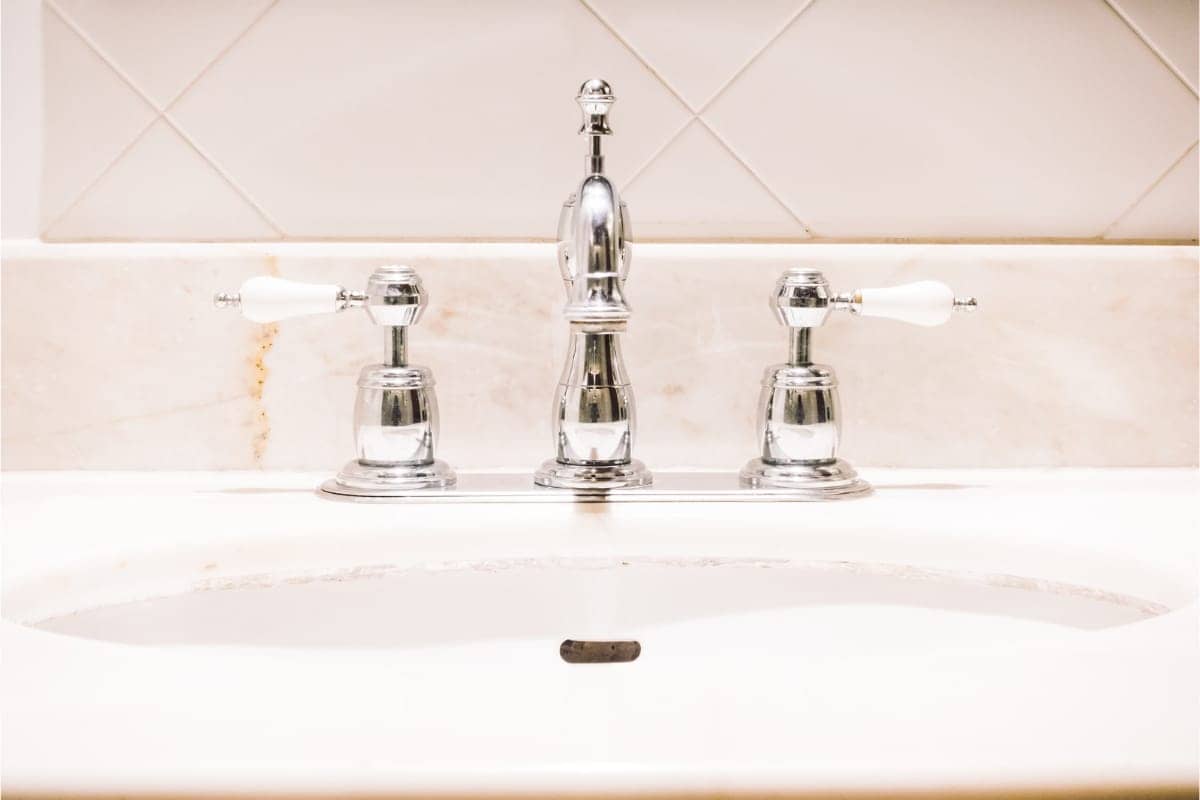
Most people use double-handle fauce
ing this problem and got some guidance from experts.
Finally, we brought 5 easy ways that can solve this issue and make your faucet like a new one.
Also, we answer some common questions that usually people face.
How to Fix a Leaky Double-Handle Faucet?
Step 1: Gather Your Tools
Before we begin, make sure you have the necessary tools at your disposal. You’ll need an adjustable wrench, a Phillips screwdriver, a flathead screwdriver, and some plumber’s tape. Once you’ve got your tools ready, we can move on to the next step.
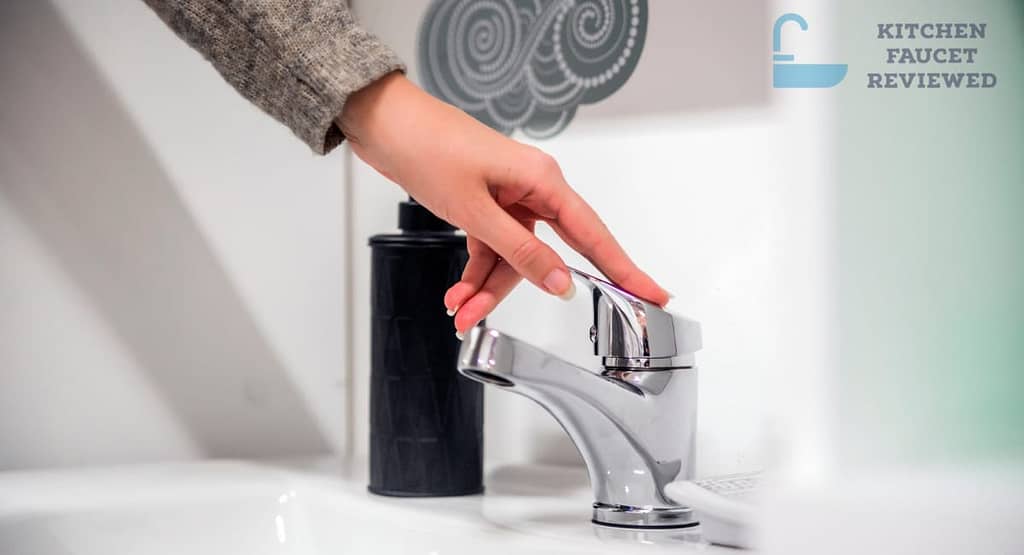
Step2: Turn off the water and Remove the Handle
Alright friend, time to tackle that leaky faucet! The first thing is, we have to shut off the water supply. Reach under your sink and locate the main valve – it’s usually that round knob thingamajig. Give it a quarter turn clockwise to cut off the flow. No use getting soaked before the fun begins!
The next step, remove those pesky handles. See those little caps decorating the top? Pop them off carefully with your flathead screwdriver. Underneath you’ll find a couple of screws holding each handle in place. Unwind those with your Phillips and the handles will slide right off.
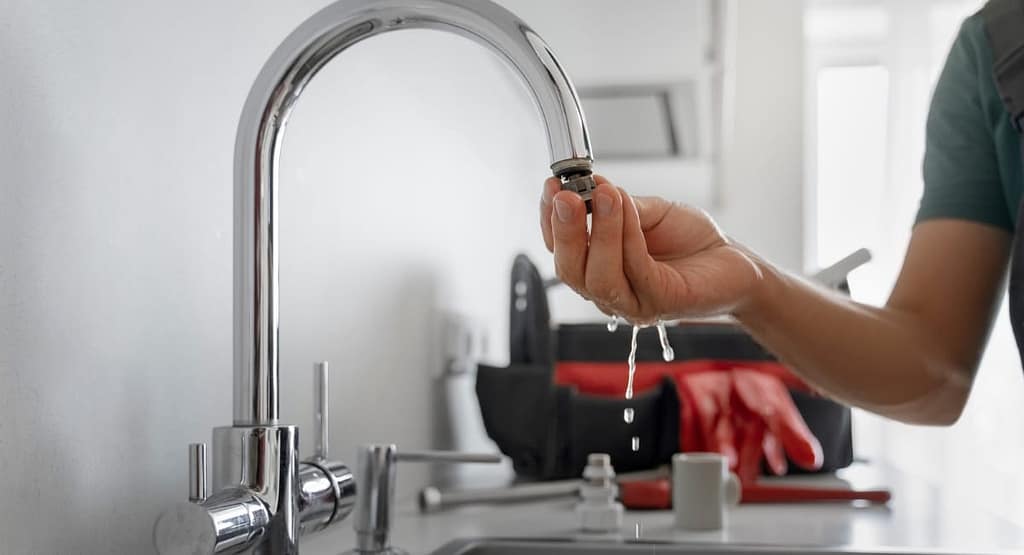
Step 3: Inspect the Cartridge or Valve Stem
Now that the handles are out of the way, it’s time to peek inside the faucet. Depending on the type of faucet, you’ll either find a cartridge or a valve stem. Inspect these components for any visible signs of damage or wear and tear. If you notice any issues, it’s best to replace the faulty parts.
Step 4: Replace the O-Rings or Washers
Often, leaky faucets are caused by worn-out o-rings or washers. If these components appear worn or damaged, it’s time for a replacement. Remove the old o-rings or washers and replace them with new ones of the same size. Pro tip: Apply a thin coating of plumber’s grease to ensure a tight seal.
Step 5: Reassemble the Faucet
Once you’ve replaced any faulty parts, it’s time to put everything back together. Slide the handles back onto the faucet and secure them with the screws. Don’t forget to reattach the decorative caps, ensuring a snug fit.
Step 6: Test and Inspect
Now comes the moment of truth! Turn on the water supply valve under the sink and slowly open the repaired faucet. Check for any leaks or drips. If all is well, congratulations! You’ve successfully fixed your leaky double-handle faucet.
Why is my faucet handle leaking?
A faucet handle may start leaking due to various reasons, but fear not, for I shall unravel the mysteries behind this common plumbing dilemma.
One possible cause of a leaking faucet handle is worn-out o-rings. These small rubber rings are responsible for creating a watertight seal within the handle. Over time, the constant use and exposure to water can cause the o-rings to deteriorate or become loose, resulting in leaks. Replacing these worn-out o-rings with new ones can effectively restore the seal and put an end to the leaks.
Another culprit could be faulty washers. Some faucets utilize washers instead of o-rings to create a proper seal. Similar to o-rings, washers can also wear out or develop mineral deposits, leading to leaks. If you have an older faucet, replacing the washers might be necessary to resolve the issue and ensure a tight seal once again.
In certain cases, a loose or corroded valve stem can be the root cause of the leaky faucet handle. The valve stem plays a crucial role in controlling the flow of water. When it becomes loose or corroded, it can result in water leaking from the handle. Tightening or replacing the valve stem is often the solution to rectify such leaks.
Improper installation can also contribute to a leaking faucet handle. If the handle was not aligned or tightened correctly during installation, it can cause leaks to occur. In such instances, readjusting or tightening the handle can resolve the problem and restore a leak-free faucet.
It’s worth mentioning that high water pressure can exert excessive strain on the internal components of a faucet, thus leading to leaks. If you suspect that your plumbing system has high water pressure, it is advisable to install a pressure regulator. This device will help regulate the water pressure and prevent future leaks.
Lastly, mineral buildup can also play a role in causing leaks. Over time, minerals present in the water supply can accumulate and obstruct the proper functioning of the faucet, leading to leaks. Regular cleaning and maintenance can help prevent mineral buildup and keep your faucet in optimal condition.
Can I fix a leaky double handle faucet myself?
If you’re feeling adventurous, I can give you a few tips to try fixing it yourself. I always recommend cutting out the water supply from the faucet. Then, remove the handles and the decorative caps, if any. You’ll find screws underneath, so unscrew them and take off the handles.
Next, use a wrench to loosen and remove the stem assembly. Inspect the O-rings and washers for any damage or wear. If you notice any issues, you can replace them with new ones. Make sure to clean the area thoroughly before reassembling everything.
Once you’ve done that, put the stem assembly back, secure it with the screws, and reattach the handles. Finally, turn on the water supply and check if the leak is fixed.
But remember, plumbing can be tricky, and if you’re unsure or uncomfortable with the process, it’s always best to leave it to the professionals.
How do I stop my double-handle faucet from leaking?
To stop your double-handle faucet from leaking, you need to follow these steps:
1. First, make sure to turn off the water supply to the faucet. You can usually find shut-off valves under the sink or at the main water supply line. This will prevent any water flow while you work on the faucet.
2. Carefully remove the handles of the faucet. Look for screws or decorative caps that may be holding them in place. Unscrew the handles or gently pry off the caps to access the inner components.
3. Once you have removed the handles, you’ll find the stem assemblies underneath. These stem assemblies control the flow of water. Take a close look at the O-rings, washers, and other components for any signs of damage or wear.
4. If you notice any worn-out or damaged parts, it’s best to replace them. You can find replacement O-rings, washers, and other components at a local hardware store.
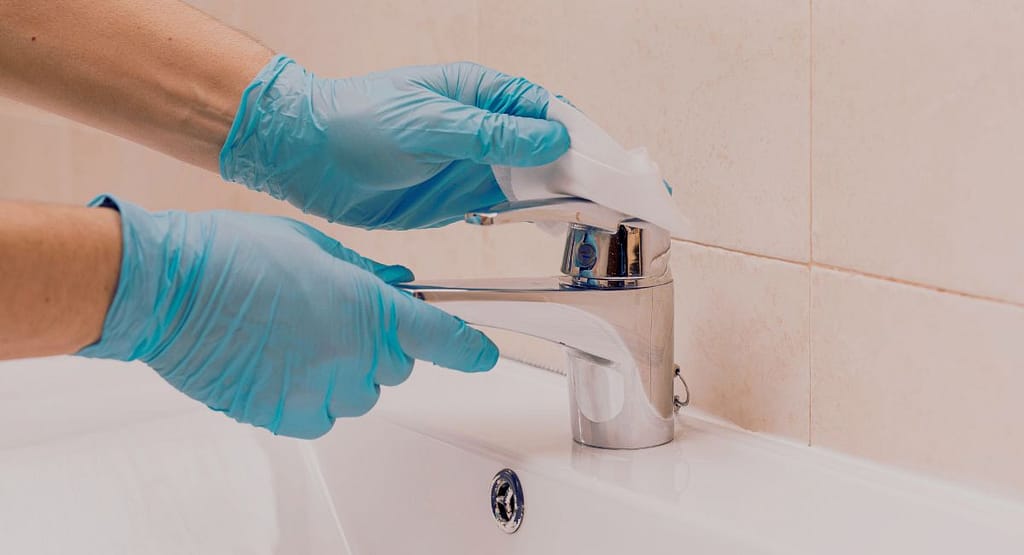
5. Before reassembling everything, make sure to clean the area around the faucet thoroughly, it’ll properly seal and prevent any leaks.
6. Once you have replaced any damaged parts and cleaned the area, carefully reattach the stem assemblies and secure them in place. Then, reattach the handles and tighten them properly.
7. Finally, turn on the water supply and test the faucet for any leaks. If everything looks good, congratulations! You have successfully stopped the leak.
What happens If I don’t fix the leaky faucet?
If you just leave that leaky faucet going without fixing it, it can start causing all sorts of problems. For one thing, all that water just going down the drain is costing you big time on your water bill each month. A slow drip you don’t notice can waste over 20 gallons a day – that adds up fast!
And where does all that extra water go? Straight into your walls and floors where it can do some real damage over time. The moisture can cause warping and rotting of the wood, or even mold growth if it’s not dealt with. Nobody wants to be breathing in mold spores!
It’d also drive you bonkers listening to that constant pitter-patter sound every time you’re in the kitchen. A guy just wants to enjoy his morning coffee without that racket, am I right? And what happens in the winter when things freeze? Those pipes might not be able to handle the extra pressure and bust on you. Then you’ve really got a mess.
Plus, can you imagine trying to sell your place someday with unfixed issues like that? Inspectors and potential buyers will take one look and knock some dollars off their offer for sure. Doesn’t sound like a fun time.
I know faucet repairs seem daunting, but usually, it’s a pretty straightforward fix once you dive in. Take it from me, it’s always better to just get that leak patched up sooner than later before it turns into a bigger headache down the road.
Read our recommended Guides:
- Repairing Moen Kitchen Faucet
- How to Replace Cartridge in a Delta Faucet?
- How Can Be Fixed A Stiff Faucet Handle
- Fixing a Leaky Grohe Bathroom Faucet?
- Installing a 4-Hole Kitchen Faucet
- Installing a Soap Dispenser in Your Kitchen?
- Installing Sprayer in Kitchen Faucet?
- How to Tighten Moen Bathroom Faucet Handle?
- Cleaning Tarnish Chrome Faucet
- Removing Delta Kitchen Faucet
- How to Clean Rinnai Tankless Water Heater?